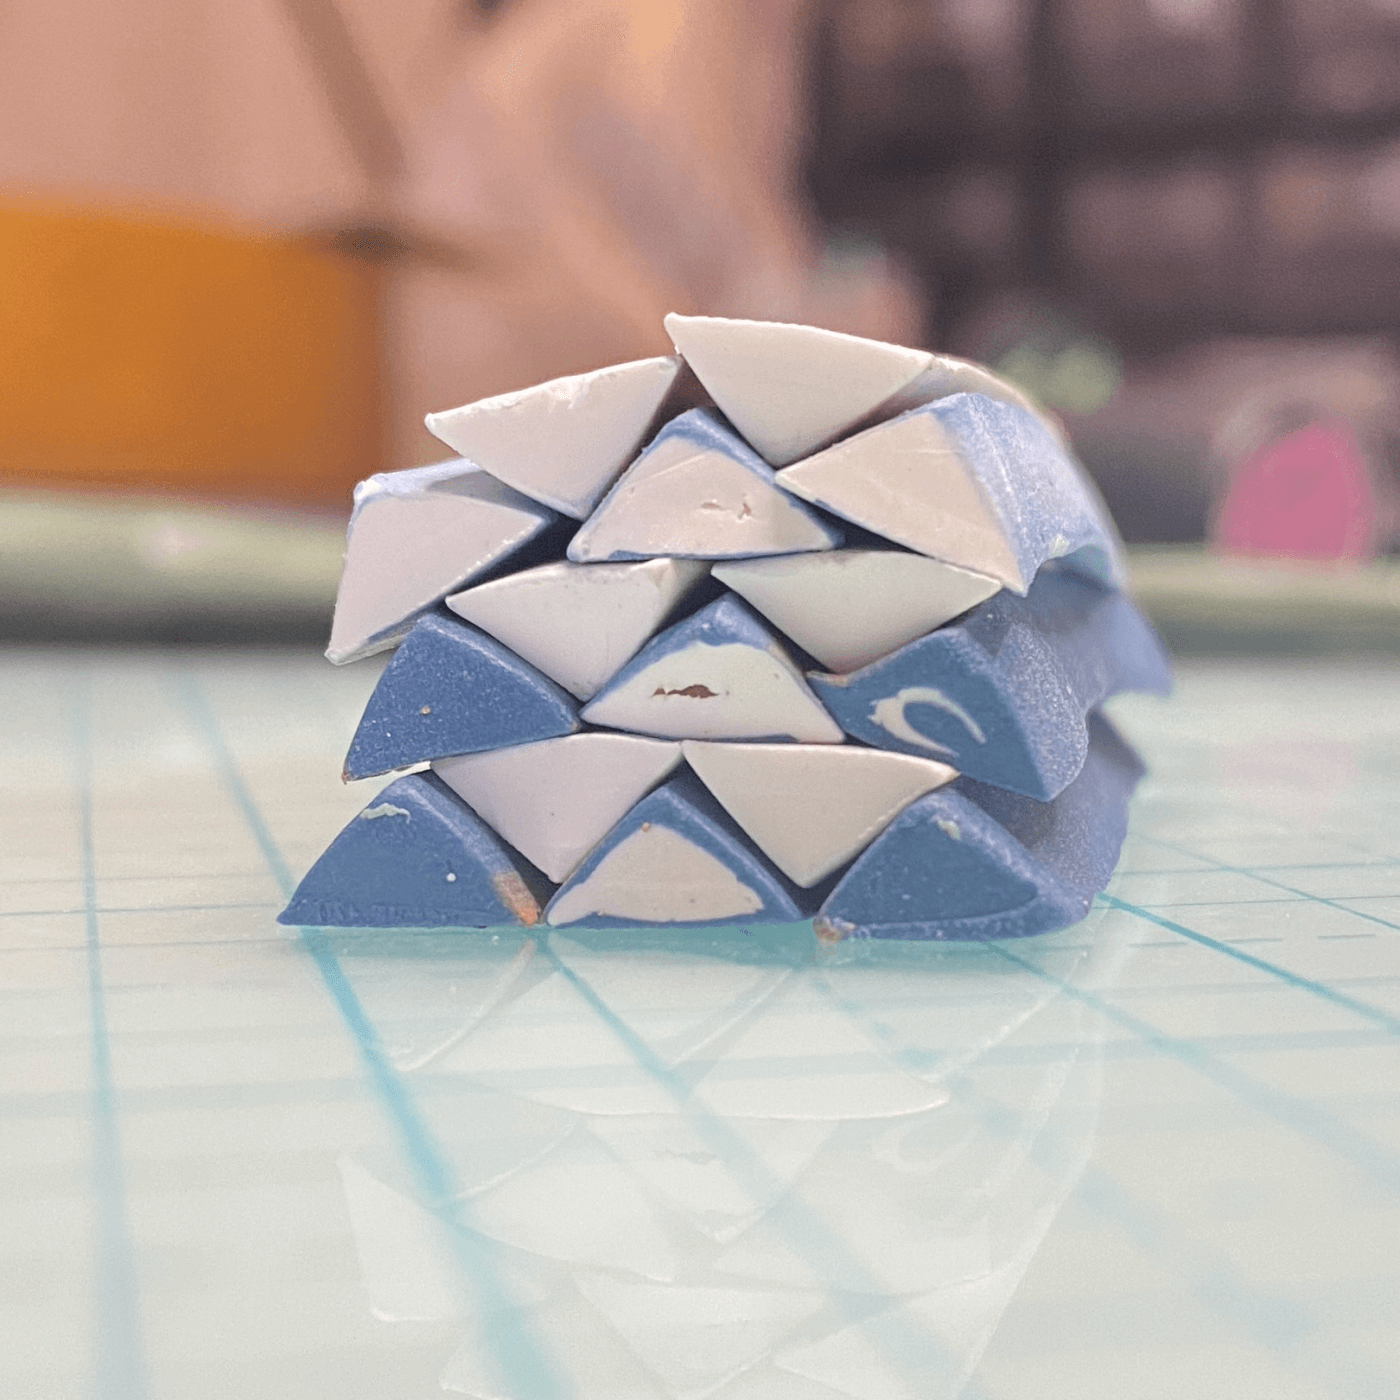
Hello, creative souls! Today, I’m happy to share a little technique from my crafting corner about creating a polymer clay ombre color blend. You can add visual richness to your projects by using this anywhere you’d use a solid color. Many instructions for making ombre blends require precise measurements of calibrated clay sheets. Today’s approach is much more imprecise improv! So, put on your Experimenting Hat, and let’s learn an easy method to get that chic polymer clay ombre effect with polymer clay.
The Joy of Unmeasured Creativity
This approach doesn’t start with those carefully measured and stacked uniform sheets of clay. The measure-carefully approach works great when you want to reproduce a specific gradation. But today we’re going boho, using chunks of clay of similar lengths and an acrylic roller to start our adventure. This method simplifies the process and also injects a bit of unpredictability into the outcome, making each piece uniquely yours.

What You'll Need:
- Polymer clay in at least two shades (choose colors that look good together)
- An acrylic roller
- A pasta machine (forever your best friend!)
- A tissue blade or utility knife
- Work surface (a ceramic tile or glass works great)
Choose Your Colors
Selecting colors for your intended look is crucial for a striking ombre effect. For a classic look, choose strongly contrasting colors that look great together, like a shade of medium blue and white. If you're feeling more monochromatic, why not try a narrower palette of soft blues and greens, maybe with some white thrown in? Have fun experimenting with different combinations!
Preparing Your Clay
Begin by warming up your clay in your hands to make it more malleable. Once it’s soft, roll each color into a chunky log, roughly the same length. The logs are ideally uneven, some chunkier at one end, some at the other. Perfectly even logs are not the goal!!
Rolling Out
Take your acrylic roller and gently flatten the logs that are laid side-by-side. This isn’t just about making them flatter; it’s about beginning the blending process. The roller presses the colors gently together starting the blend. When your log slab is about double the thickness of the thickest option on your pasta machine, you’re done with rolling.
The Pasta Machine Magic
Now, the real magic happens. Pick up the rolled piece of clay, and put it through the pasta machine with a side with multiple colors facing down. If you put a solid-colored side down, this blend won’t work!

Take the piece that comes out, imagine a horizontal line across it, and fold across that line. Insert the folded edge into the pasta machine. Repeat this until you are happy with how the colors are blended. The more times through the pasta machine, the more gradual the blend. A total 20-30 passes through the pasta machine usually works well.
Creativity Unleashed
Now that your polymer clay ombre blend is ready, the possibilities are endless. Use cutters to create shapes, or mold it into jewelry, decorations, or even parts of a larger sculpture. Each piece will carry the signature of your unique creative process.

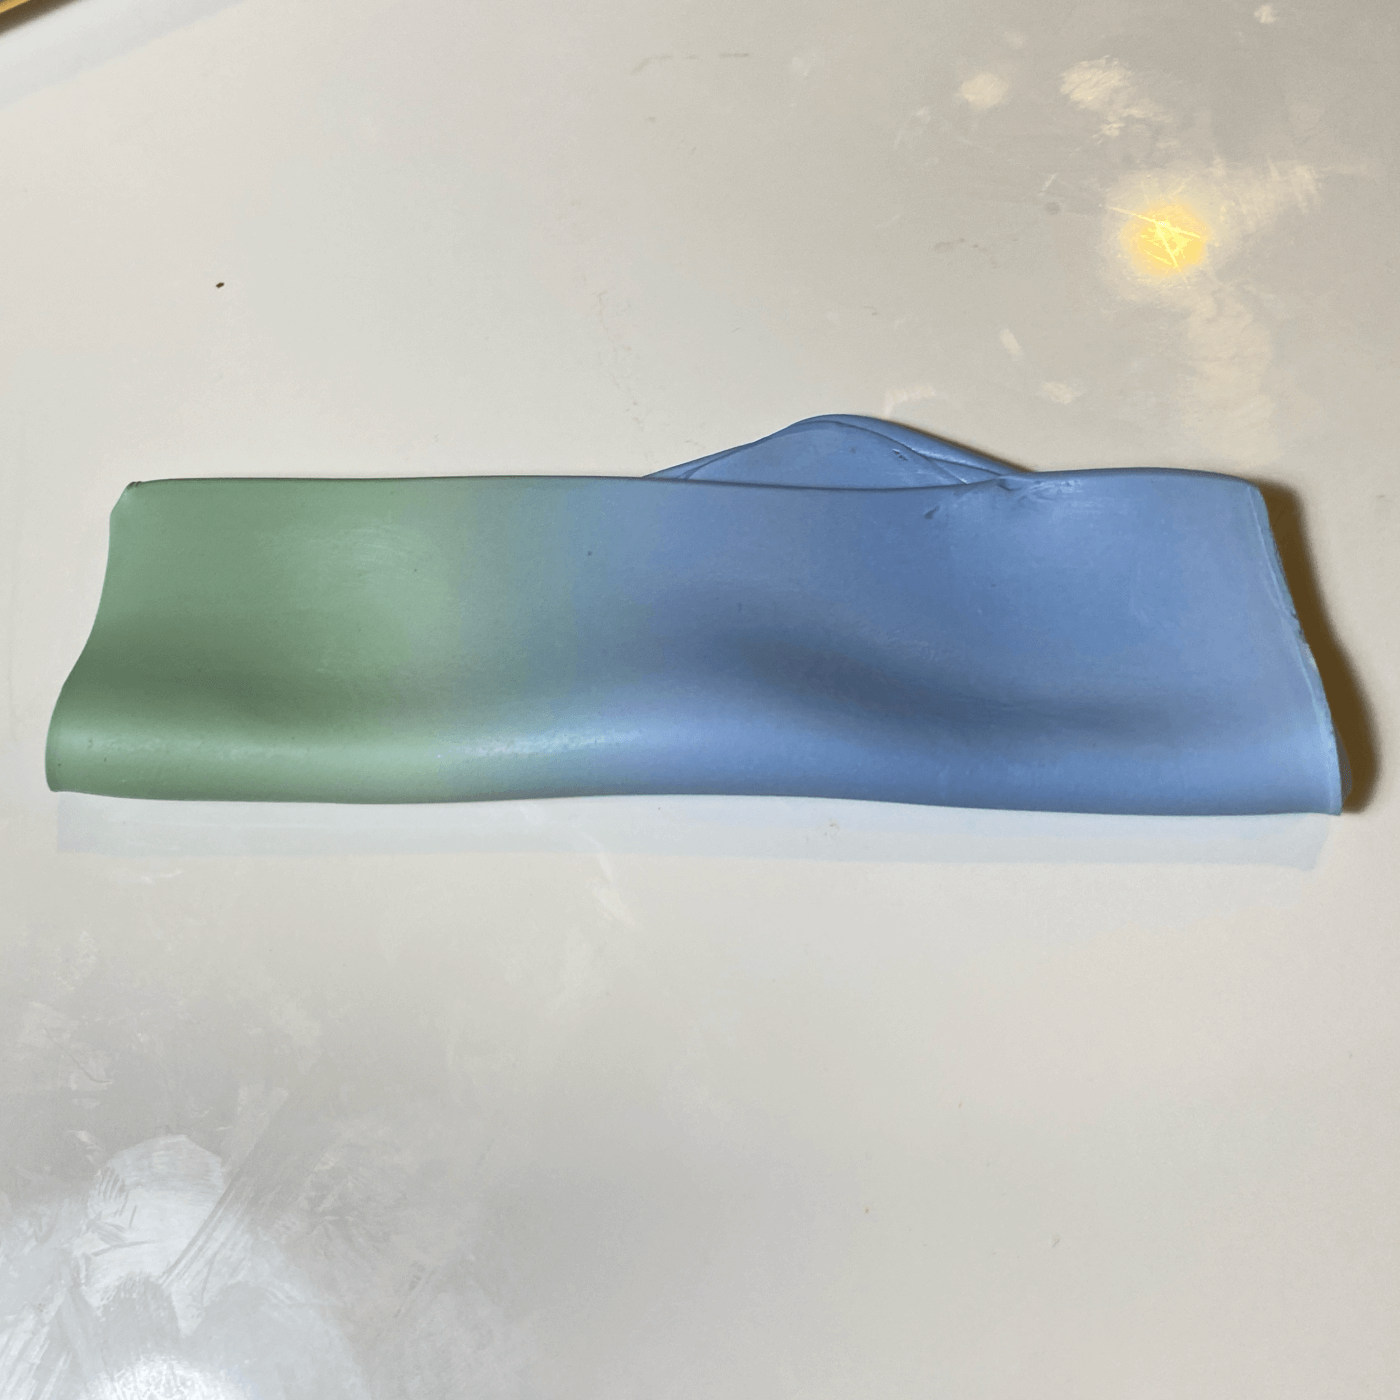
I used the pasta machine to make this blend into a narrow ribbon and rolled it up into this color-graduated cylinder. This will become petals for a flower.
Conclusion
Creating a polymer clay ombre effect doesn’t need to involve meticulous measurements and precise techniques. With chunks of clay, an acrylic roller, and a pasta machine, you can achieve results that are as fun to make as they are beautiful. This simpler approach makes it a fun exploration of color and creativity. So next time you sit down with your polymer clay, remember that a little improv goes a long way. Let your spirit of experimentation guide you to beautiful creations.
Remember, the only rule here is to have fun and let your creative spirit take charge. Each ombre slab you create will be uniquely you, ready to glam up your next creation. Happy crafting, darlings!

