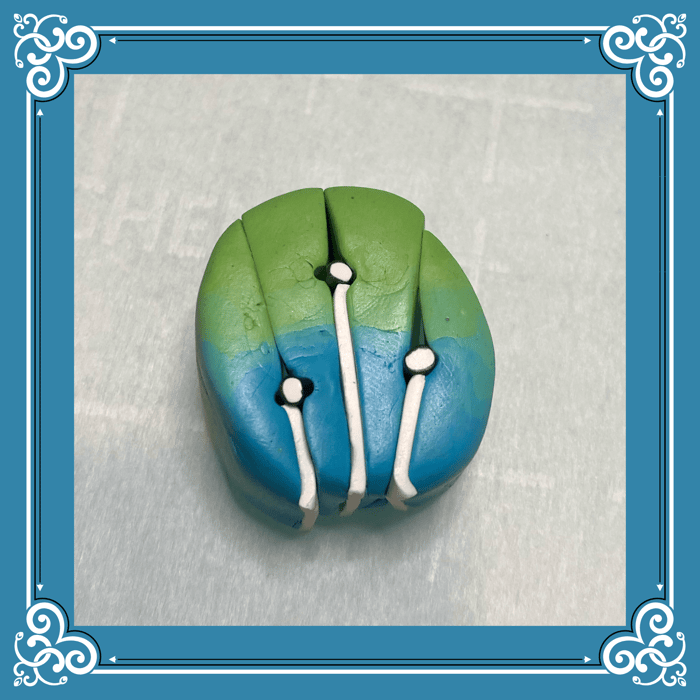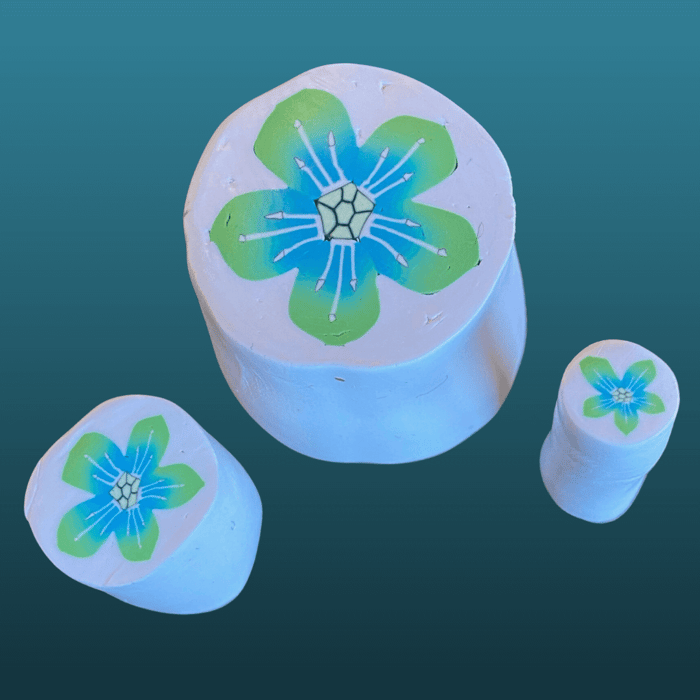
Darlings, gather 'round! Today we're embarking on a delightful adventure in polymer clay - creating a flower cane that's simply gorgeous. Now, before you peek at my finished piece, let me share a little secret: it's not perfect. See those slightly squared-off petals? That's just a reminder that we're all learning together, and every piece we create helps us grow. Isn't that wonderful?
Understanding Our Inspiration
Life is so much more beautiful when we pay attention to the details, don't you think? Let's take a moment to appreciate the elegant anatomy of a real flower. Those delicate stamens - the anthers perched atop their graceful filaments - that's what gives our clay flowers that touch of botanical authenticity that makes people want to lean in for a closer look.
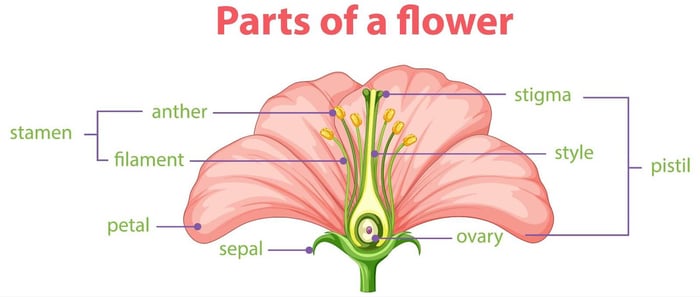
Designed by Free Pik
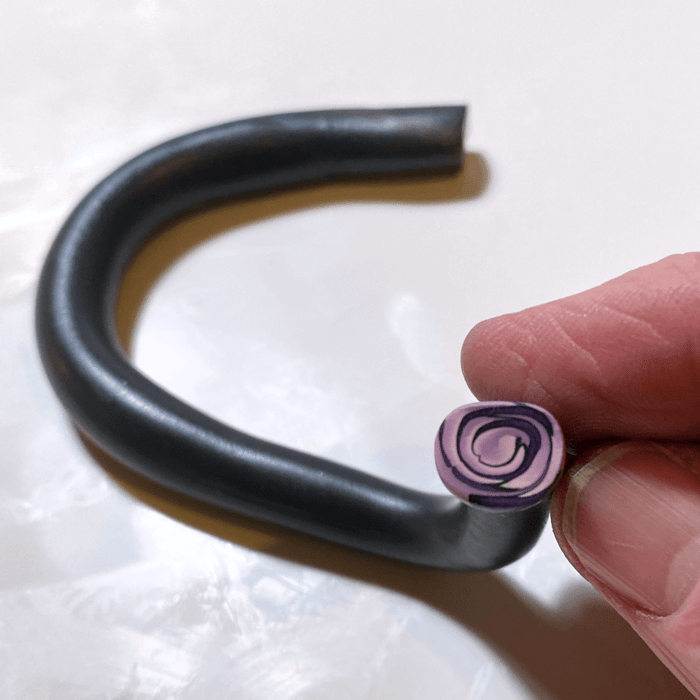
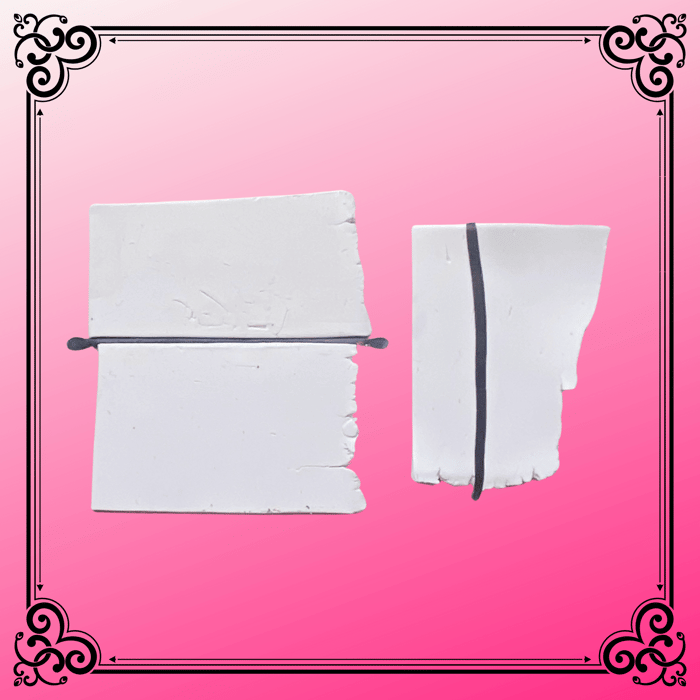
We'll start by creating these delicate parts. Roll a short snake of white clay (about 2 inches long and ¼ inch in diameter) - think of it as the backbone of our flower's personality. Then, darling, take your pasta machine (set to #4), and roll out a sheet of black clay thin enough to whisper secrets. We'll need just a tiny piece for now - wrap it around the white and reduce it until it's positively dainty, about 2mm in diameter. Don't discard the rest - like a good hostess, we always plan ahead!
The Color Adventure
Now comes the truly exciting part - choosing your colors! Think analogous shades on the color wheel, like dear friends who complement each other perfectly. Create a Skinner blend that makes your heart sing, and transform it into a ribbon about 1.5 inches wide. Then, like folding the most delightful origami, accordion this ribbon back and forth. Squish it into a cube (don't be shy!), and then coax it into a barrel shape with your colors side by side.
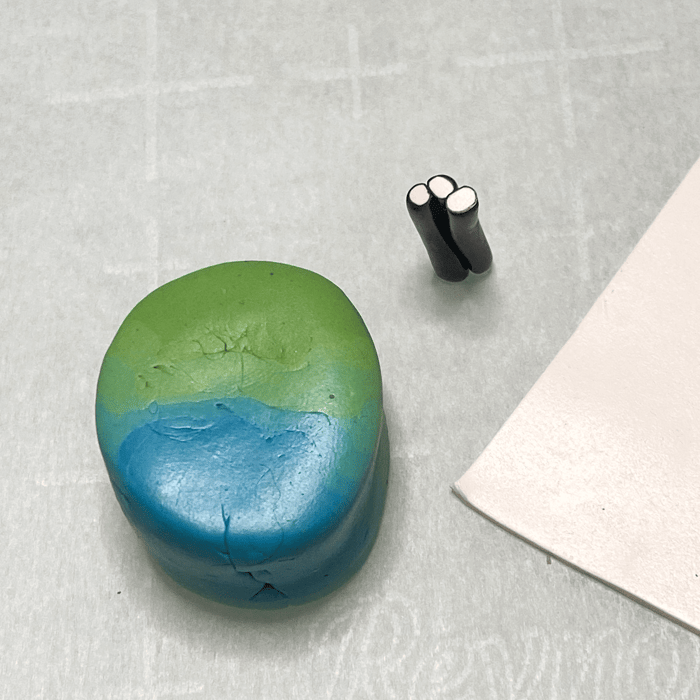
The Art of the Slice
Here's where we channel our inner sculptors! Make three bold slices in your barrel - one straight up the middle (like drawing a line in the sand), and two others that flare out like embracing arms. When you pull these pieces apart, you'll start to see the magic taking shape.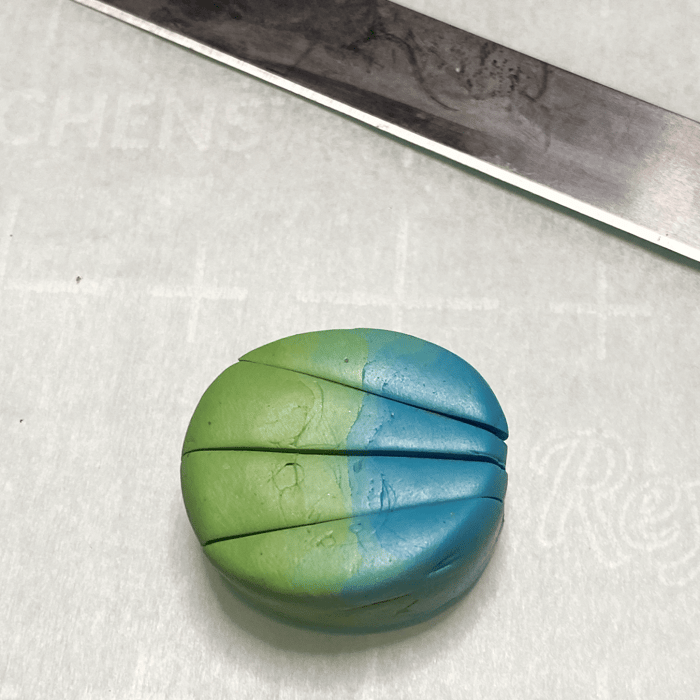
Now, darling, let's talk about proportion. Your center stamen should stand tall and proud, with its siblings slightly shorter on either side. Use a knitting needle to create gentle indentations where each filament will end - think of it as making little nests for our anthers.
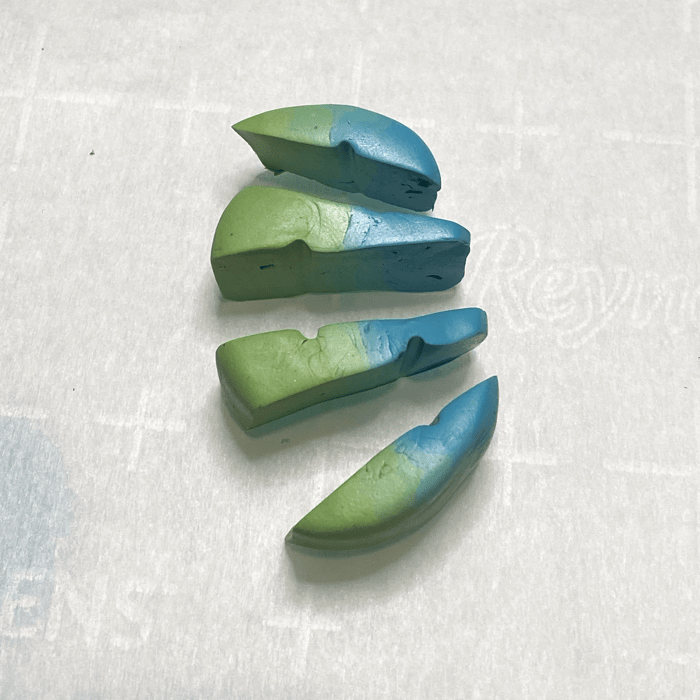
Adding the Details
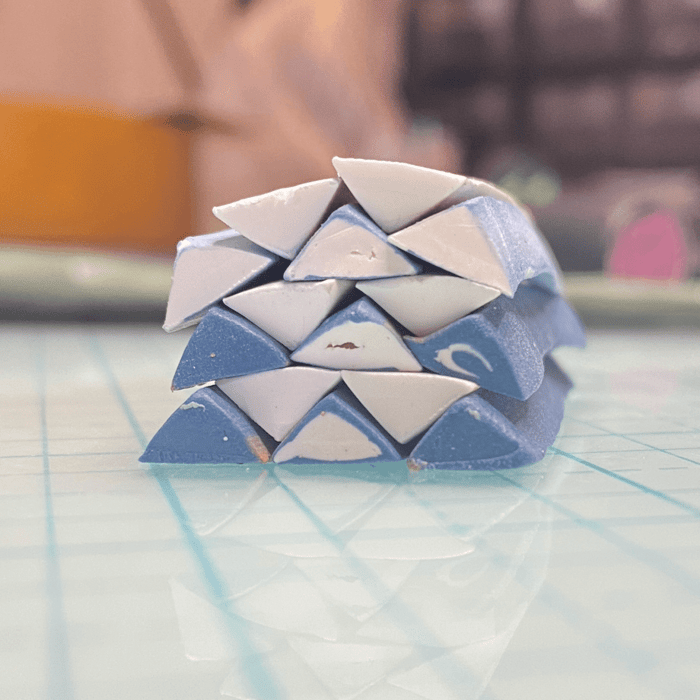
Take your sheet of white clay and cut pieces to match the height of your design. Nestle them into each slice with the gentleness of tucking flowers into a vase.
Remember those black-on-white canes we saved? Cut 1½-inch pieces and fit them into your waiting indentations. When you bring all the pieces back together, treat them like old friends reuniting - gentle pressure, no rushing.
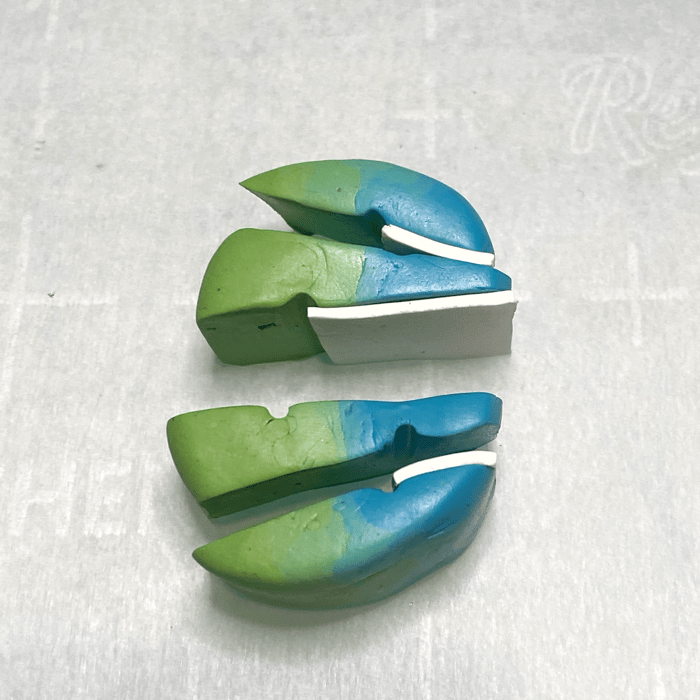
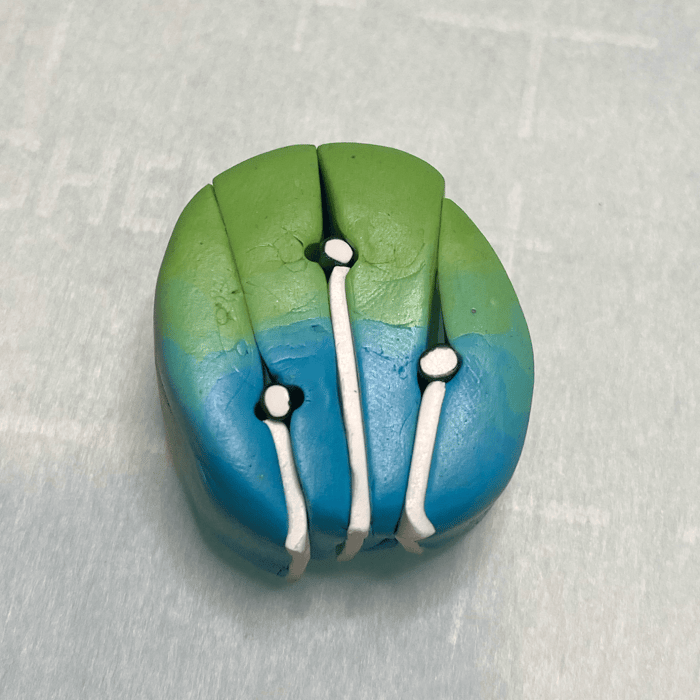
Shaping the Future
As you reduce this polymer clay cane, guide it into a petal shape - broader at one end, tapering to a delicate point. When it's long enough, cut it into five 1½-inch pieces.
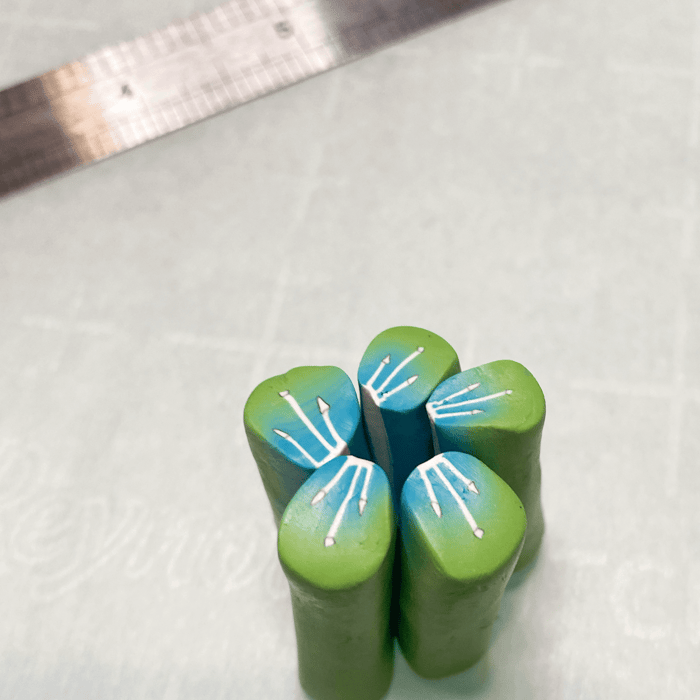
These will become our petals, but first, we need the heart of our flower.
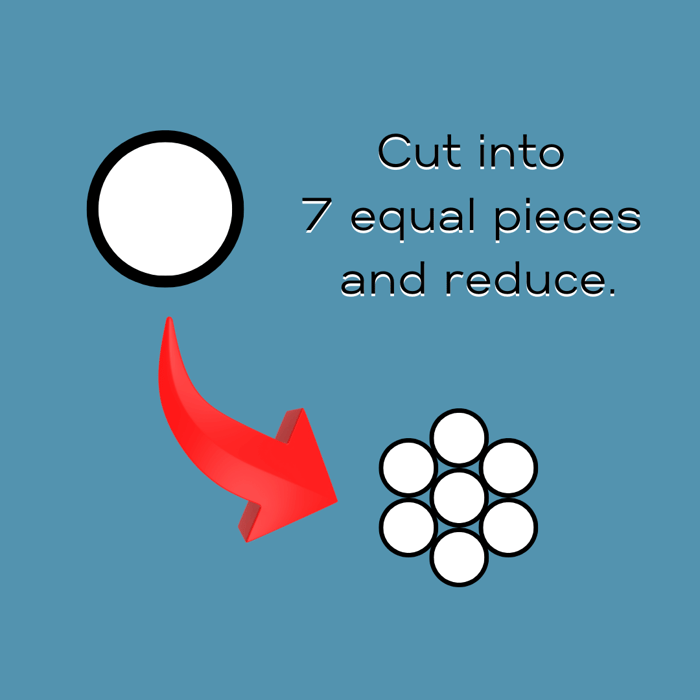
Remember that remaining black and white cane? Reduce it and cut seven identical pieces. Arrange them in a circle - one center piece surrounded by six others - like dancers in a ballet. This becomes the stage for our petals to perform around.
The Grand Finale
Arrange the petals around your center. Pack your assembled flower with white clay (or any color that makes you smile), and reduce it to your desired size. Here's a little tip from me to you: if you're not using it right away, leave some unreduced - it's like keeping your options open for future adventures!
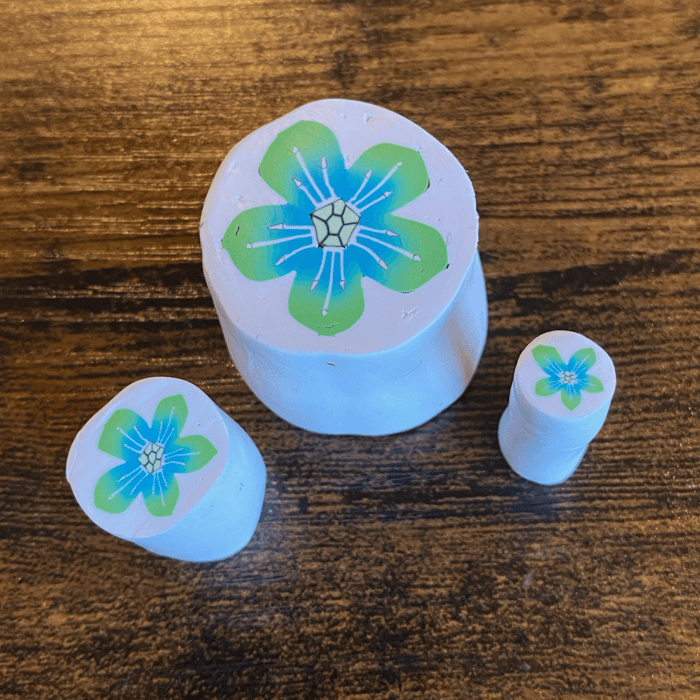
And there you have it, my dears! You've created something truly special. Yes, it might have some quirks - those are what make it uniquely yours. Each cane you make is another step in your polymer clay journey, and I'm simply thrilled to be part of it!
Remember, life is a banquet of creative possibilities, and most poor souls are starving to death! So keep creating, keep learning, and most importantly, keep having fun with your polymer clay adventures!

