Why would you want to make your own ear wires? Let me count the ways:
- Personal Touch: Create the exact design and shape you envision. There's nothing quite like having your jewelry reflect your unique style.
- Quality Matters: Handcrafted ear wires and jump rings add perceived quality to your handmade earrings. They show that you care about every detail.
- Save Money: Especially when using more expensive wires like niobium and sterling, the price difference between a few inches of wire and preformed ear wires can be substantial.
- Special Materials: Use materials that are hard to find pre-formed. This is especially helpful for clients who are allergic to various metals.
Think of these tools as your mise en place for making your ear wires!
Absolutely Necessary:

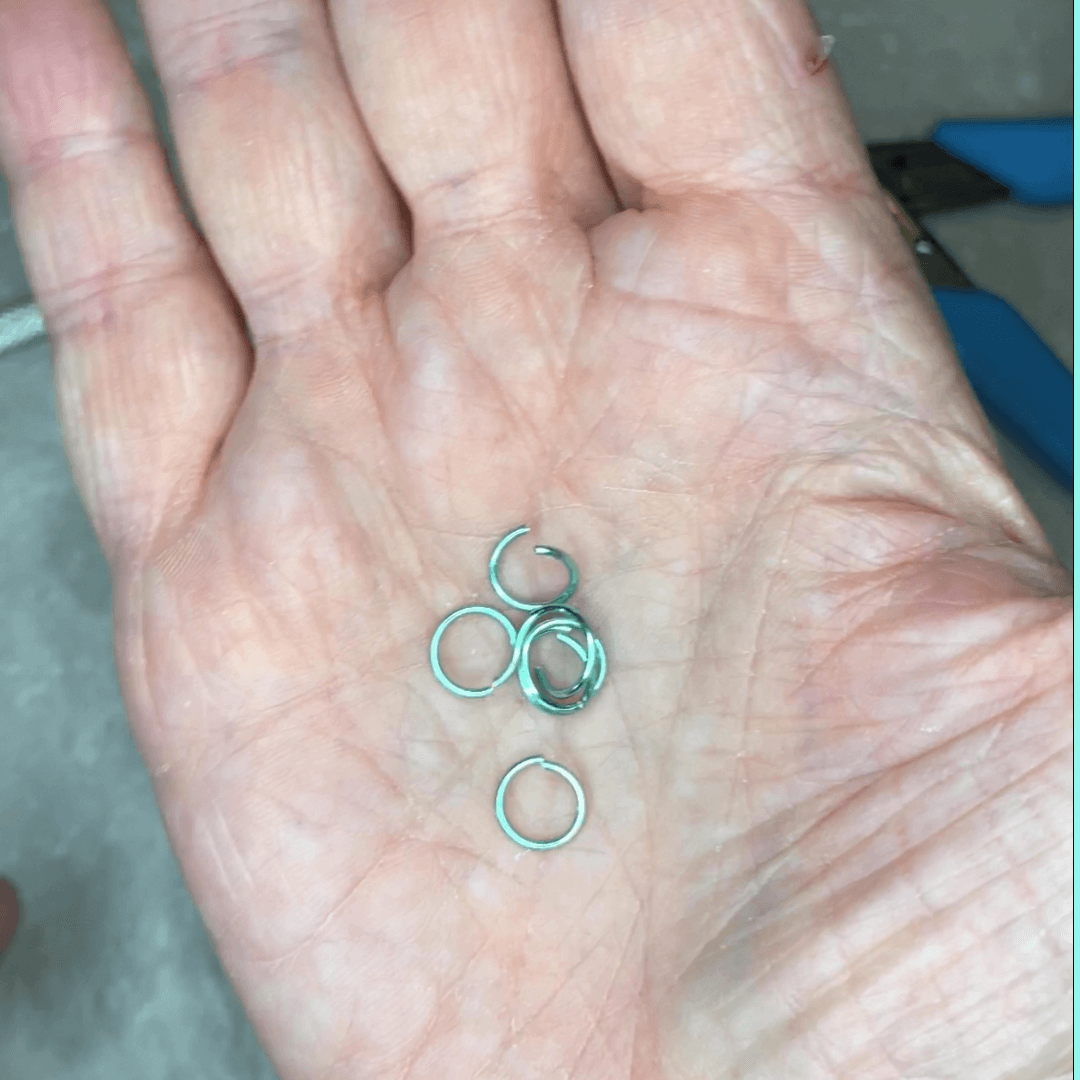
Wire: Ear wires are made from wire. The size 20g is a sweet spot—neither too flexible (higher numbers) nor too thick to fit comfortably through the earlobe (lower numbers). For practice, grab some inexpensive copper or other wire from the hardware store.
Wire Cutter: If you can’t cut a suitable piece of wire, you can’t make an ear wire. You want a jeweler’s flush-cutting pair. This tool makes a straight or flush cut on one side, which makes it easier to sand smooth the end that goes through the earlobe.
Needle Nose Pliers: You’ll use these to make the pretty loops and bends in the ear wire.
Sandpaper: To smooth the rough edges of the wire and make it comfortable to put on. A rough grit followed by a smoother one will do the job.
Nice to Have:
Nylon Jaw Pliers (Wire Straightening Pliers): These are helpful if your wire has gotten too curved or has kinks. Pulling the wire smoothly through the nylon jaws, sometimes multiple times, can take care of these issues.

Bail-Making Pliers: These beauties allow you to make bends and curves with more precision than needle-nose pliers because the diameters increase in a set gradation. While not essential, they help make your ear wires look smoother if you decide to invest.

Steel Bench Block and Hammer: Hammering metal wire, or work hardening, moves the wire molecules closer together, making it harder and stronger. Hammer too much, and the wire may become brittle and prone to breaking. If you want hardening without a pattern, use a rawhide mallet or rubber hammer. For a hammered look, use a steel hammer on a steel bench block.

Loop Forming Pliers: For making the small loops on the end of the earring that will hold the bead or other dangle, these pliers are fabulous. Stick the end of your wire through the openings, squeeze, and voilà, a beautiful symmetric loop. I usually make this loop first, then bend the rest of the ear wire curve. Not a necessity, but very nice to have!

Once you’ve gathered your wire and tools, you are ready to embark on making simple earwires! Experiment and have fun. Happy crafting!