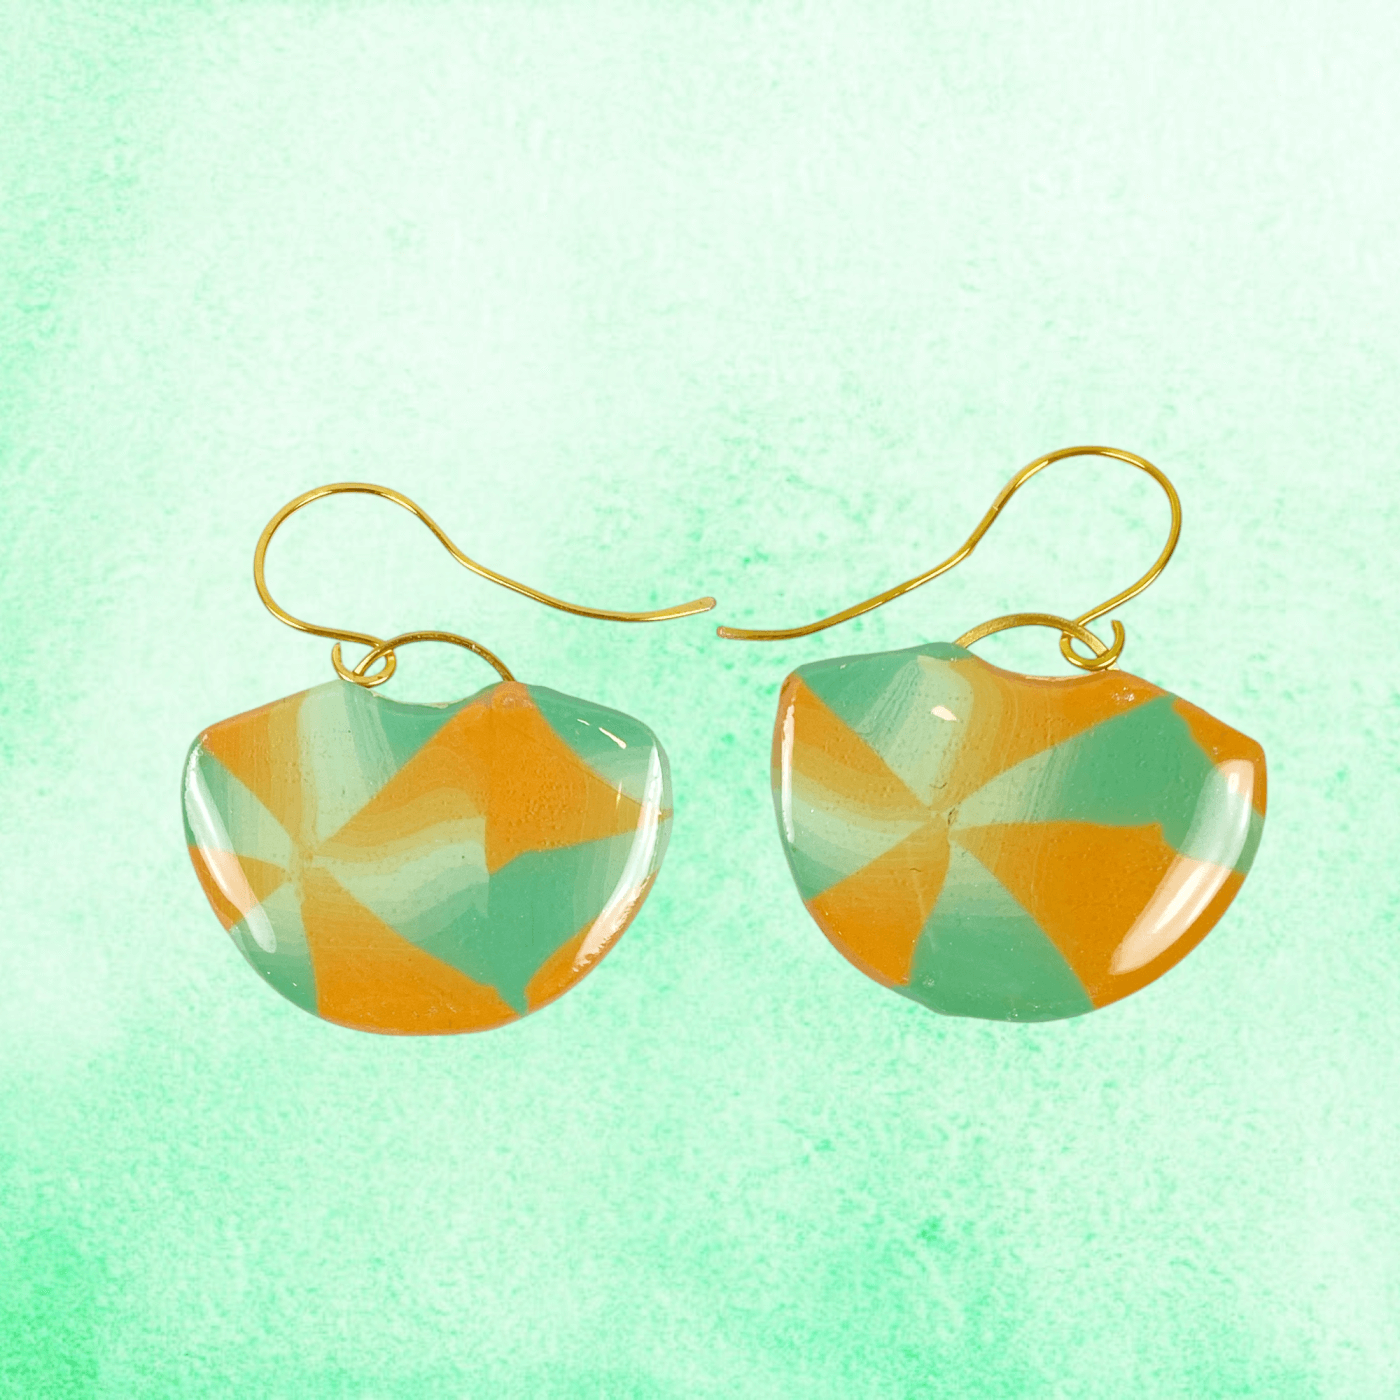
Hello, my darling creatives! Just the other day, as I put the finishing touches on a great pair of earrings— cut from a beautifully-colored slab, baked, sanded, buffed, and finally glossed with a resin coat—the pieces gleamed back at me, so satisfying! Yet, when I reached for the final touch, the findings, I found myself in a bit of a pickle. None of the usual jump rings suspects—silver, gold, nor the stark black—complemented the earrings. They all seemed to clash rather than enhance.
Aha, spark of inspiration! My eyes caught the shimmer of aqua wire peeking out from my stash. "Perfect," I thought, as I realized it was just the right gauge. With a flush of excitement, I decided not only to craft custom jump rings but also to create matching ear wires. This pair of earrings wasn't just going to be handmade—it was going to be harmoniously unique!
Too hard, you think? Not something you can do? Wrong answer. Any polymer clay crafter can make custom jump rings with just a bit of equipment and some practice!
Gathering Your Tools
Before we get started, you'll need a few basic tools:
- 20-gauge wire (your choice of colors, of course!)
- A needle tool or any slender metal rod (back end works perfectly)
- Wire cutters
- A pair of pliers
- (optional) loop-forming pliers
There are more tools that can speed the process. But this is enough to get started. Let’s go! With tools in hand and a sparkle in our eyes, let's get started!
Preparing Your Wire
Here’s a length of aqua 20-gauge wire, full of potential and ready for transformation. Measure and cut a manageable length—about six inches is a good starting point to keep things easy to handle without wasting material. HINT: When I was first learning these techniques, I used the relatively inexpensive copper wire for practice.

Choosing Your Wire-Wrapping Rod
Here you see the segment of wire and the back end of a needle tool. This unassuming tool is our secret for the perfect coil size. The diameter of this metal rod is just right for creating jump rings that are neither too small to be practical nor so large as to lose elegance. Other options are a round pen or sharpie, or really anything rod-shaped that’s the size you want your jump rings to be.

Wrapping
Here comes the fun part! You see the wire being snugly wrapped around the back end of the needle tool. Hold the end of the wire against the rod with your thumb, and start wrapping. Keep your wraps snug and close together—consistency is key to beautiful rings. Hold the rod steady with the thumb hand, and use your other hand to wrap the wire around the rod.

Releasing the Coil
Finally, it's time to gently slide the coil off the rod. What you have now is a lovely spring-like coil, like a bigger version of the spring inside a ballpoint pen. Well done!! It’s a small coil of possibilities!

Snip Snip—Creating the Rings
Now is when we turn our coil into actual jump rings. Using sharp flush-cutting wire cutters, snip along the coil, cutting through one side of each loop. Use the wire cutter to snip off the non-coil part of the end. Then snug the flush-cutting side up against the cut edge of the first ring- and voila! You just made a jump ring!

Aim to make clean, straight cuts; jagged edges are a no-no in elegant jewelry. Each snip reveals a new jump ring, ready to join your artistic arsenal.
A Treasure Trove of Jump Rings
Here we see our finished jump rings scattered across the workbench, like tiny treasures unearthed from an artisan's chest. Each ring, with its unique aqua tint, holds the promise of becoming part of something greater—a piece of jewelry that tells a story.

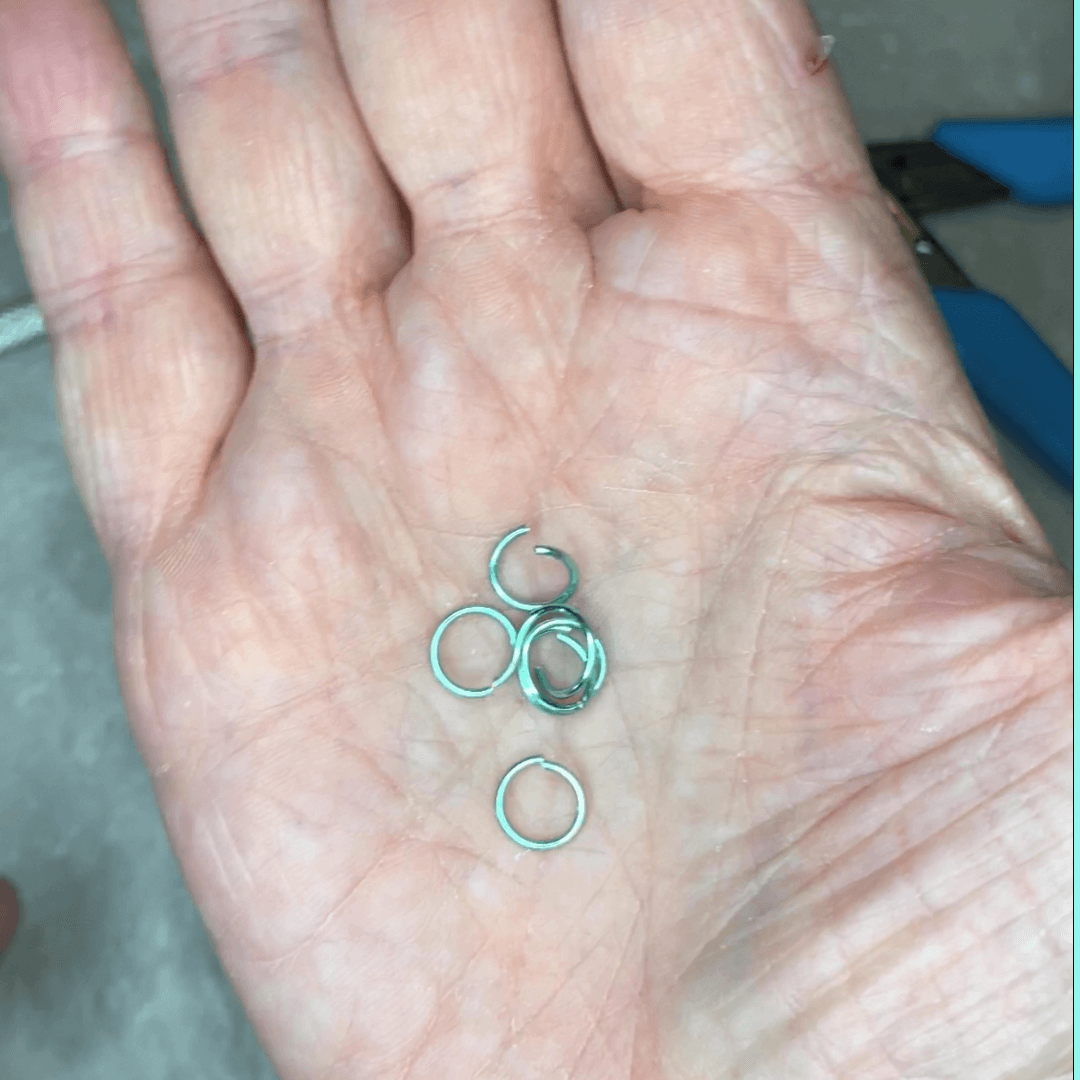
A Handful of Creativity
Lastly, here are these little circles of joy resting in the palm of my hand. They're not just pieces of cut wire; they are symbols of what our hands can create with simple tools and a dash of creativity.

The Joy of Making
Creating your own jump rings is more than just a crafting exercise; it’s a foray into the world of personalized jewelry-making. By choosing the color of your wire, you infuse each piece you create with a bit of your spirit and style. These little rings, simple as they may seem, can connect components of a piece in both a literal and a metaphorical sense—they hold together the elements just as your creative vision holds together the story of your art.
So, my wonderful friends, I encourage you to try this little project. It's really not that hard! (What else do you believe about polymer clay that isn't true?) Whether you're a seasoned jewelry maker or a curious novice, the process of making your own jump rings is a fulfilling one. It’s a perfect blend of technique and imagination, and it allows you to add a personal touch to your creations that commercial products simply cannot match.
Remember, each piece you create is not just an object, but a narrative woven from your own experiences, your style, and your personal journey in the vast sea of creativity. Happy crafting, darlings!
![]()