Darlings, let's talk about something that never goes out of style - polymer clay stripes! Whether you're channeling your inner zebra with bold black and white or going subtly sophisticated with gentle color transitions, stripes are the pattern that keeps on giving. In the wonderful world of polymer clay, they can transform your pieces from "Oh, that's nice" to "Oh my goodness, how did you DO that?!" Today, we're diving into three magnificent methods to create stripes, each with its own personality and pizzazz.
Method 1: The Perfectionist's Dream - Divide and Stack
Make yourself comfortable, my dears, because we're starting with the most precise method - perfect for those of you who color-code your sock drawer!
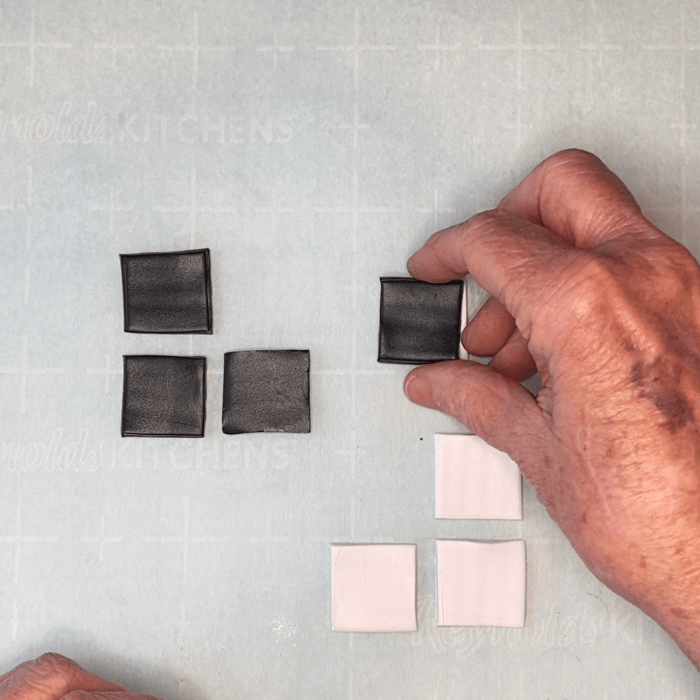
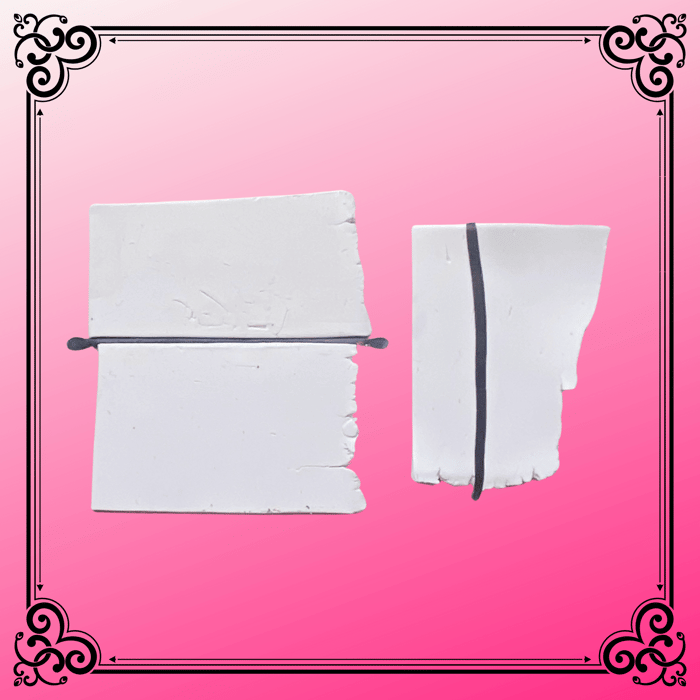
Begin by creating two sheets of clay on Atlas setting 0 or 1 (2.9 - 2.7mm). Cut them into identical rectangles or squares - precision is your friend here - and stack them like the world's most artistic sandwich.
Now for the magic! Divide your stack in half and restack those pieces. Voilà! You've doubled your layers from two to four, with alternating colors that would make a barber pole jealous.
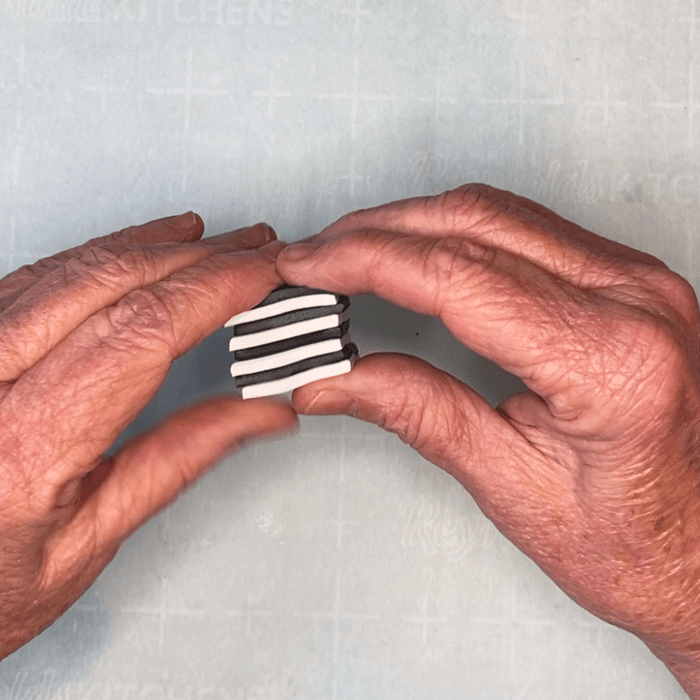
Want to get even fancier? Divide and stack again for eight glorious layers. If these stripes are giving you the vapors (in a good way), stop here. But if you're feeling ambitious and yearning for even thinner stripes, simply reduce your cube, divide, and stack again. It's like creating a tiny, colorful library of layers!
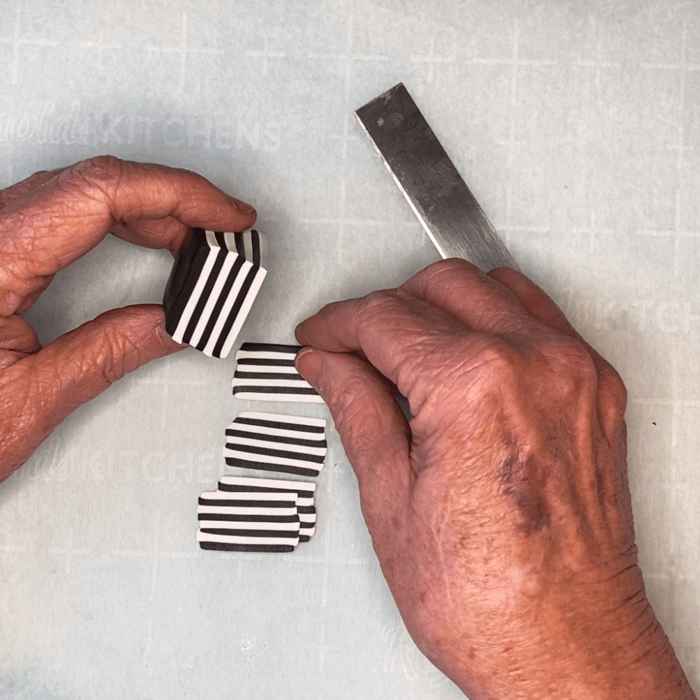
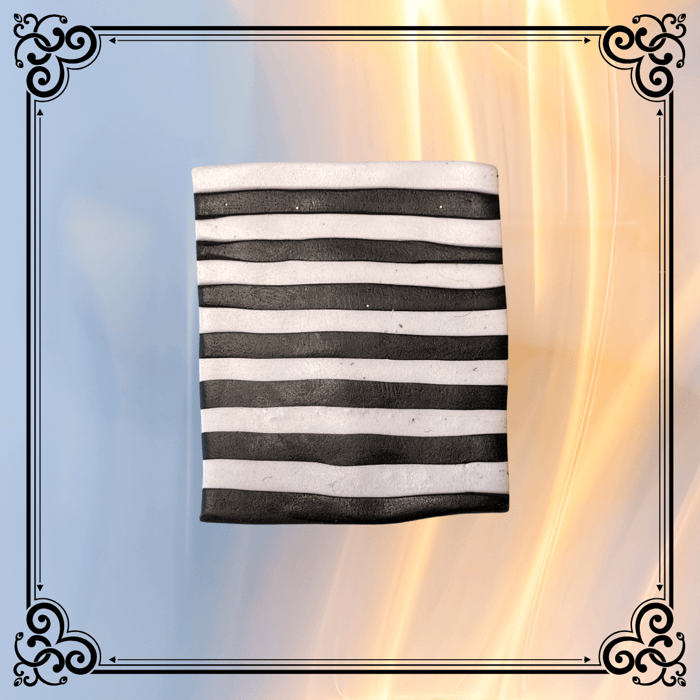
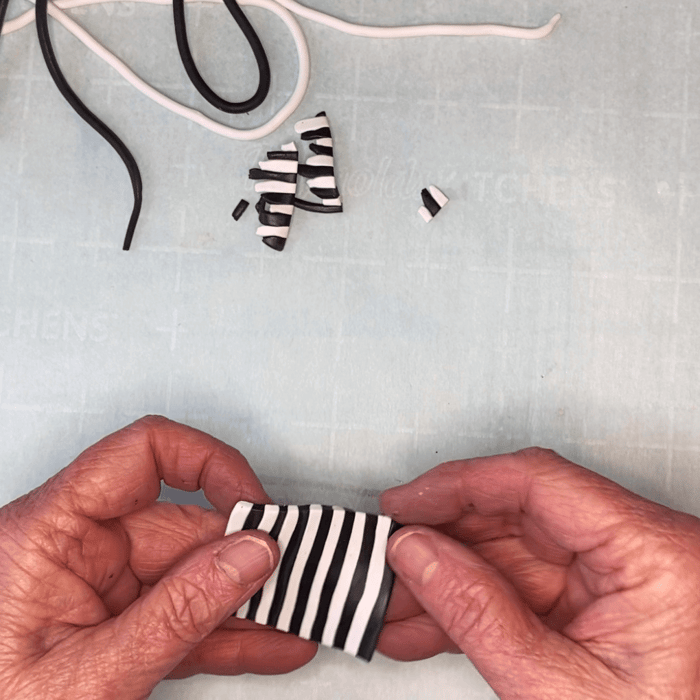
Here's where things get really exciting! Slice off whisper-thin pieces and arrange them on a clay sheet of thickness 3-4 (1.8 - 1.5 mms). You can be as orderly as a military parade by placing all stripes in the same direction (A).
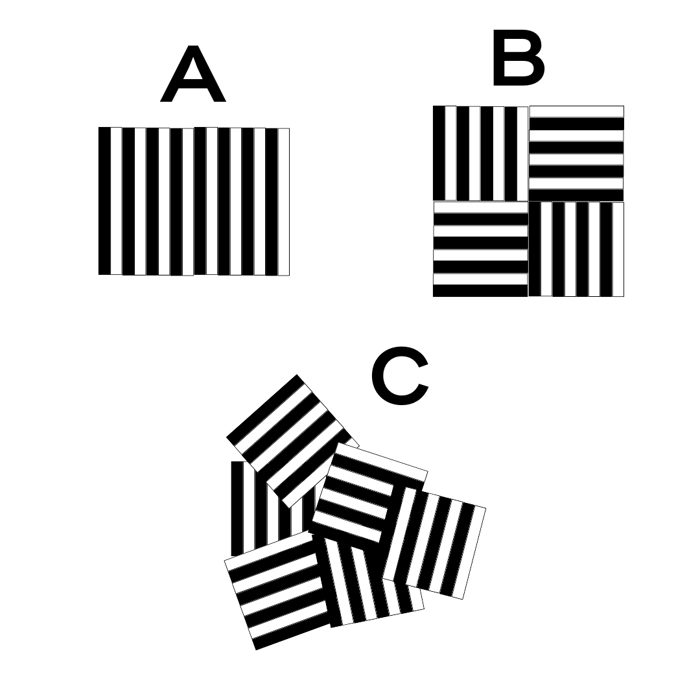
Or why not live a little dangerously? Alternate squares facing north-south with east-west (B), creating a delightful checkerboard effect. For those feeling particularly rebellious, scatter them randomly for what I like to call "organized chaos" (C) - it's like herding cats, but with stripes!
Here's a little secret between friends: slice off slightly thicker pieces (1-2 mm) and cut them against the stripe direction. What do you get? Adorable little ribbons of horizontal stripes that make perfect edges! It's like adding a tiny striped frame to your work - absolutely divine!
Method 2: The Happy Medium - Extruded Snakes
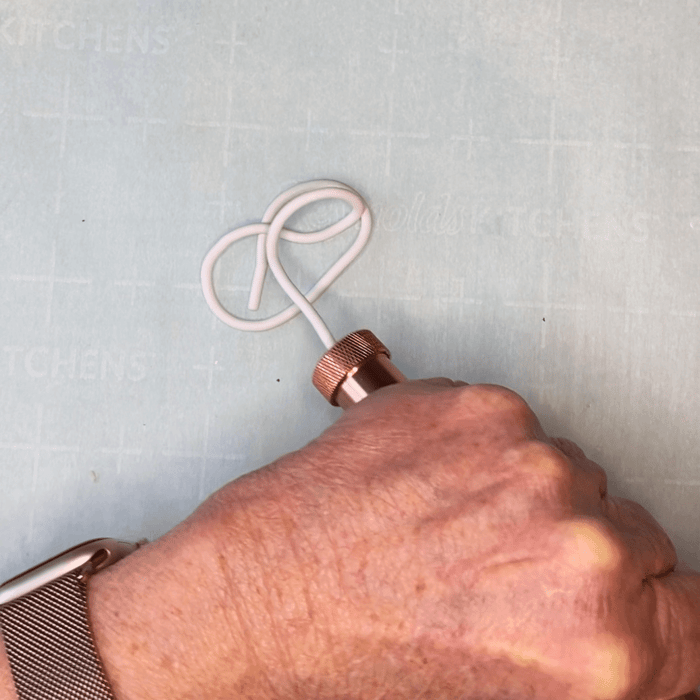
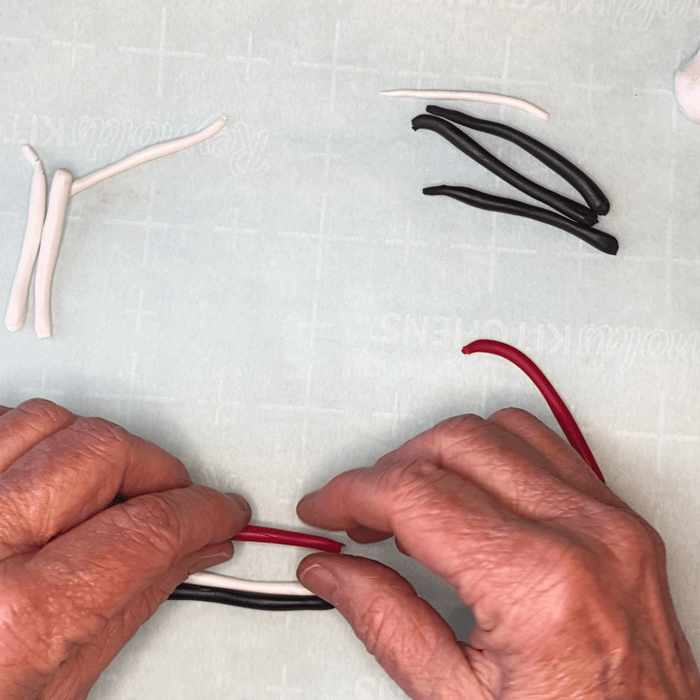
Now, darlings, let's move on to our second method, which strikes a beautiful balance between precision and playfulness. Start by extruding two (or more - who's counting?) long snakes of your colors.
The size of your circular extruder disc is crucial here - it's like choosing the right wine glass for your vintage. Larger discs create bold, confident stripes, while smaller ones give you delicate, whispered ones.
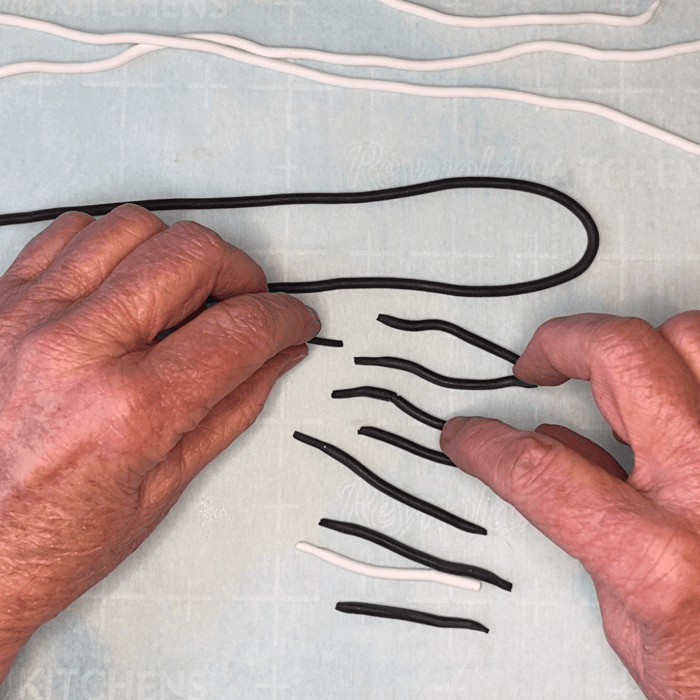
Place your snakes side by side like colorful railroad tracks. For beginners, keep them 3-4" long - we're not trying to build the Transcontinental Railroad just yet!
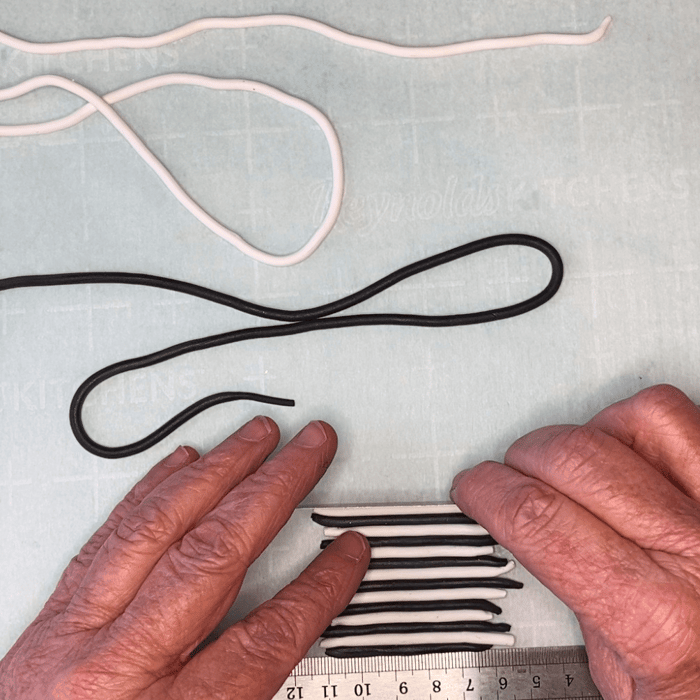
Using a ruler (or any straight edge that catches your fancy), gently encourage these polymer clay snakes to become better acquainted. They might not end up perfectly straight, but darling, who is?
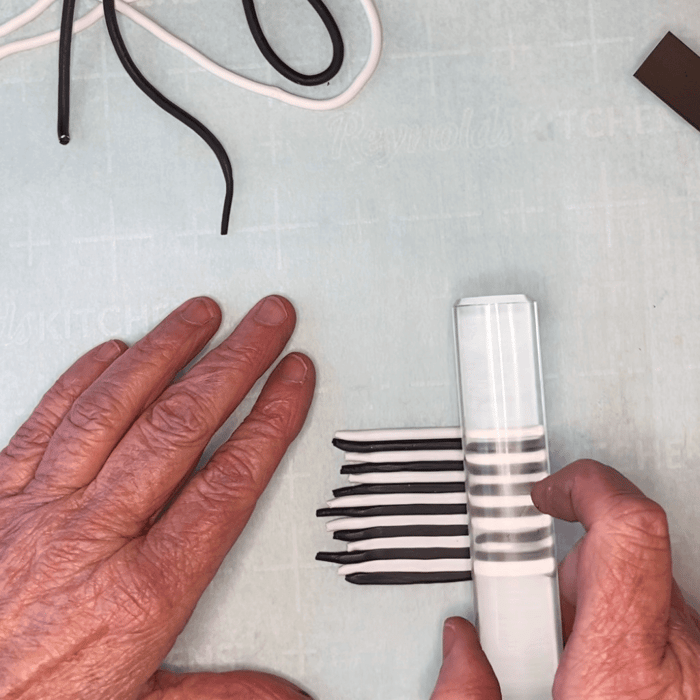
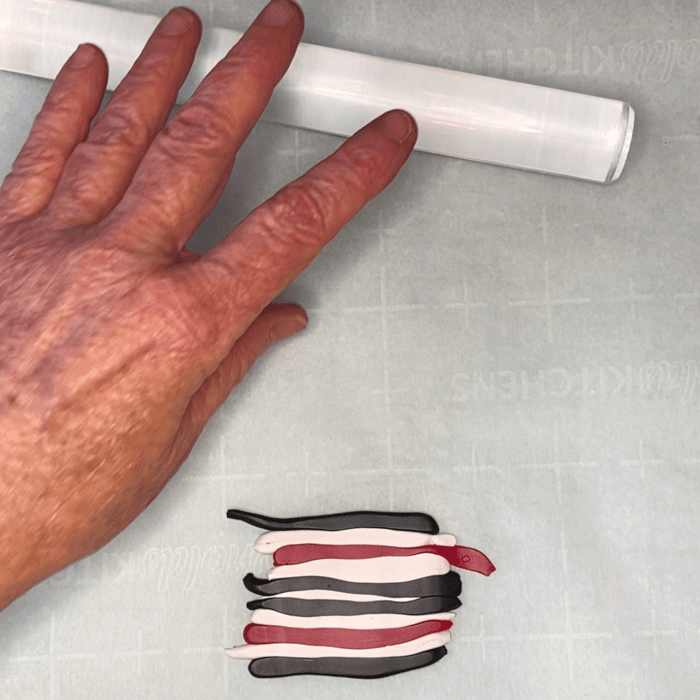
Once your rectangle reaches your desired size, it's time for the rolling pin - or as I like to call it, the "stripe unifier." Roll only along the stripes, keeping your roller perpendicular to the snakes' long axis. Think of it as giving your clay a gentle Swedish massage!
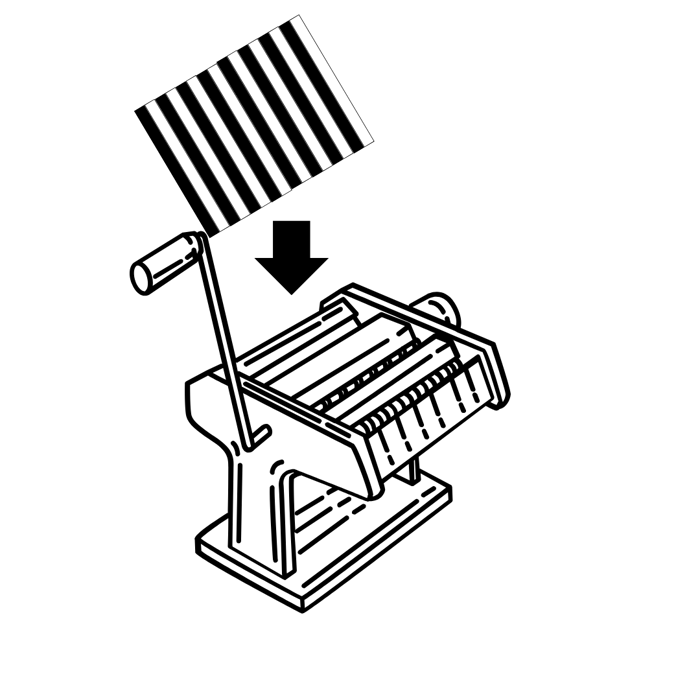
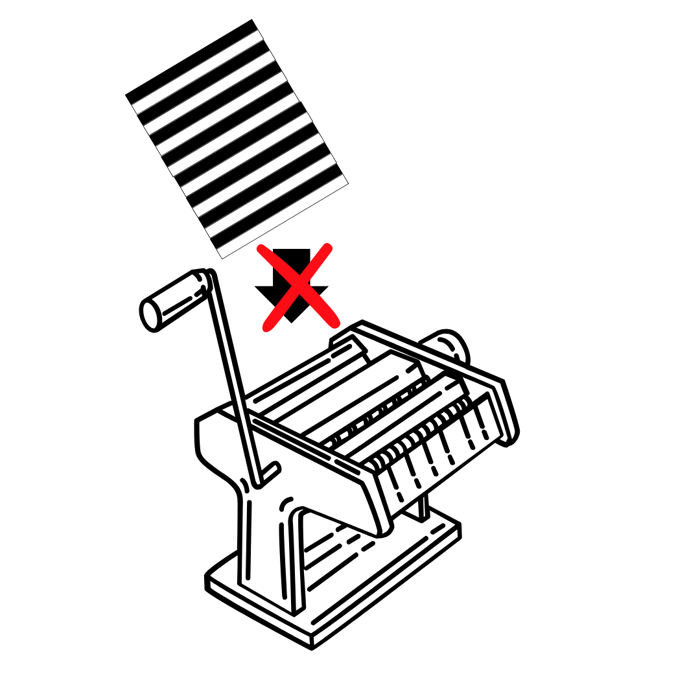
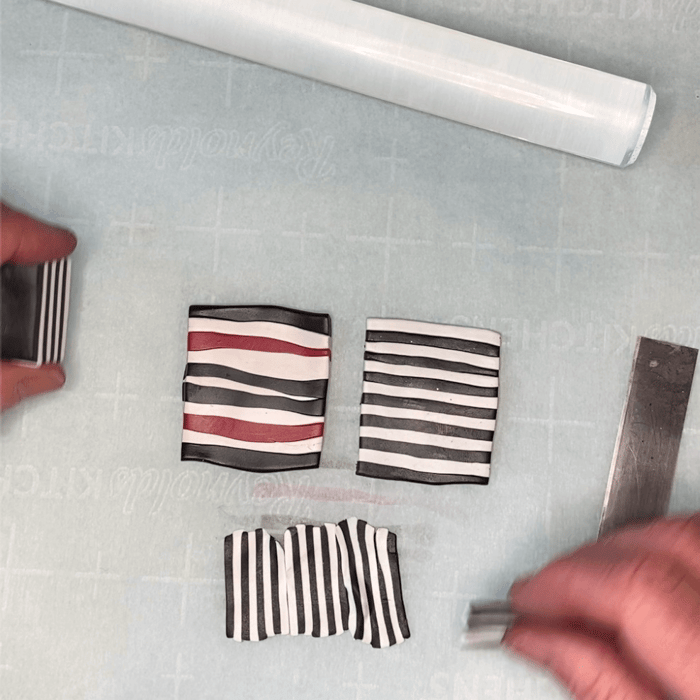
For the finishing touch, you might choose to pass your creation through the pasta machine. But remember - direction matters! Keep those stripes perpendicular to the rollers, unless you're deliberately going for that "abstract expressionist" look. (Which, between us, can be absolutely fabulous when done intentionally!)
The beauty of this method is its versatility. Sure, you can do the classic black-white-black-white pattern, but why stop there? Mix in some purple, add a dash of metallic - it's like creating your own clay rainbow!
Method 3: The Free Spirit - Hand-rolled Snakes
Now, for our final method - this one's for all you beautiful improvisers out there! This is where we throw caution to the wind and embrace happy accidents. It's perfect for using up those tiny bits of leftover clay that are too precious to throw away but too small for a major project.
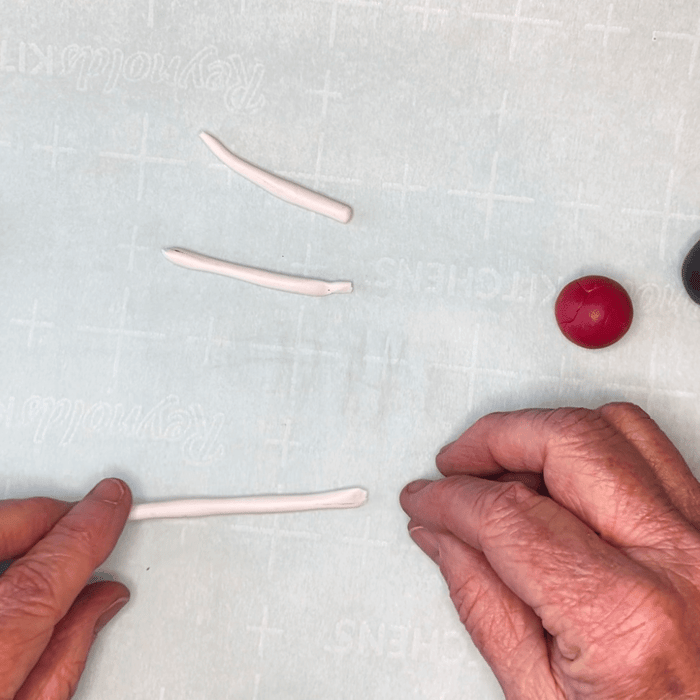
Start by deciding on your slab length - 4-6”" is perfect for beginners. Then, channel your inner child and roll some snakes! Don't worry about making them uniform - variety is the spice of life, after all!
Remember what we learned about rolling? Here's where it really matters. Think of it as a gentle courtship - 10 soft passes are better than one forceful squish. Let the clay take its time to get to know itself.
The result? Gloriously irregular stripes that have personality for days! They're like the jazz musicians of the polymer clay world - they know the rules, but they choose to improvise!
Let's take a moment to appreciate our three methods side by side. At the bottom, we have our perfectly precise stacked stripes - they're the equivalent of a perfectly pressed tuxedo. Top right shows our extruded-snake method - think "business casual" in clay form. And top left? Those hand-rolled beauties are like your favorite weekend outfit - comfortable, creative, and full of character!
Whether you use these stripes as stunning standalone pieces, mix them into complex designs, or incorporate them into canes, they're sure to add that special something to your polymer clay creations. After all, darlings, life is too short for boring clay!
Until next time, keep creating and experimenting! We're all in this delightful polymer journey together.
XOXO, Karen

P.S. Remember, the best stripe is the one that makes YOU happy - whether it's straight as an arrow or wiggly as a worm!