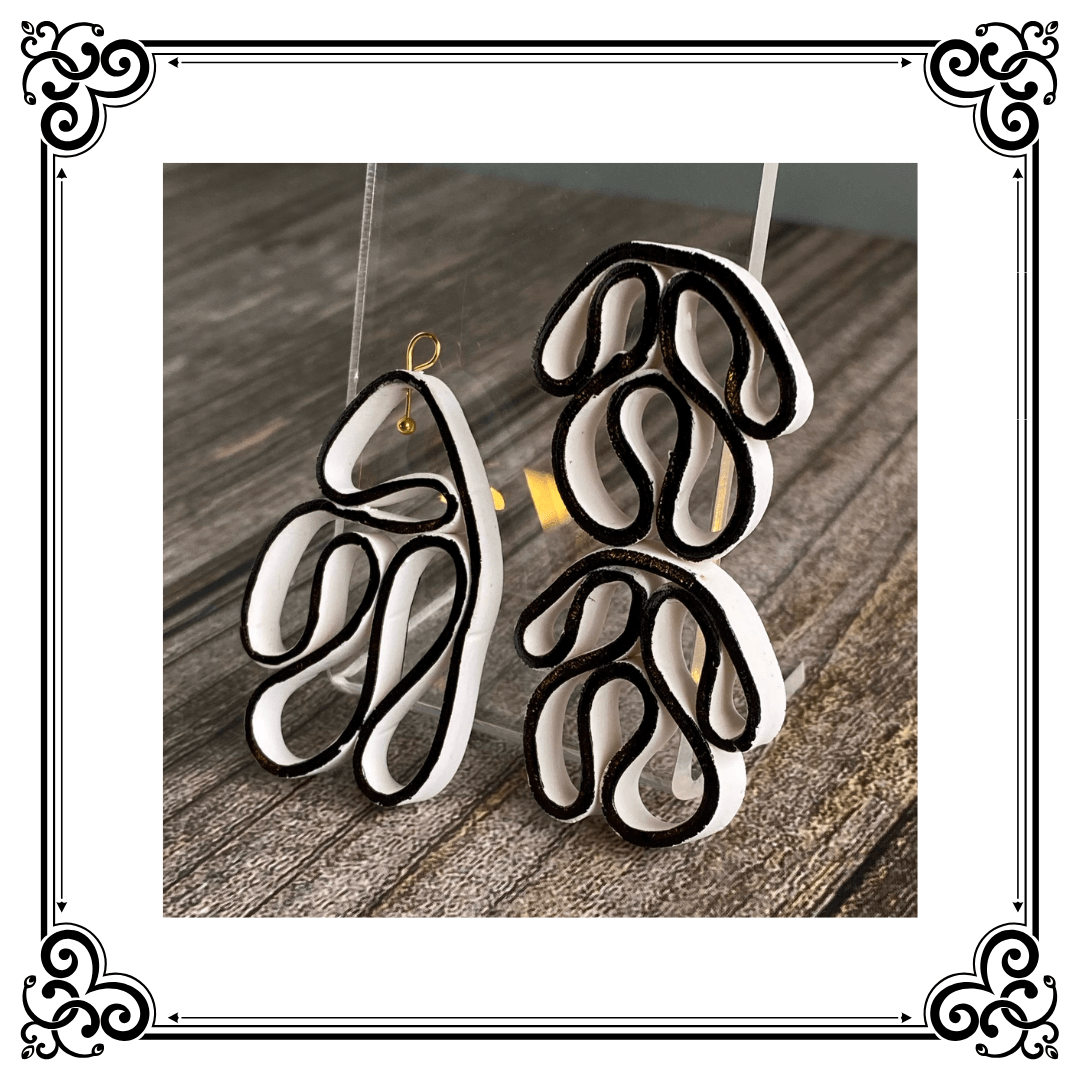
Darlings, gather 'round! After creating and torturing approximately 30 pairs of innocent polymer clay hoop earrings in my mad-scientist jewelry lab, I've FINALLY discovered how to keep those slippery little posts from making a great escape! If you've ever experienced that heart-stopping moment when you reach up to find your favorite earring has gone AWOL, this little tale of trial and "ear-or" might just save your sanity (and your jewelry budget).
The Challenge: A Post-Apocalyptic Problem
Let's be frank, my dears - the fundamental flaw in polymer clay hoop earring design is about as obvious as a peacock at a penguin convention. That teeny-tiny contact surface at the receiving end? It's practically BEGGING your post to make a run for it! Unlike traditional earrings with proper backs (how sensible!), hoops offer only the most minimalist of openings at the end of that C-shape, providing about as much grip as a banana peel on an ice rink.
My testing methodology was ruthlessly simple:
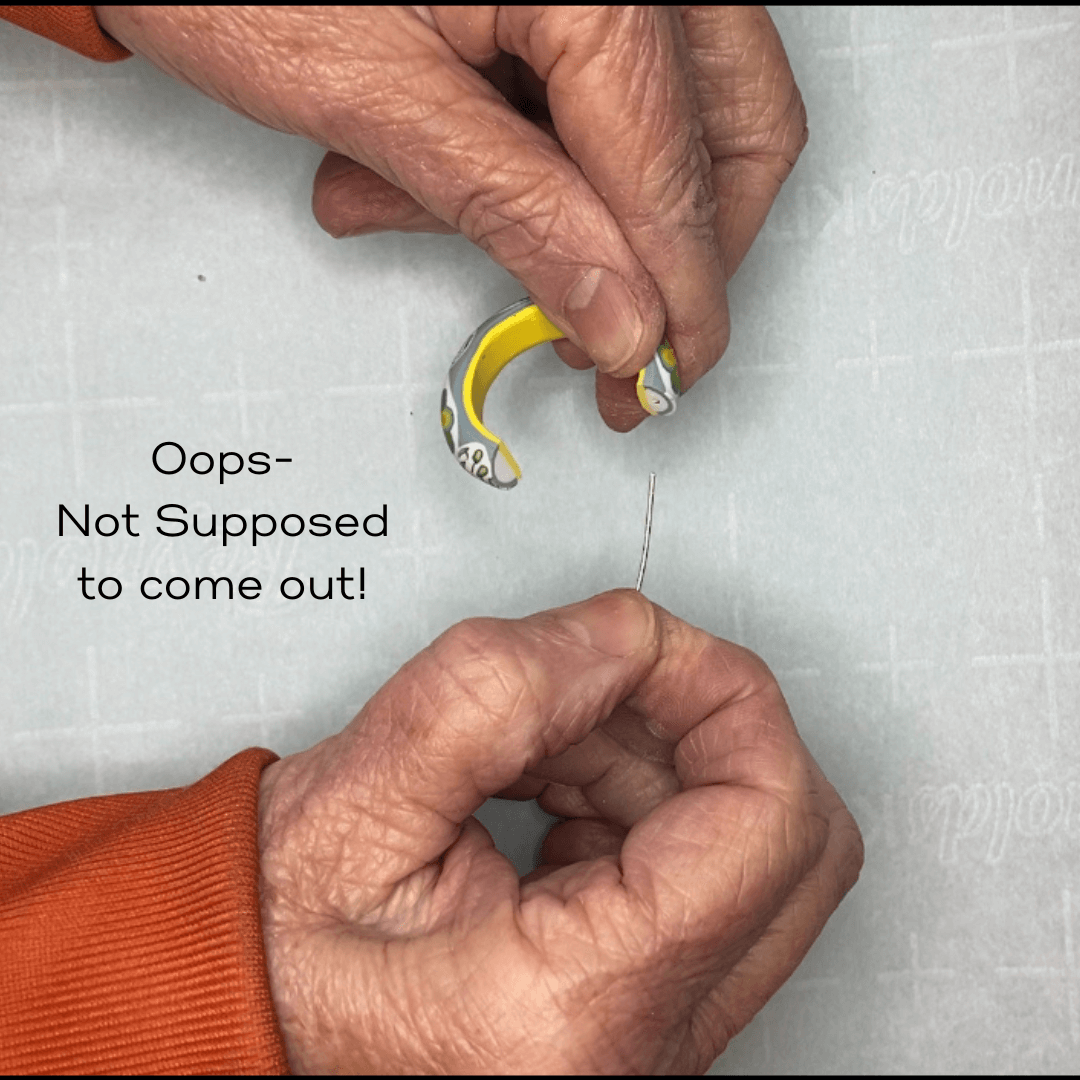
The Wiggle Test: Jiggle that post with my fingers like it owes me money. This is what a bad Wiggle Test looks like!
The Real World Gauntlet: If it survived the wiggle, I'd wear it while living my fabulous life
The Countdown to Catastrophe: How long until gravity claimed another victim?
Until I found my miracle solution, not a single pair survived beyond the 3-hour mark. Call it the "Cinderella Syndrome" - at the stroke of hour three, my earrings would transform from beautiful accessories into lost treasures. Here's my jewelry journey, complete with all its tragically comedic failures:
The Parade of Post Failures: A Tragicomedy in Three Acts
Method 1: The Great Glue Gambit
Oh, the optimism! The naivety! "Just glue a small post onto the end of the earring," I thought, channeling my inner kindergartener. "How hard could it be?" I tried both superglue (the kind that bonds fingers together faster than you can say "oops") and E6000 (that miracle adhesive that supposedly holds together everything from space shuttles to broken hearts).
The result? A spectacular failure that didn't even survive my wickedly rigorous wiggle test. The posts popped off with the casual indifference of a cat knocking a glass off a table. I'm pretty sure I heard them laughing at me as they tumbled to the floor.
Method 2: The Recessed Circle of Sadness
Getting craftier, I drilled a flat recessed circle to inset the post, covered this with liquid clay, then topped it with a cut-to-measure endcap of clay. Rebake. Voilà! Or so I thought.
This method almost—ALMOST—passed the wobble test, giving me false hope and dangerous levels of confidence. I wore them to my sunrise yoga routine, feeling quite smug about my ingenuity. Then, halfway through my Warrior II pose, as I was feeling at one with the universe, my earring decided it wanted to be at one with the floor. PLOP! The universe has a wicked sense of humor, my dears.
Method 3: The Specialty Wire Fiasco
Third time's the charm? Not in this ear-ring circus! This attempt involved a fancy specialty ear wire with a normal straight part, then a small (~1.5mm) metal cross flange, followed by a shorter textured wire designed to nestle inside the earring.
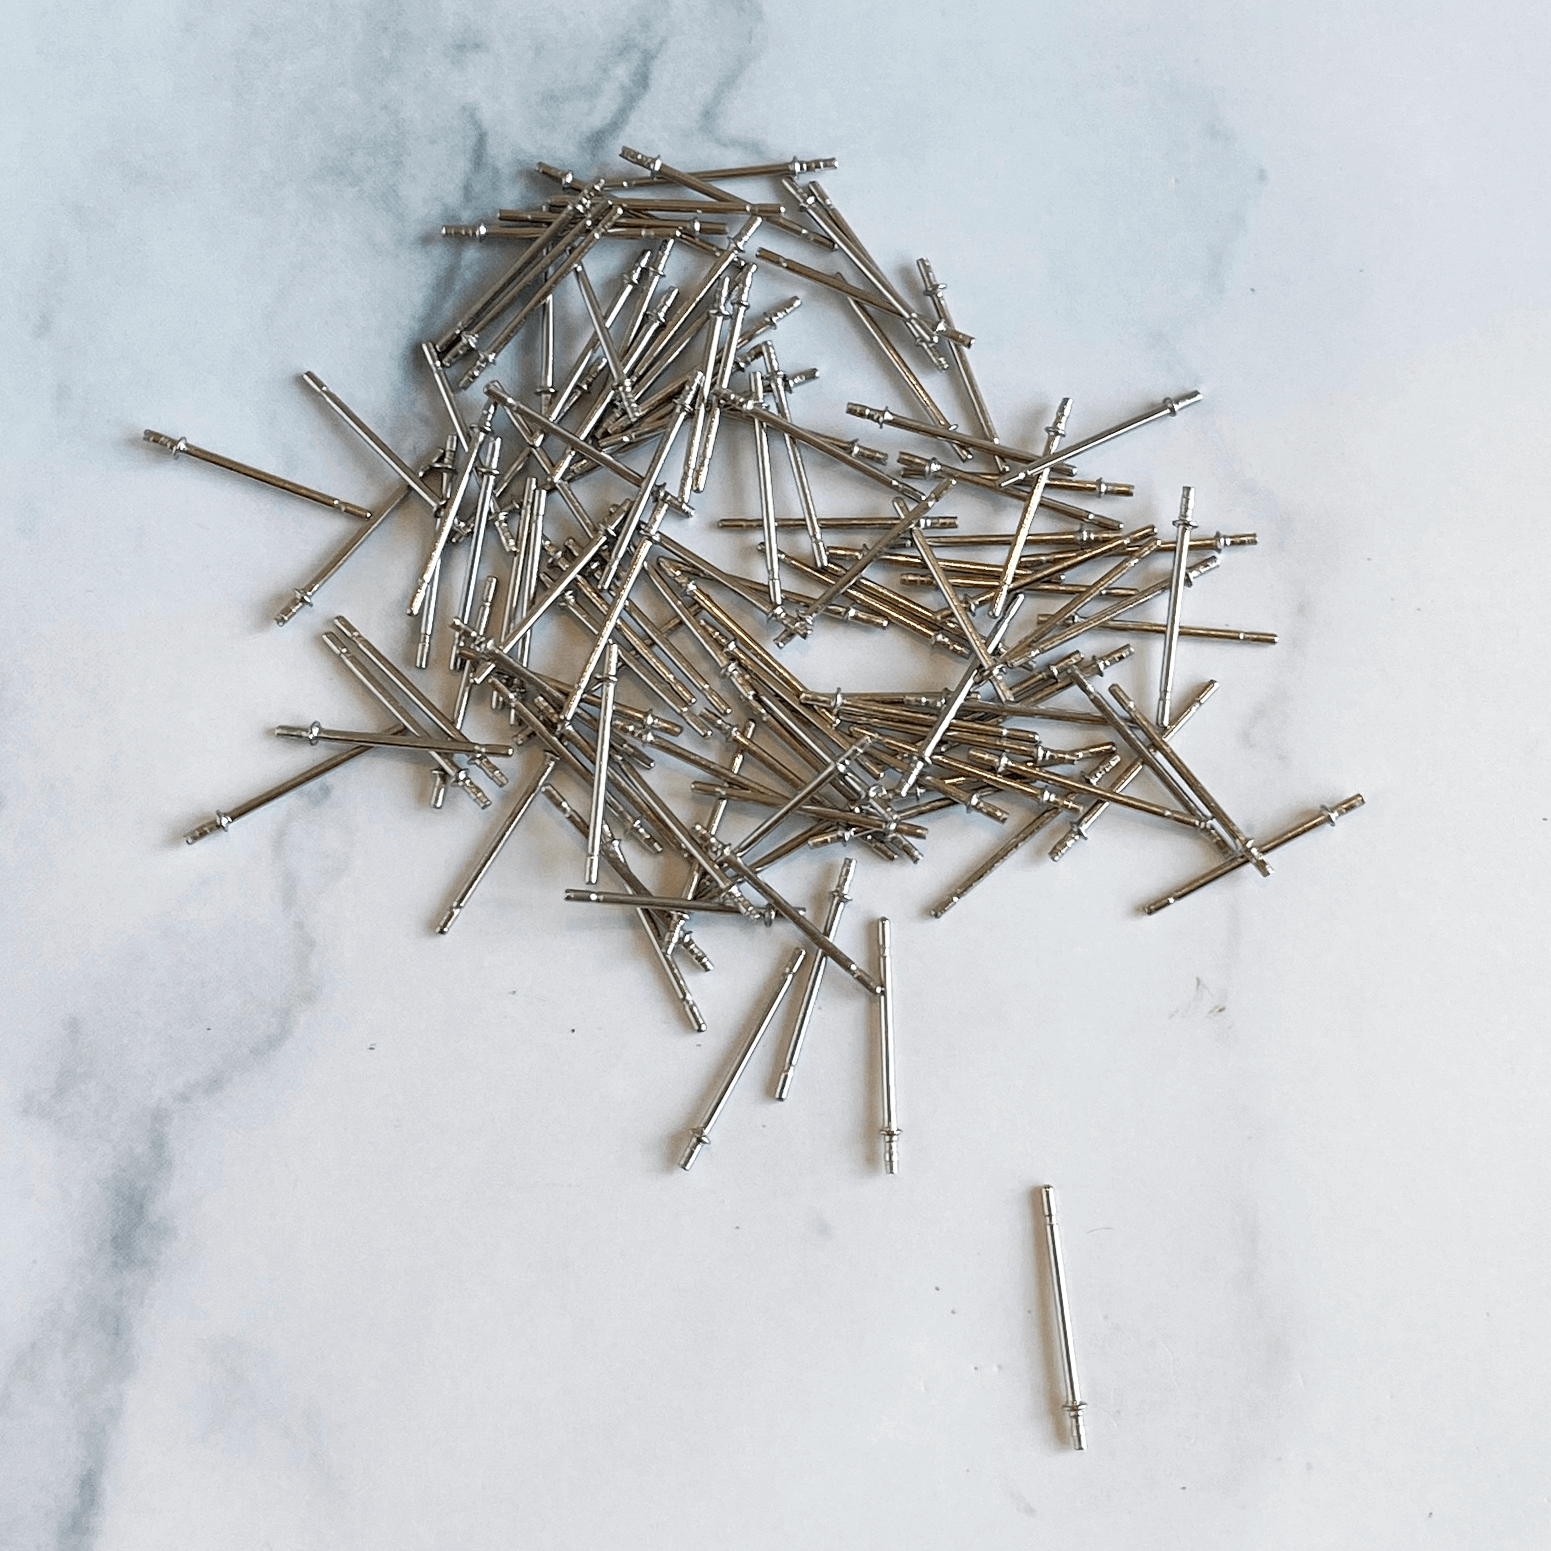
The process was meticulous: bake the earring, drill a small hole in the end, apply glue to the textured end, and insert for what should have been a fit tighter than my vintage cocktail dress after holiday season.
After allowing 24 hours for the glue to set (I was nothing if not patient!), this creation triumphantly passed the wiggle test. "Eureka!" I cried, channeling my inner Archimedes. It even survived morning yoga! Victory was mine!
...Until breakfast, when it detached itself with dramatic timing and plunked right into my morning salad. Nothing says "bon appétit" quite like fishing jewelry out of your arugula. No bueno, indeed!
The Grand Finale: My Post-Traumatic Success Story!
After enough failures to make Edison proud (he did say invention was 1% inspiration and 99% perspiration, though I suspect he wasn't talking about fishing earrings out of salad), my salvation arrived in the form of a divine tutorial by the brilliant Phyllis Cahill: "Metal Backs, Pin Backs and Ear Posts for Polymer Clay Tutorial." (Found at https://phylliscahilldesign.com/products/metal-bails-pin-backs-and-ear-posts-for-polymer-clay-tutorial and, darlings, it's worth its weight in gold... or at least in polymer clay!)
With a slight twist on Phyllis's genius technique, I FINALLY cracked the code! Here's how this miracle method works:
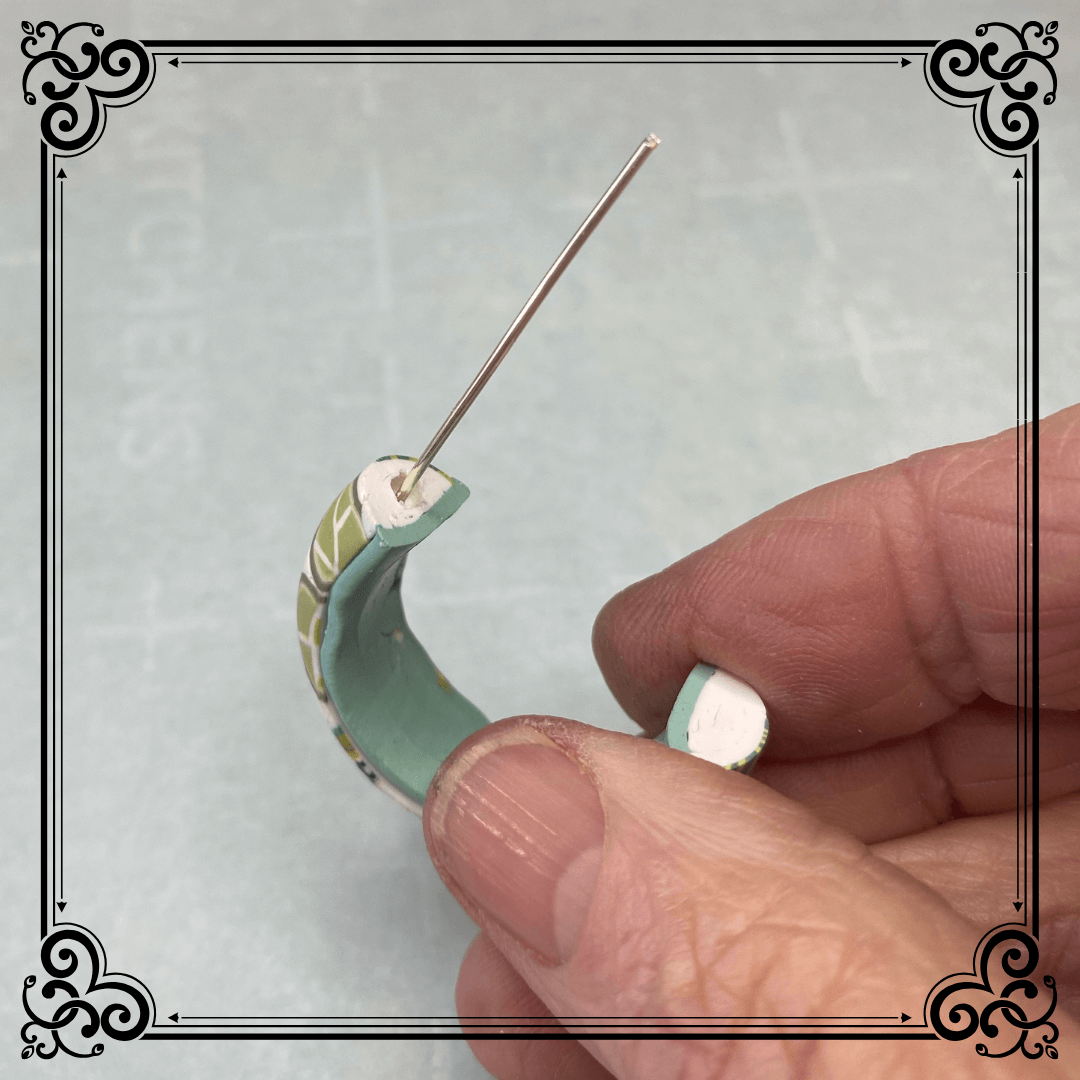
Start with a piece of 21g wire about 2" long (nothing too fancy here)
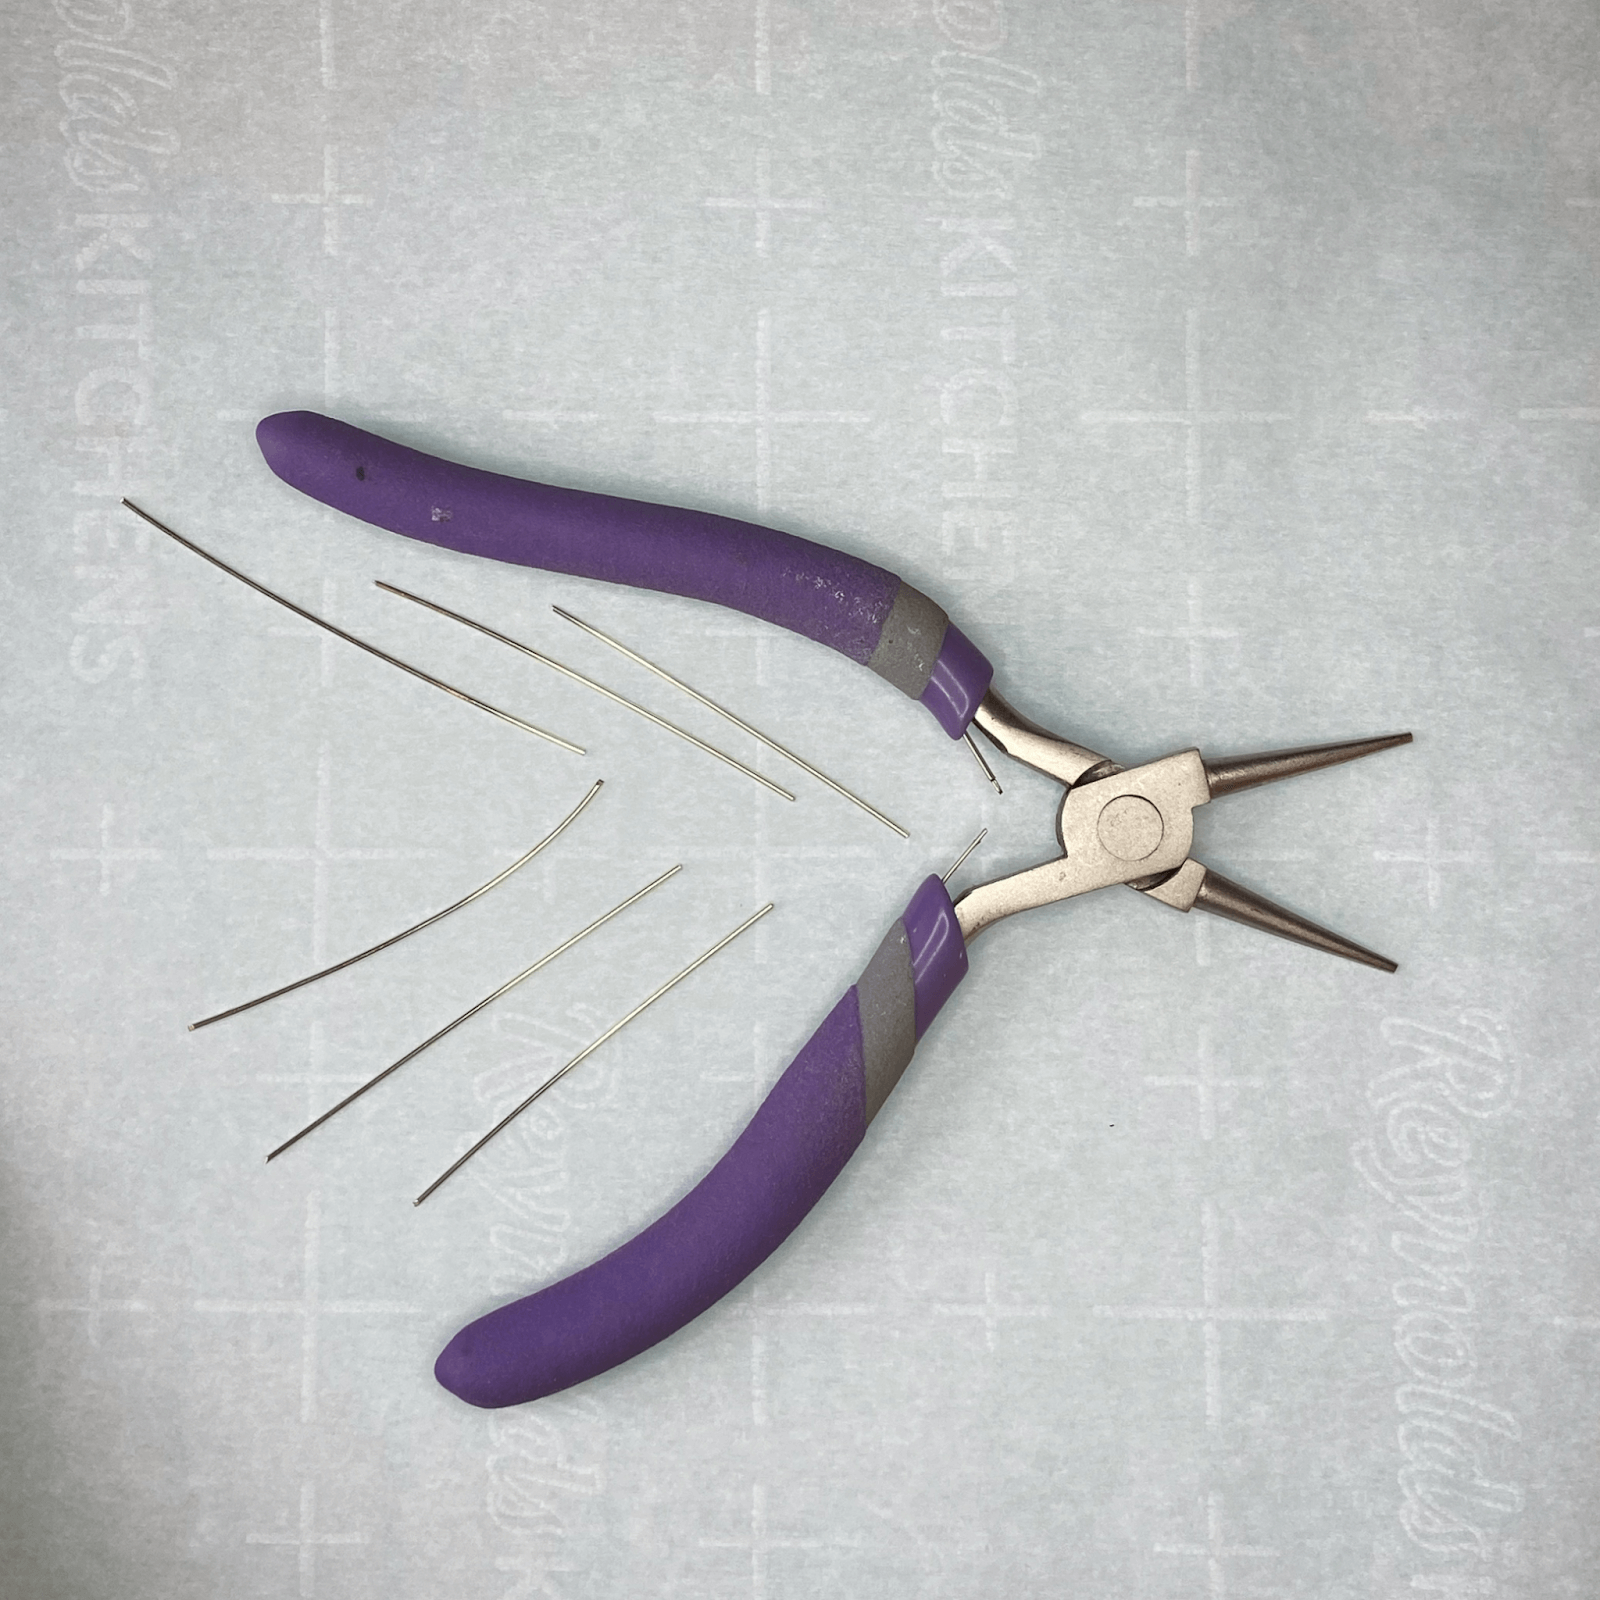
Using needle nose pliers, create a teeny-tiny loop at one end of the wire (smaller than your pinky nail after a bad manicure)

With a drill bit on a flex shaft machine, make a deep (1/4" or so) hole in your polymer clay earring end JUST big enough to accommodate this tiny loop
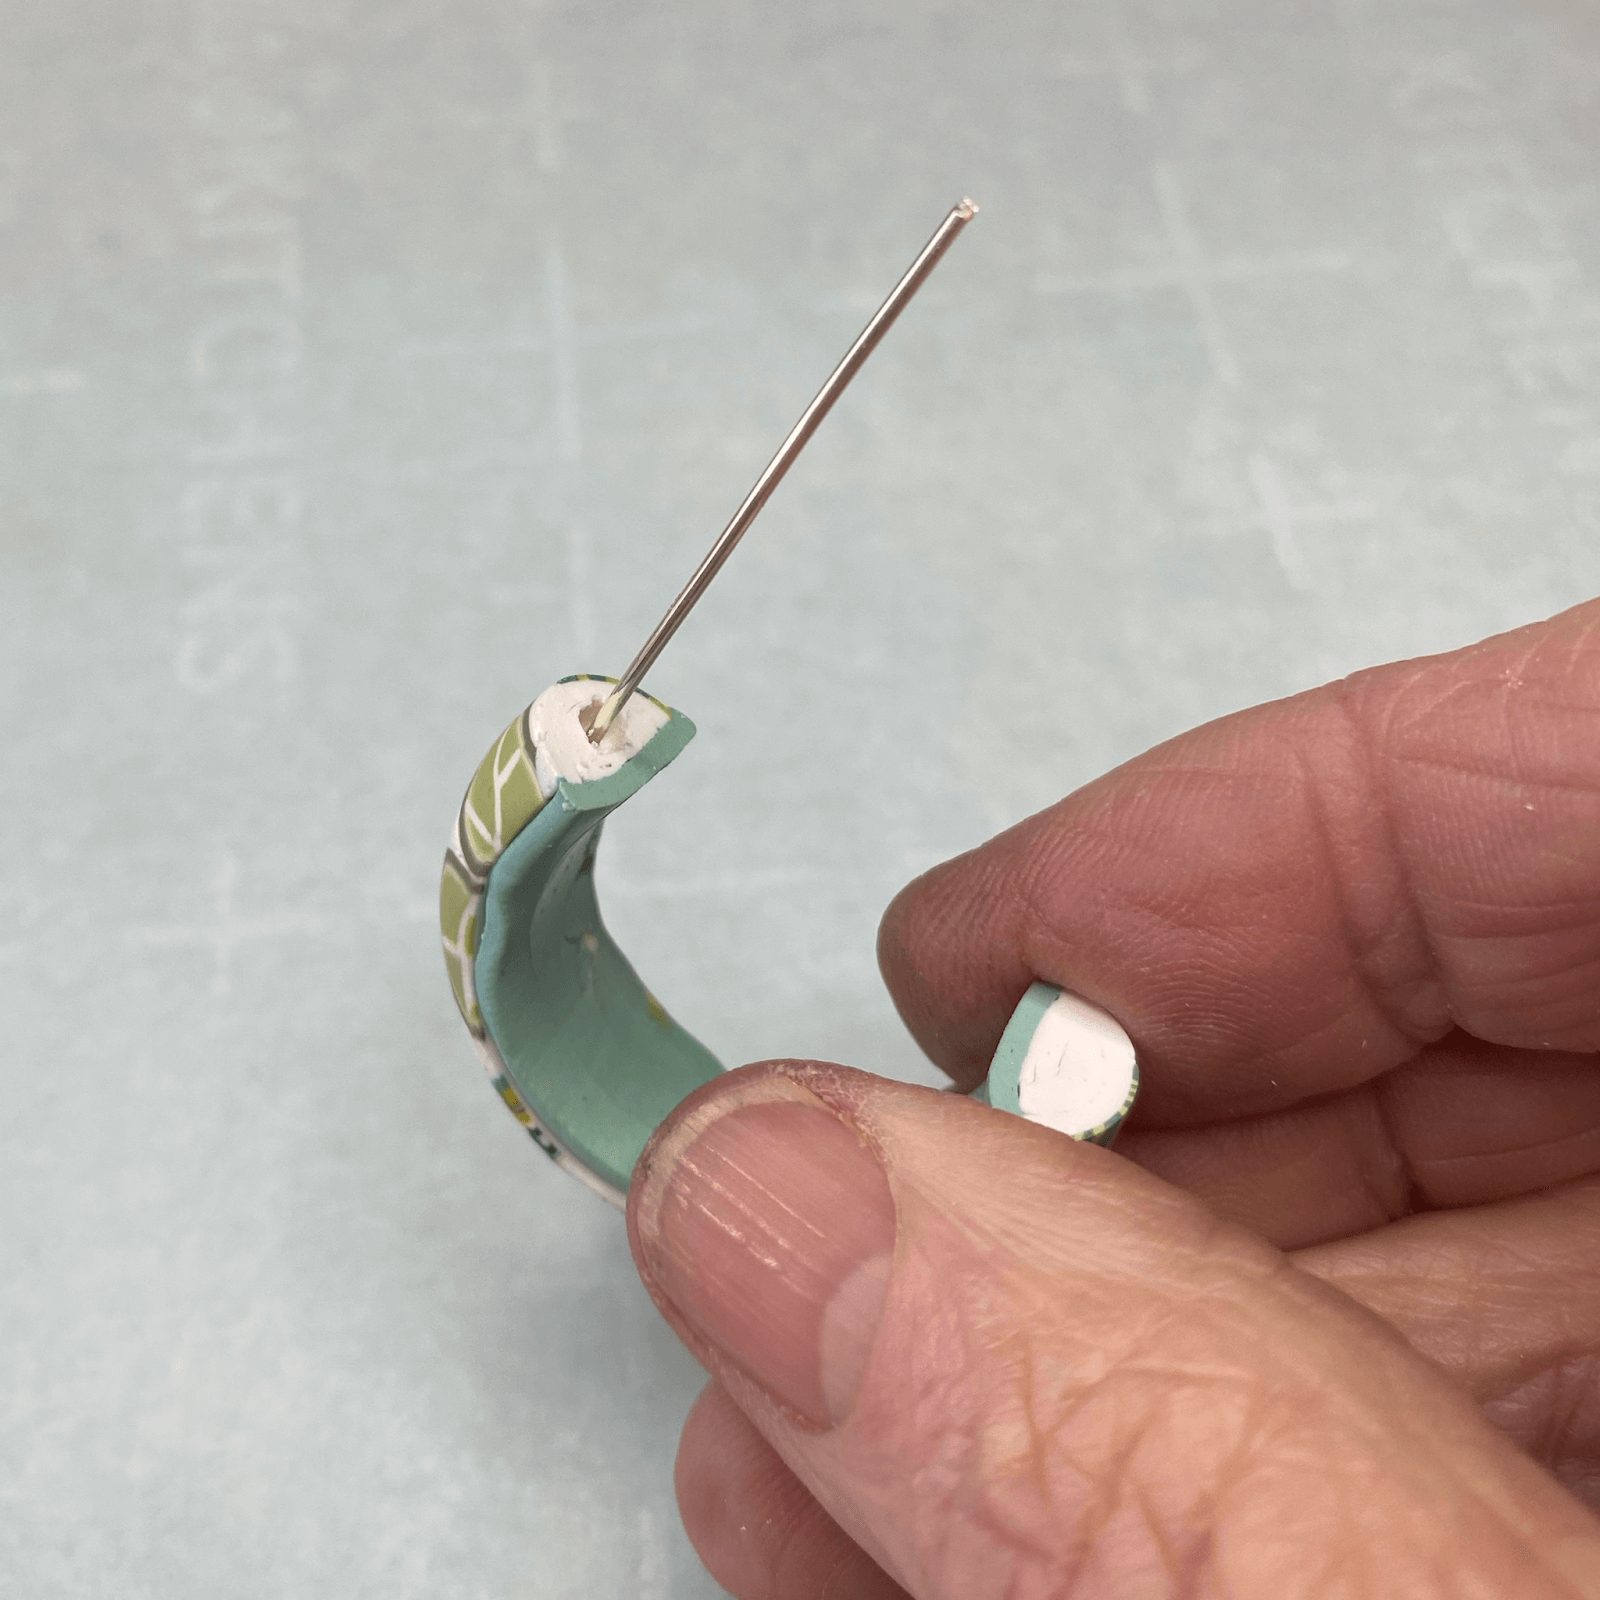
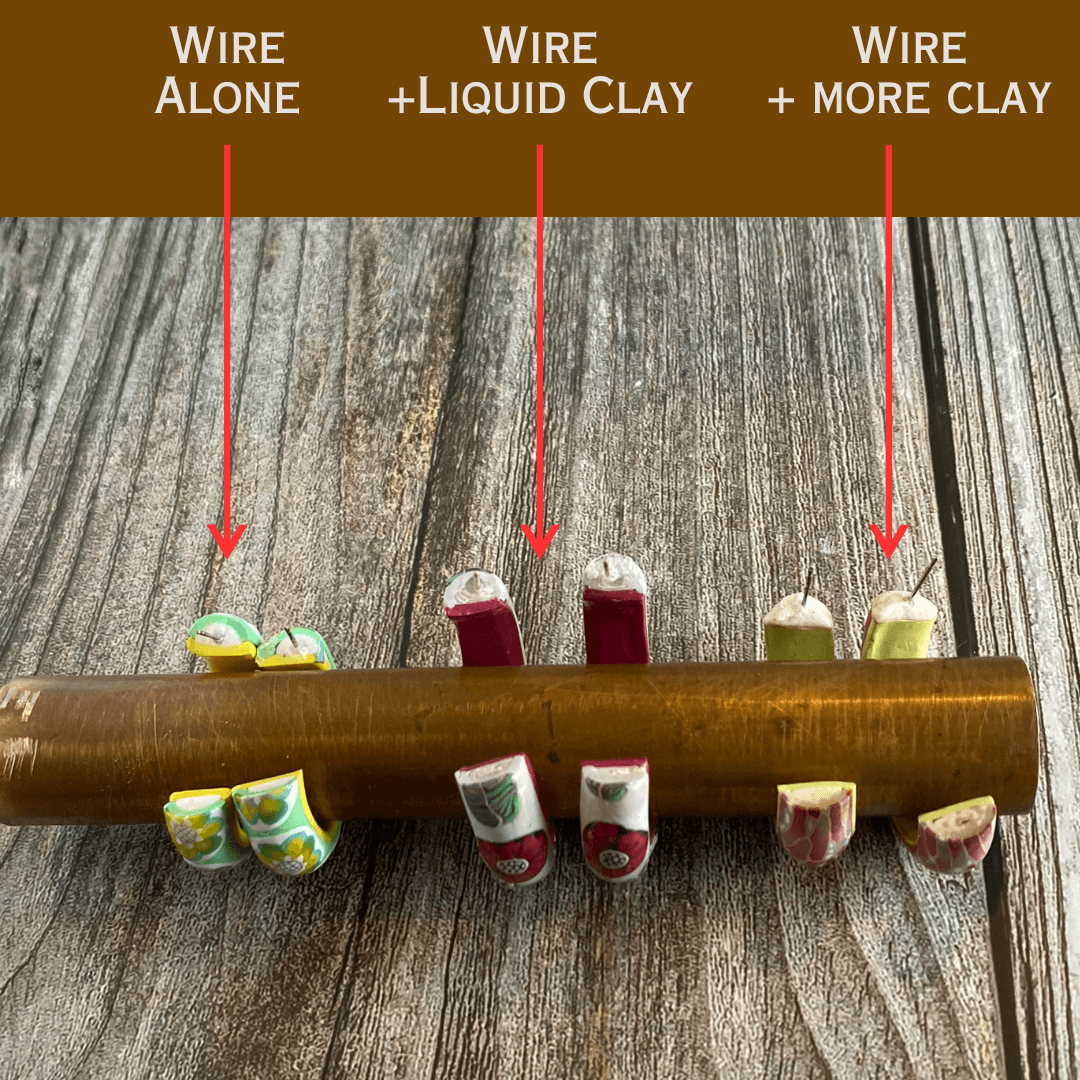
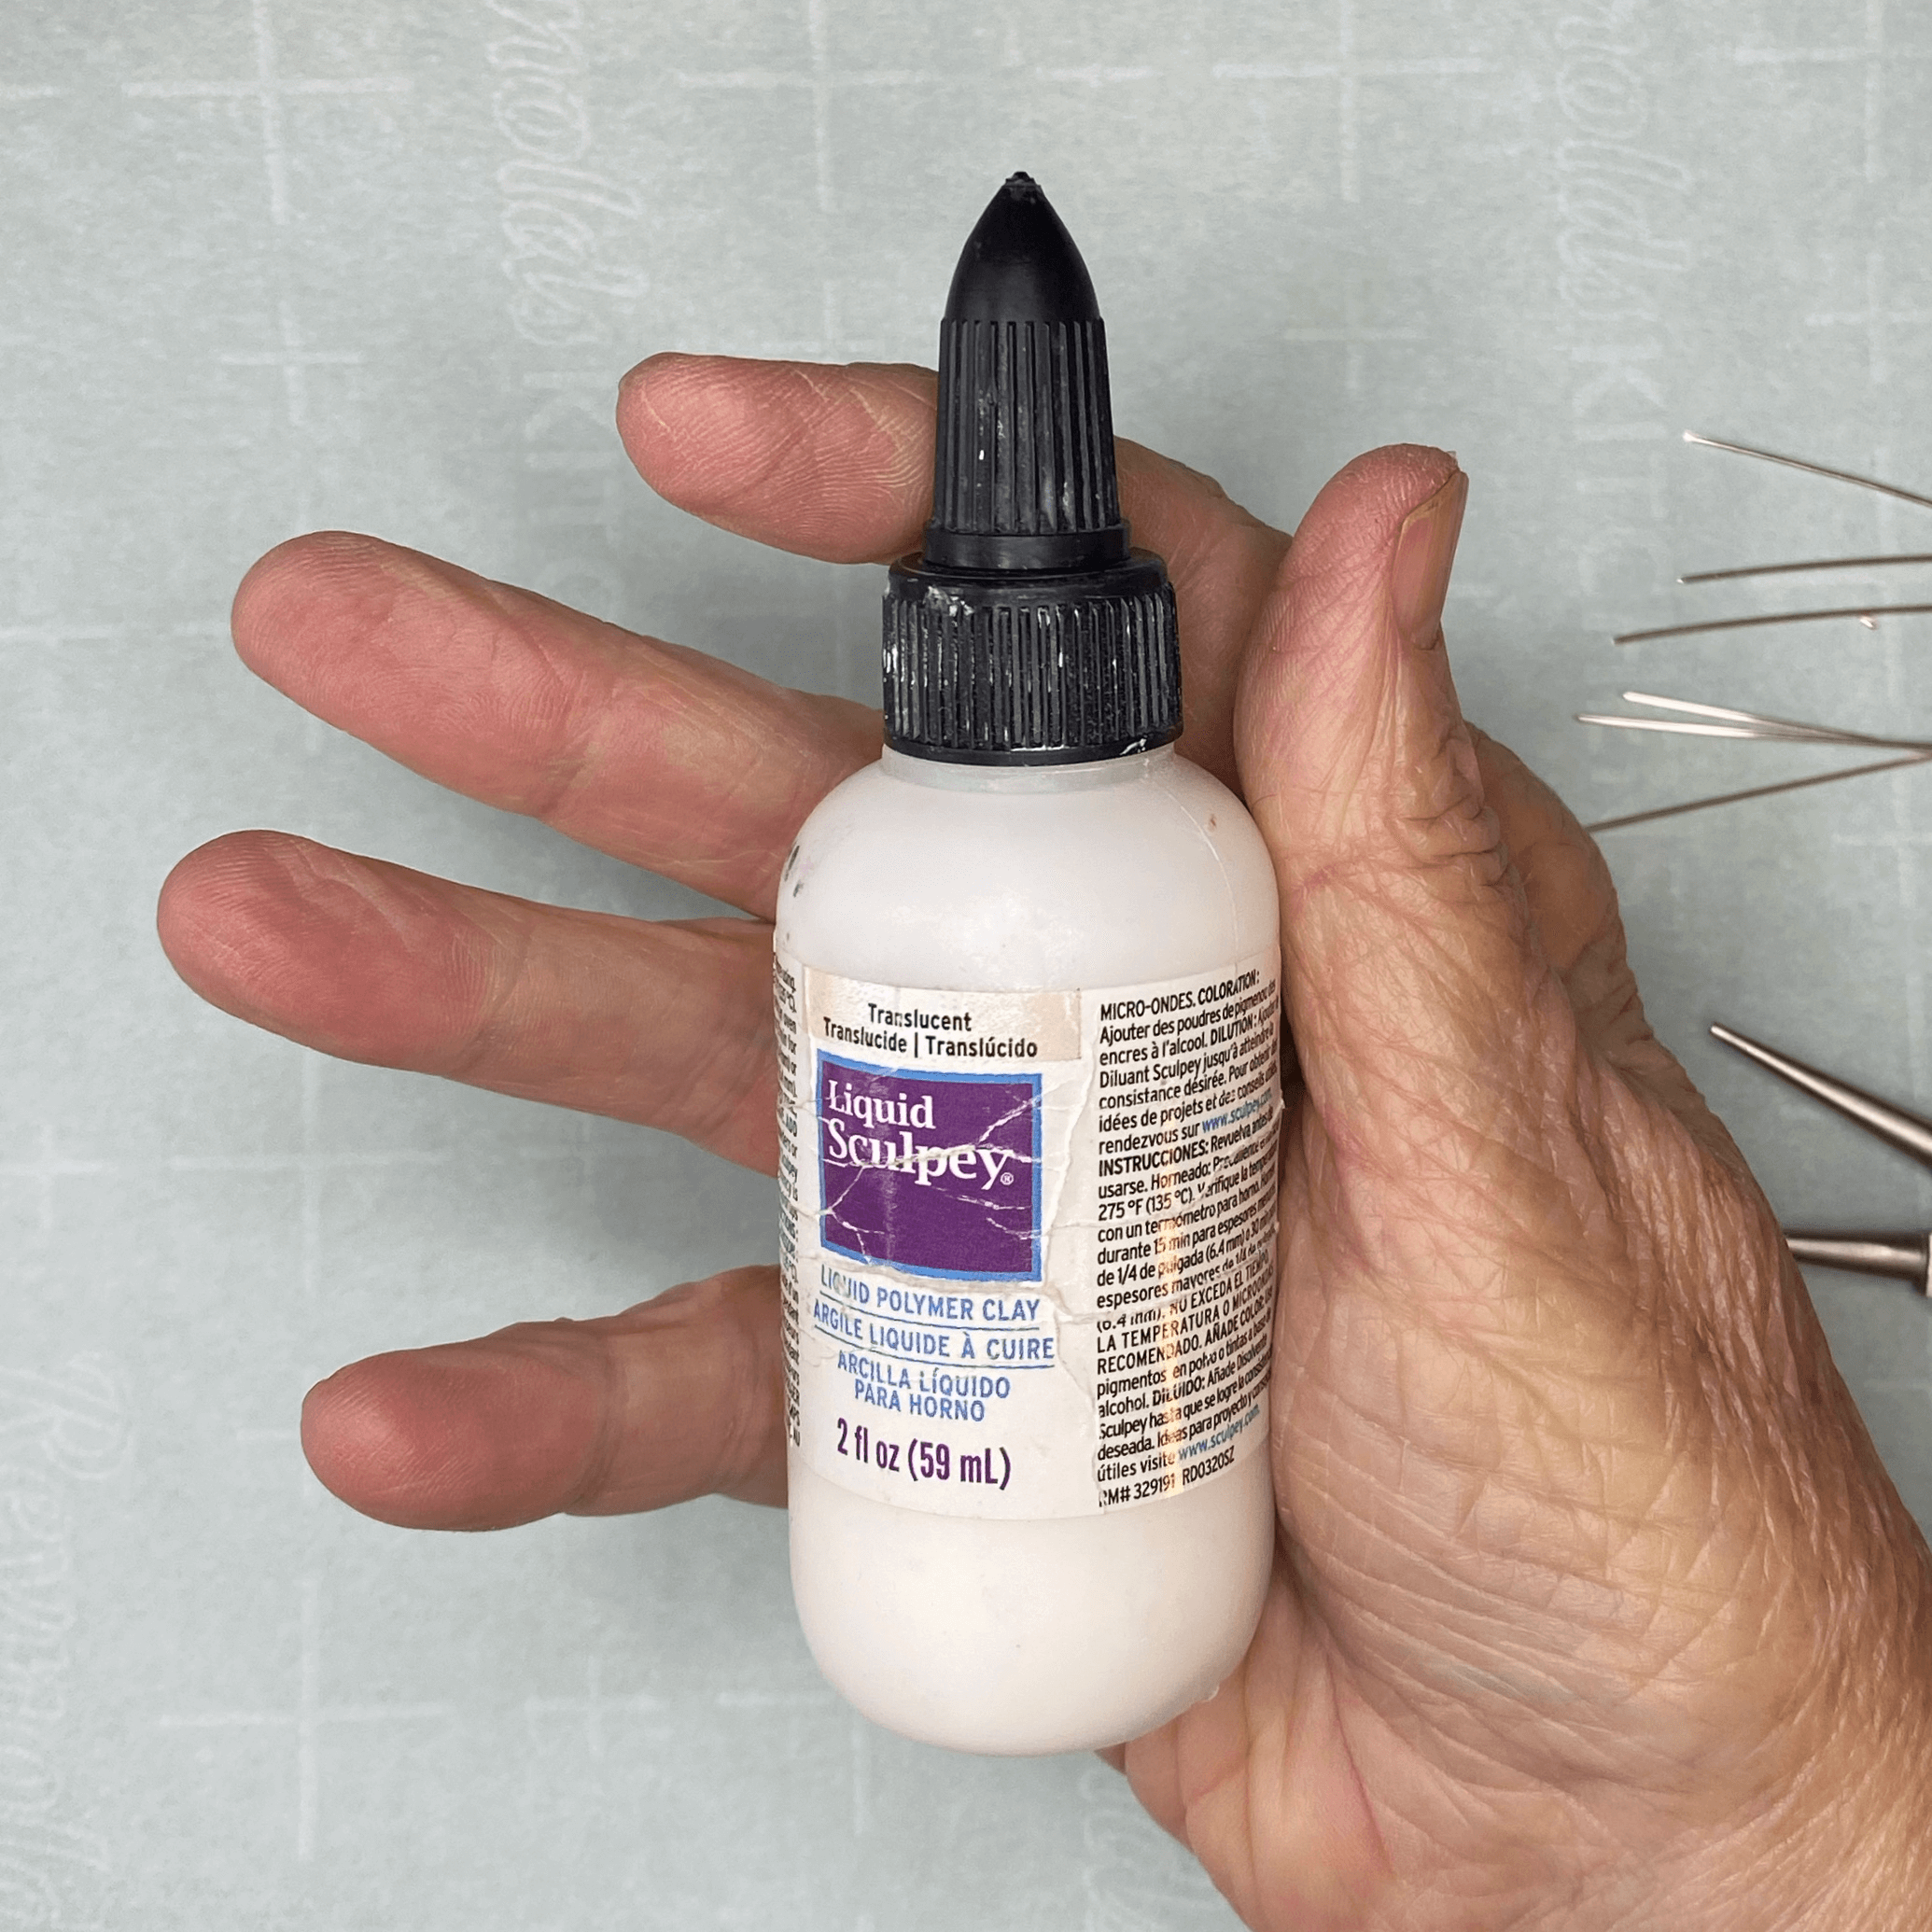
Fill this hole with liquid clay, poking around with a small wire like you're searching for treasure, ensuring there are absolutely NO air bubbles (they're traitors to the cause!)
Insert the loop end of the wire into this clay-filled cavity
Add additional liquid clay if needed (more is more in this case, darlings)
Bake with the ear wire end pointing straight up to the heavens (gravity is finally working WITH us)
After cooling, trim and sand the wire to perfection

The result? An polymer clay earring that not only survived the dreaded wiggle test but lasted through an ENTIRE active day! No more doing the "pat-my-ear-in-panic" dance every hour, no more crawling around restaurant floors looking for escaped jewelry, no more unintentional earring donations to the universe!
HURRAY! And a thousand thank-yous to Phyllis Cahill, patron saint of secure earring posts!
Key Insights from My "Ear-raising" Adventure
Throughout this jewelry-based comedy of errors, I've gleaned some pearls of wisdom (pun absolutely intended):
Glue Alone Is a No-Go: Adhesives might work for many things, but they're about as reliable for earring posts as a chocolate teapot is for serving hot tea.
Surface Area Is Everything: The more contact between your post and the earring, the better your chances of a lasting relationship. Think of it as dating advice for jewelry.
Mechanical Bonds Beat Chemical Ones: Creating a physical lock (like our little embedded wire loop) trumps any adhesive. It's the difference between holding hands and being handcuffed together—one is much harder to escape from!
Test, Test, and Test Again: The wiggle test is just the beginning. Real-world testing is where the rubber meets the road—or where the earring meets the floor, as it were.
Final Thoughts: Ears to You!
After testing approximately 30 pairs of polymer clay earrings and enough hours of wear-testing to qualify for some sort of endurance medal, I can confidently proclaim that the Embedded Wire Loop method provides the most reliable security for hoop earring posts. The key to its success is the mechanical bond deep within the earring itself—it's like having an anchor instead of just a handshake.
Whether you're making your own jewelry or trying to secure store-bought pieces, this method has proven itself through rigorous real-world testing. No more reaching up to find your favorite earring missing, no more crawling under restaurant tables (which, between us, are NEVER as clean as they should be), and no more uneven accessorizing because half your pair has gone AWOL.
Life's too short for earring anxiety, my dears. Secure those posts and face the world fabulously adorned—on BOTH sides!
Have you battled the Great Earring Escape? Found other methods that work? I'd love to hear your jewelry war stories in the comments below! After all, misery loves company—especially stylish company!