Let’s get to work making this polymer clay sweet blue and gold flower cane.
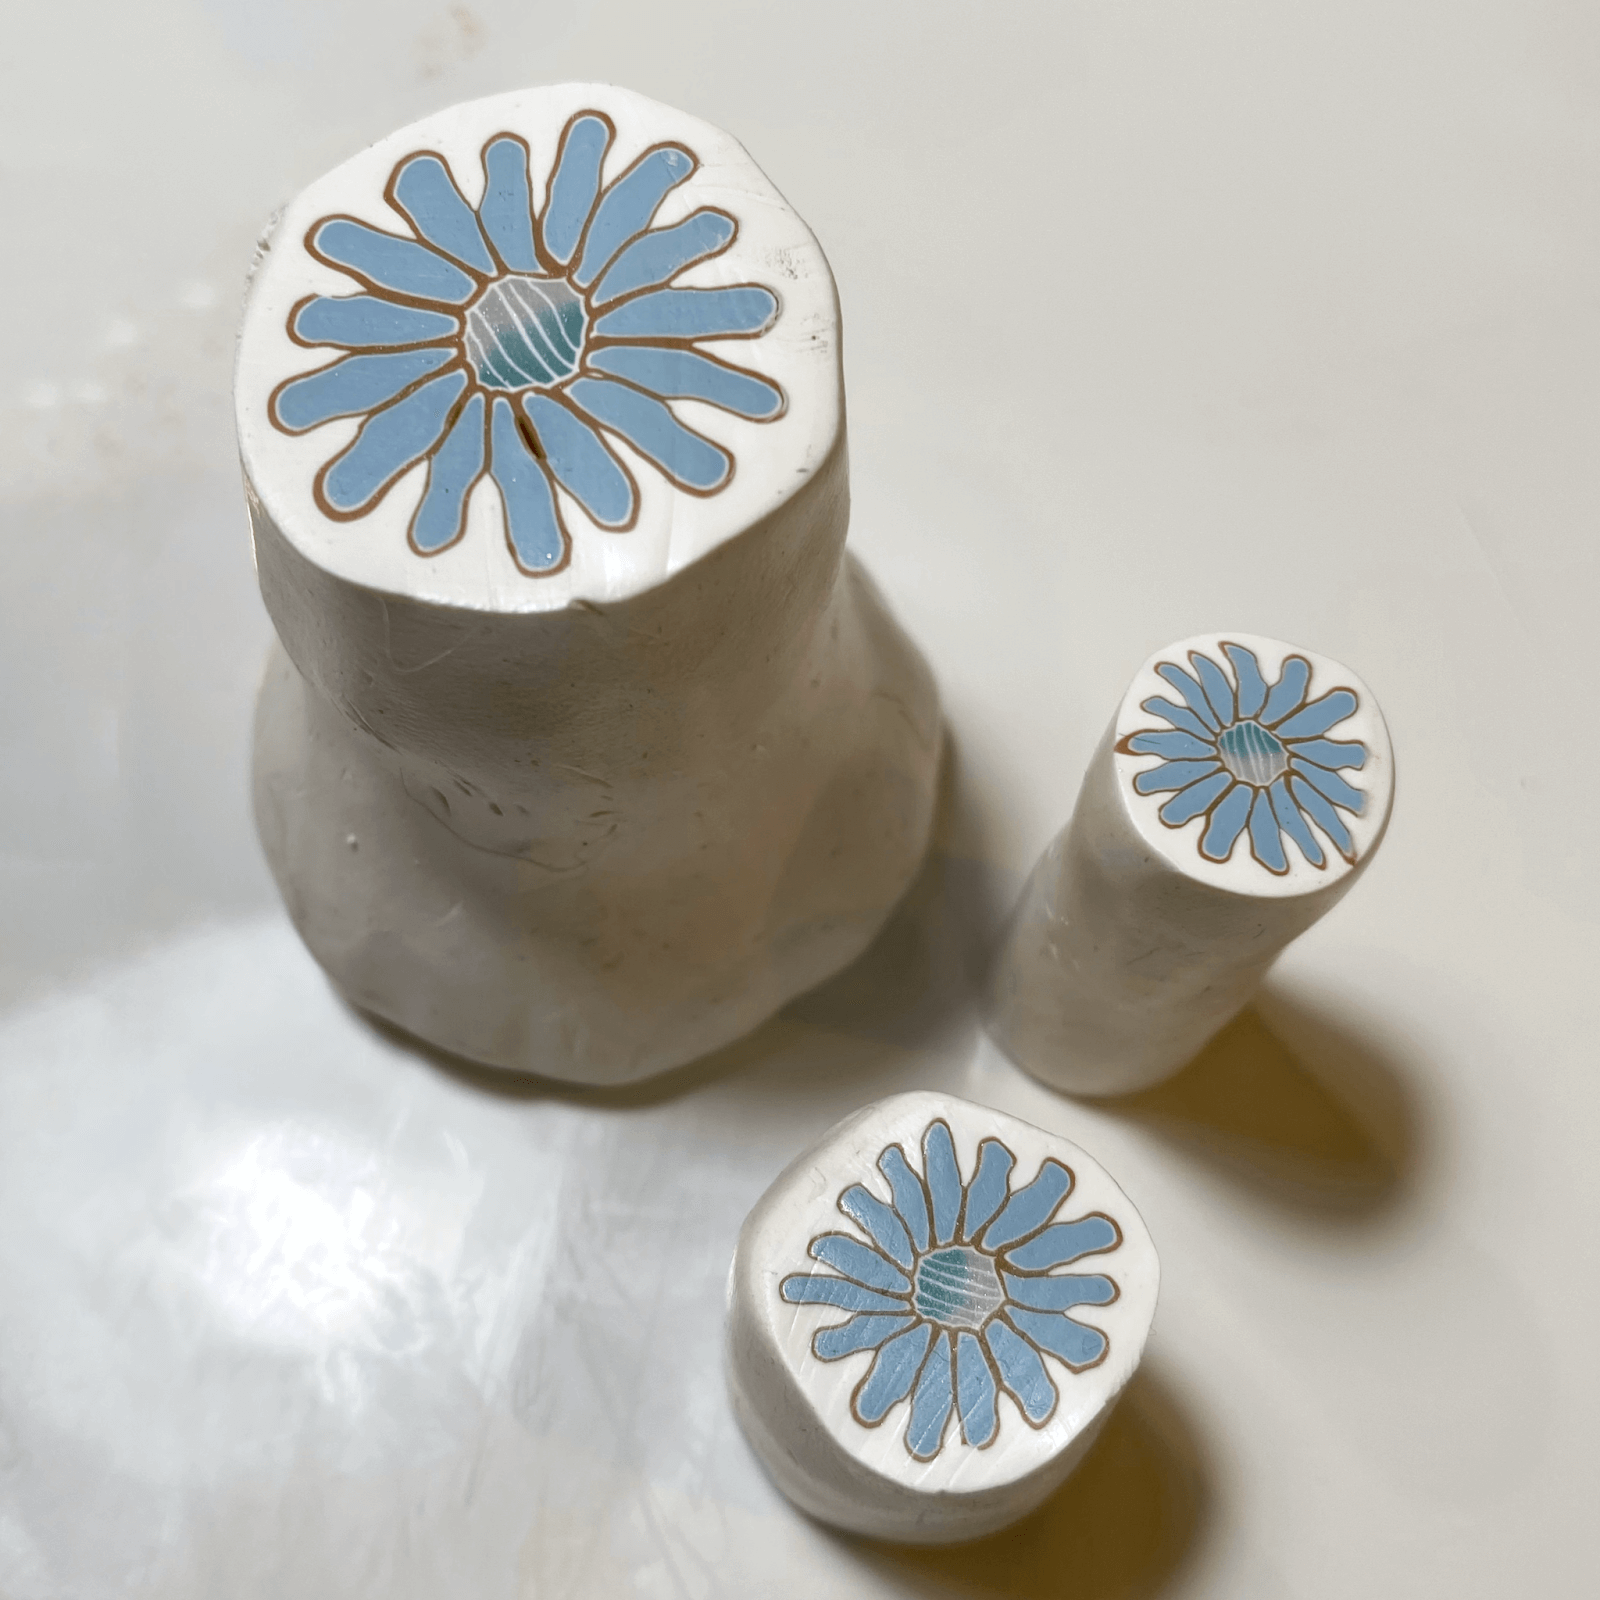
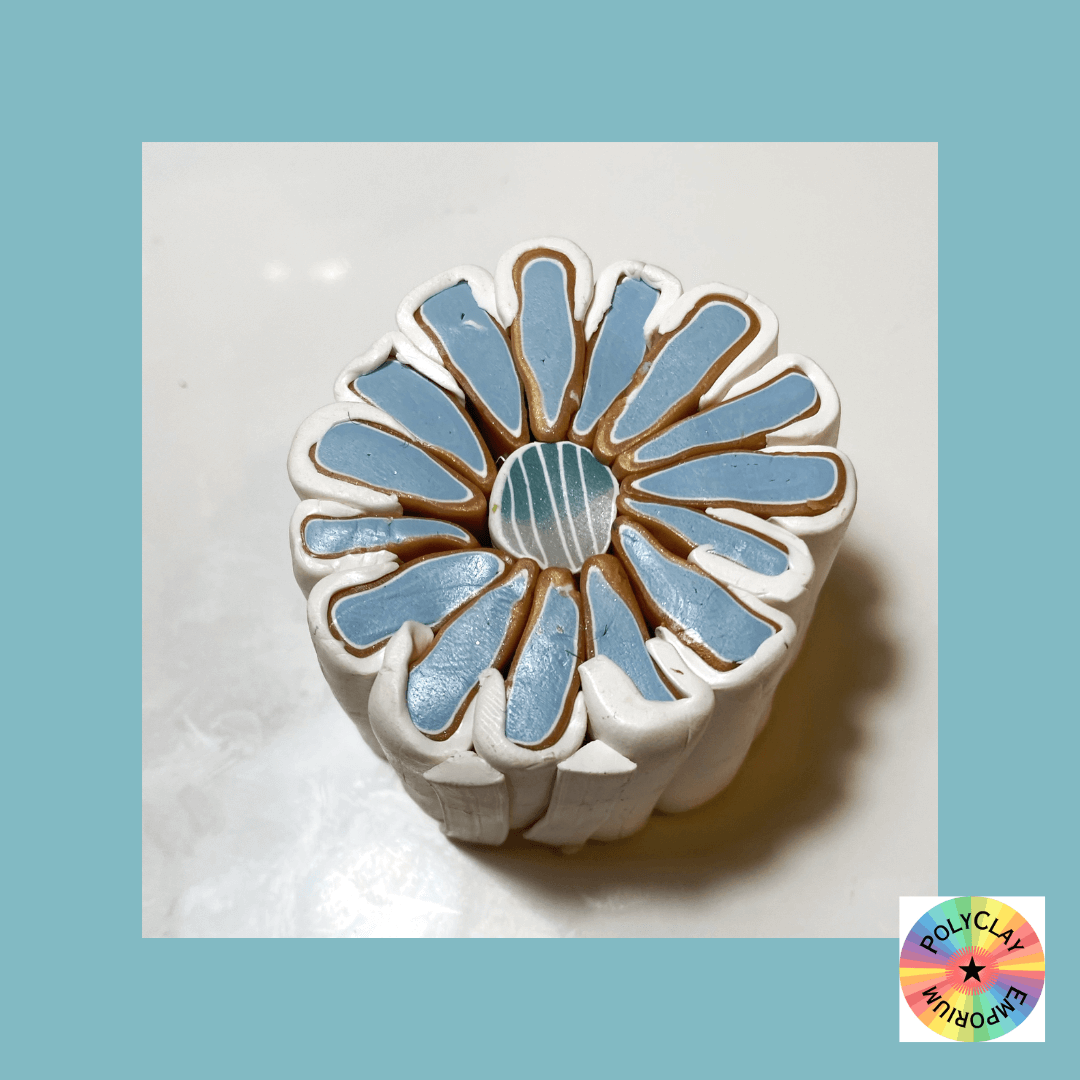
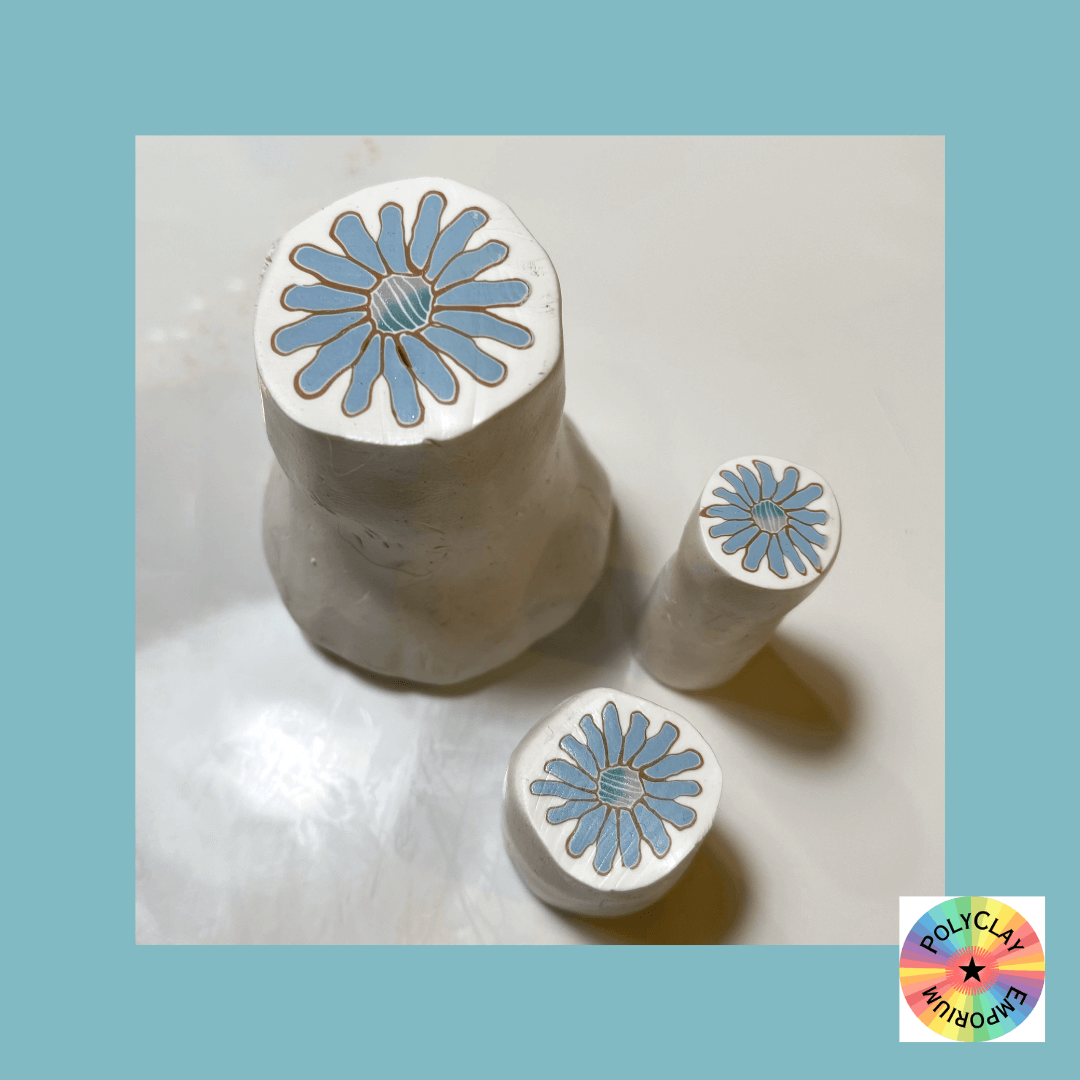
Overview. Two smaller polymer clay canes are combined to make the final cane: (1) The center (2) The petals. For the center, a Skinner blend is formed into a ribbon that is folded accordion-wise and turned into a squat barrel. To this barrel we add stripes of white, and then enclose this cane in white. For the petals, we begin with a blue barrel, add a white layer, then a deep gold layer. We lengthen this cane then roller it into a long flat oval. We pinch one side of this to a point, and then divide it into 12-15 pieces, however many petals you want. We then position these around the center, fill in all crevices with background color, and let it sit for a day before reducing.
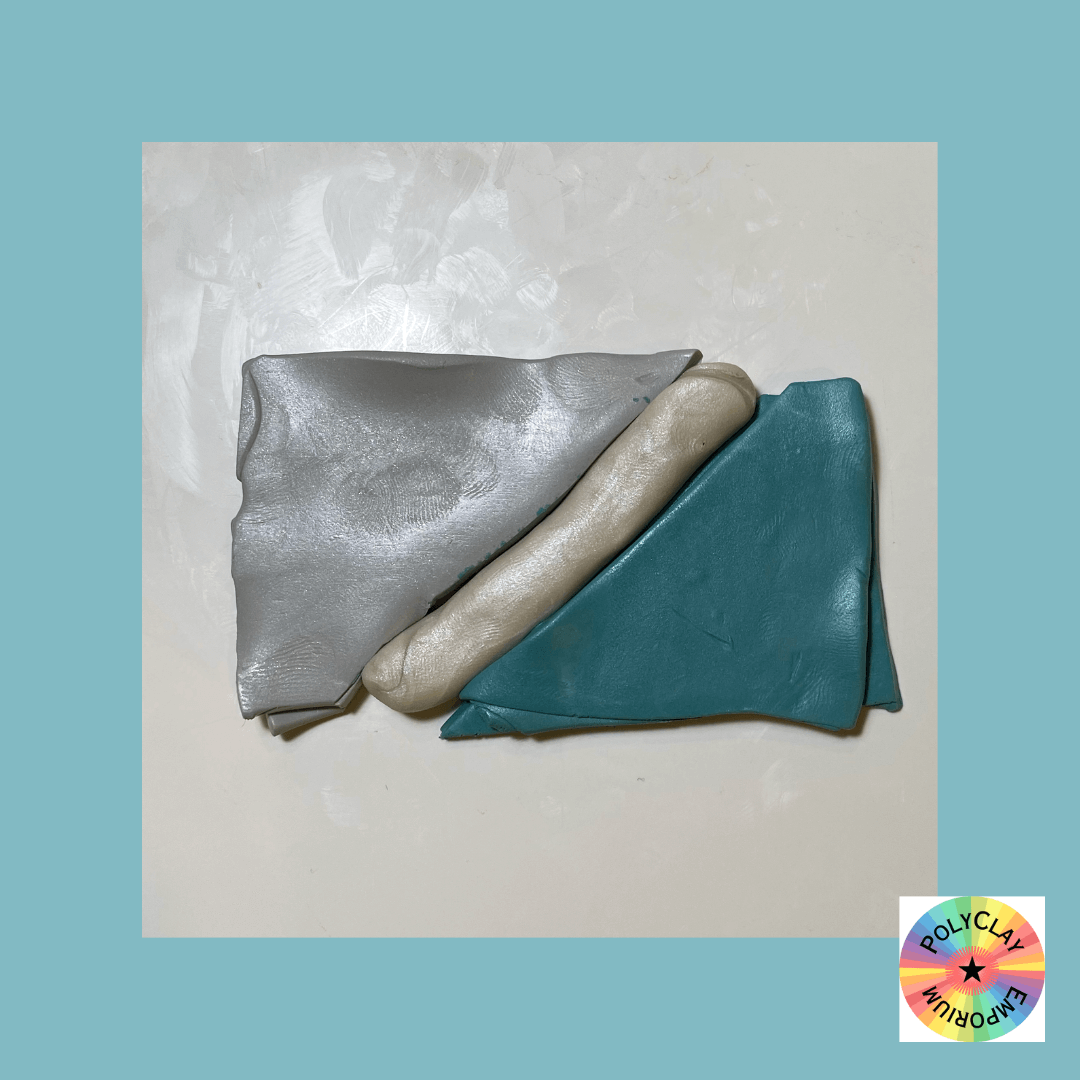
Step 1: Choose polymer clay colors. Keep the contrast high between the colors. Look at the petals in my cane: Do you see how the thin layer of white under the gold layer of the petals helps the petals look distinct? The color for the stripes in the center must contrast effectively with both colors in the skinner blend. Take your time on this step- if you’re having trouble deciding, photograph the various combos. Look at them in color, then desaturate them to focus on how the color shade contrast with each other. This is a key step in building a gorgeous cane. Condition your clays well.
Step 2: Make the flower center.
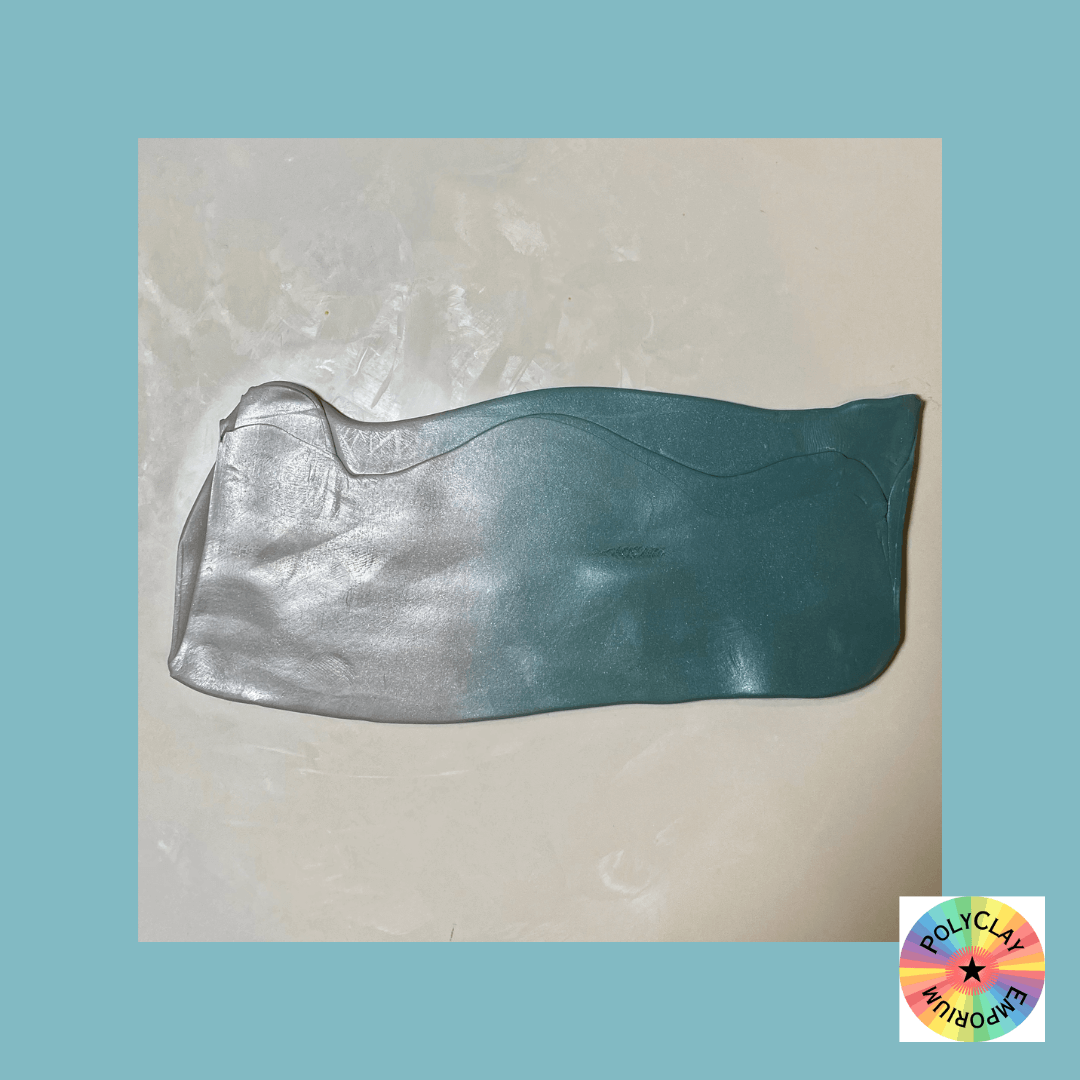
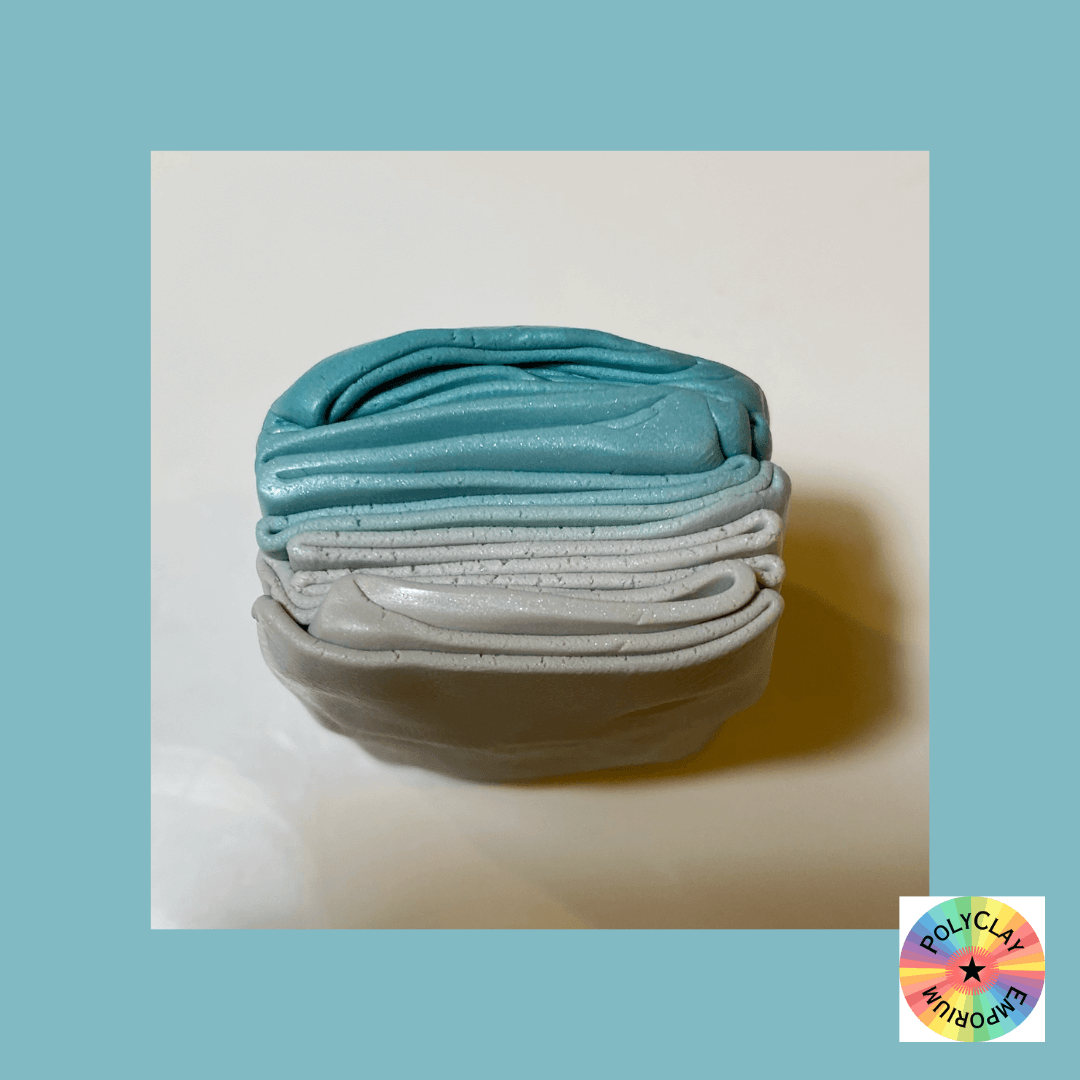
Make a skinner blend:
Fold it accordion-wise:
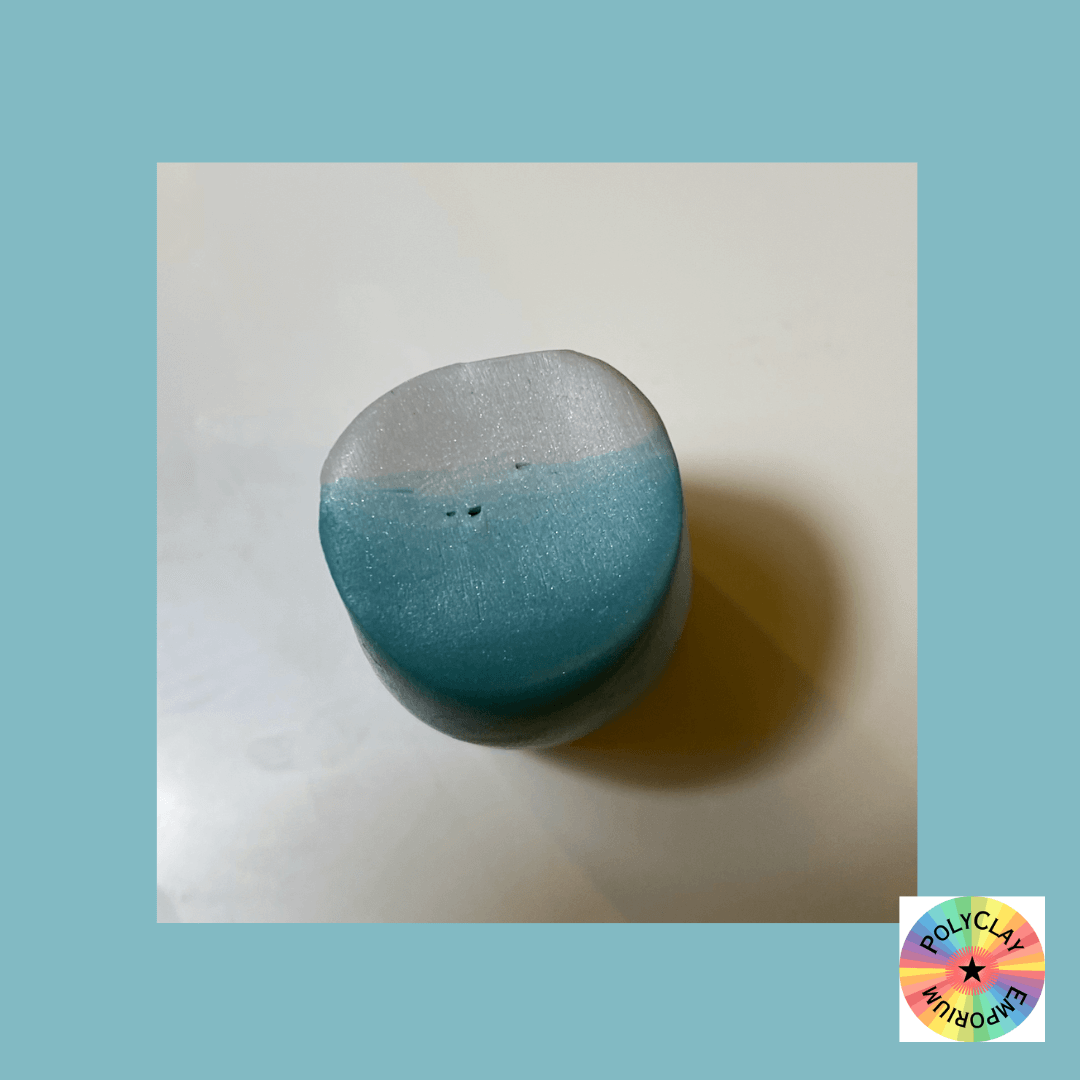
Then manipulate it into a small barrel:
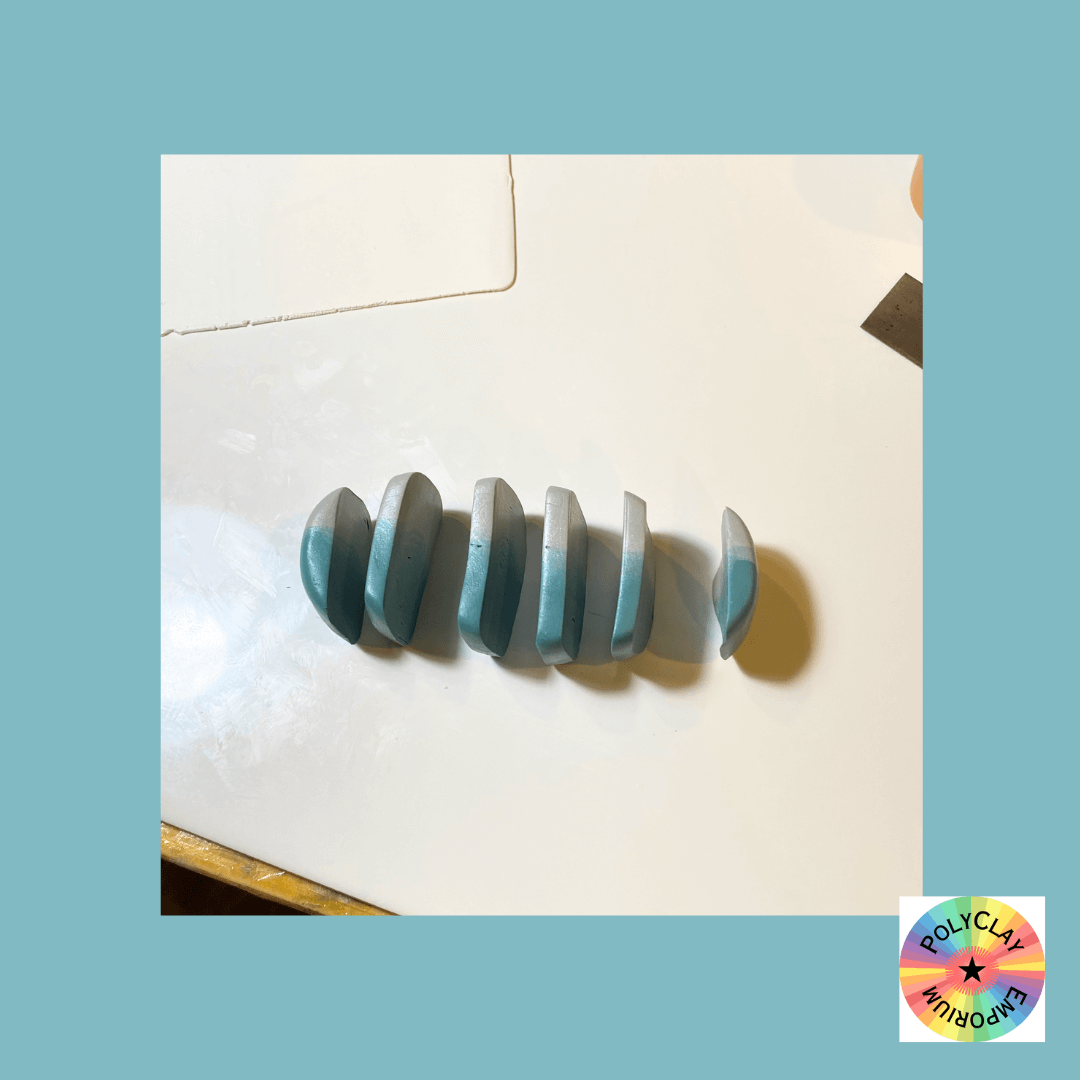
Make evenly-spaced slices in the barrel:
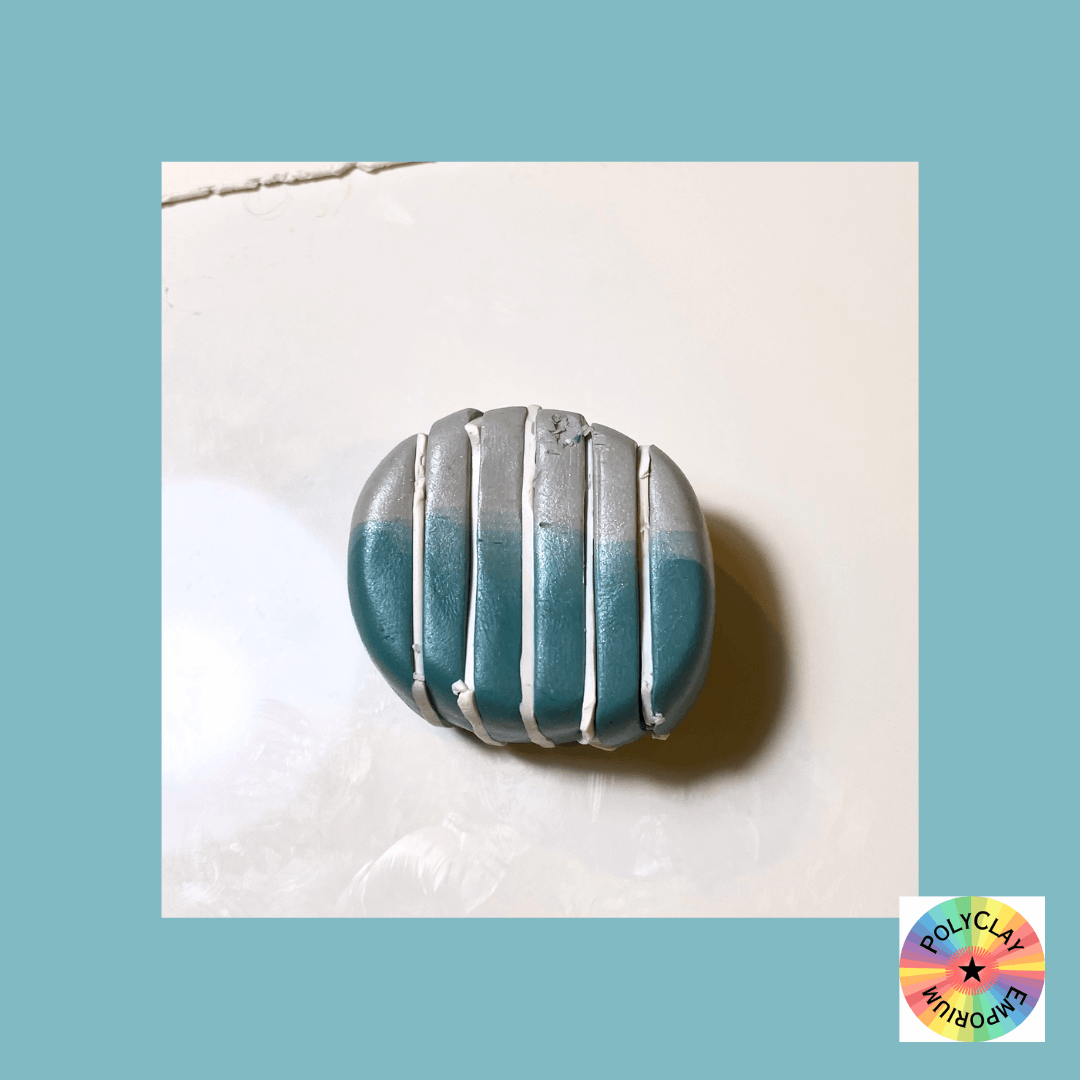
Put a thin layer of your contrasting color into each space:
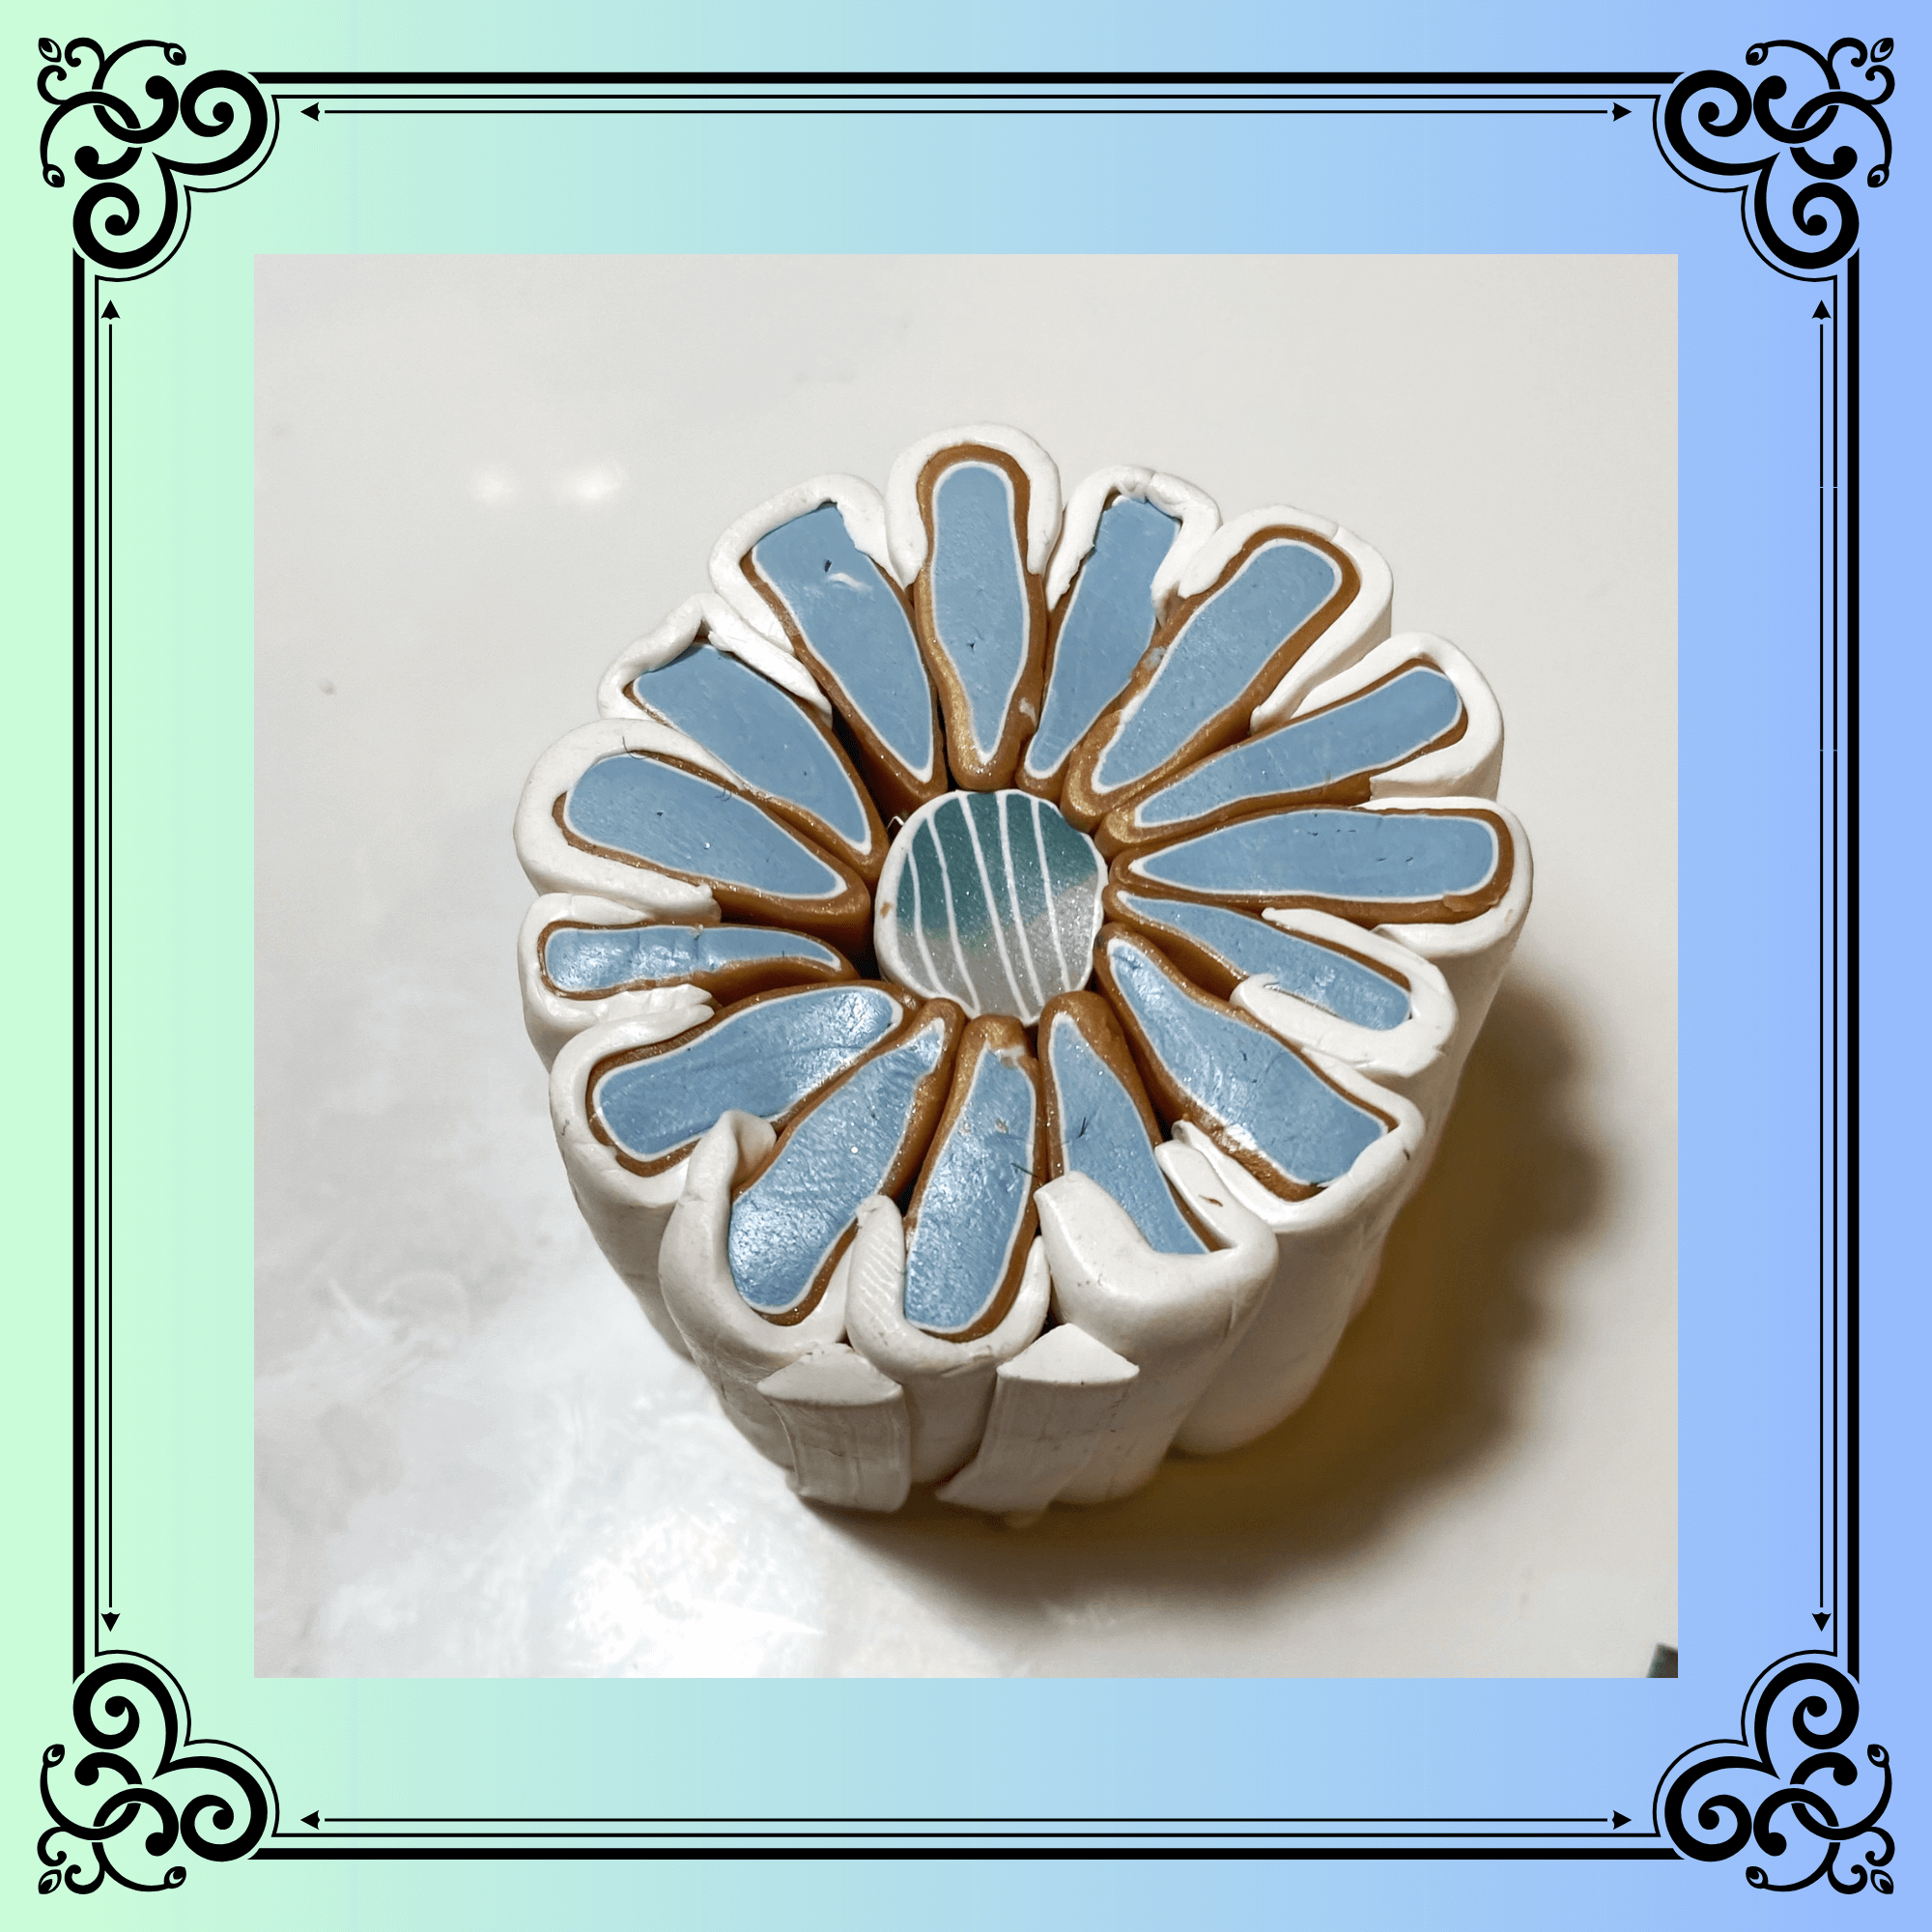
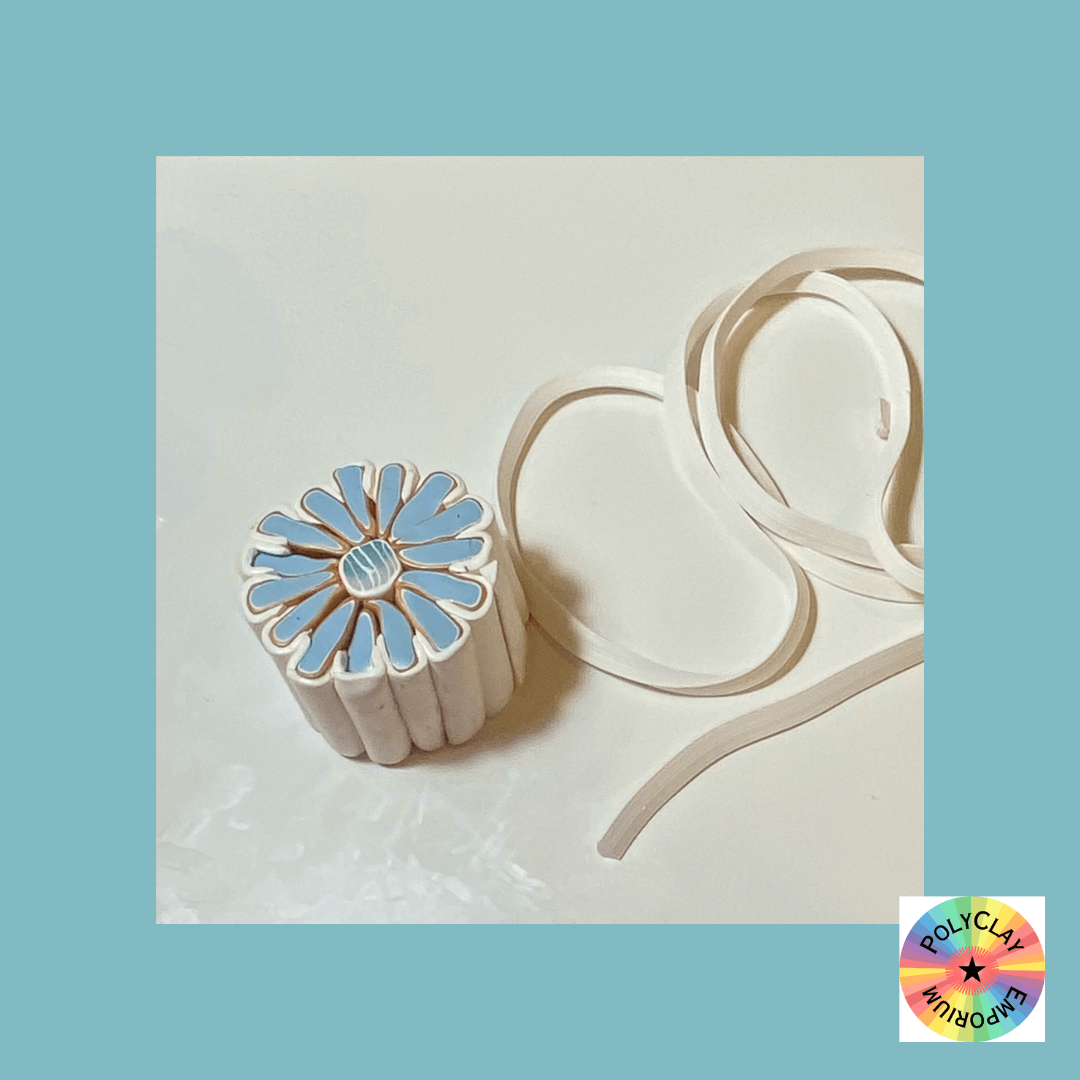
Wrap the barrel in white and your center is done. In retrospect, I’d like this better if I’d added another wrap of gold. You could consider this.
Step 3: Make the petals.
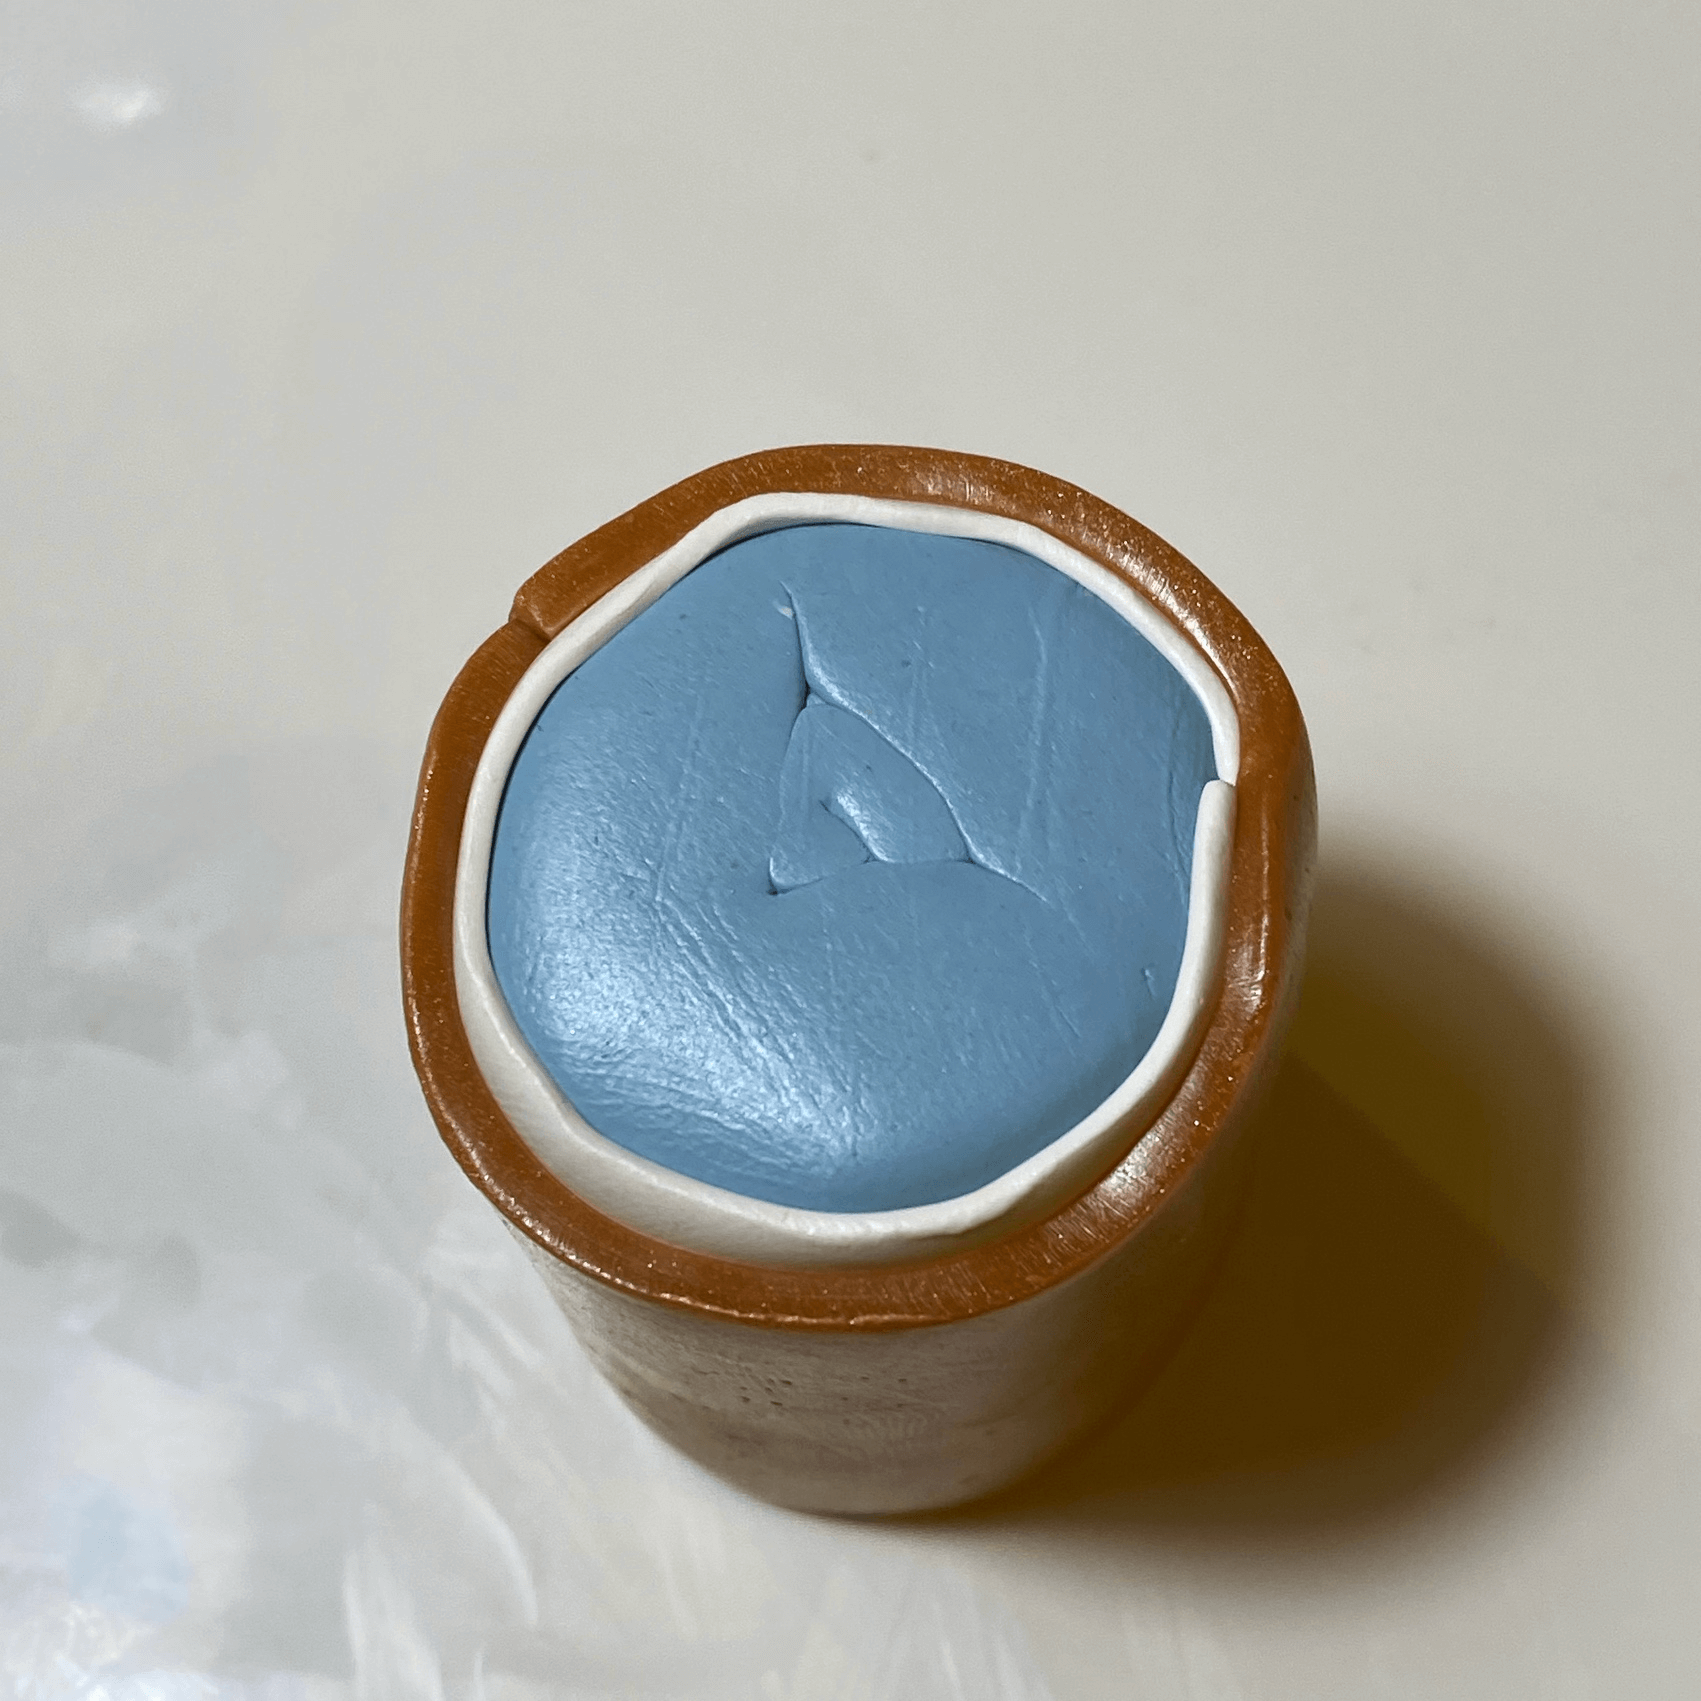
Start with a short barrel. This could be made from a Skinner blend, if you wish. Surround it with two more contrasting layers.
Reduce this to a long snake. You’ll want enough to make 12-15 petals. When your snake is almost long enough, roll it flat with a roller, so you end up with a narrow oval. Squish one side of this narrow oval so it becomes a point. Cut into your desired number of petals.
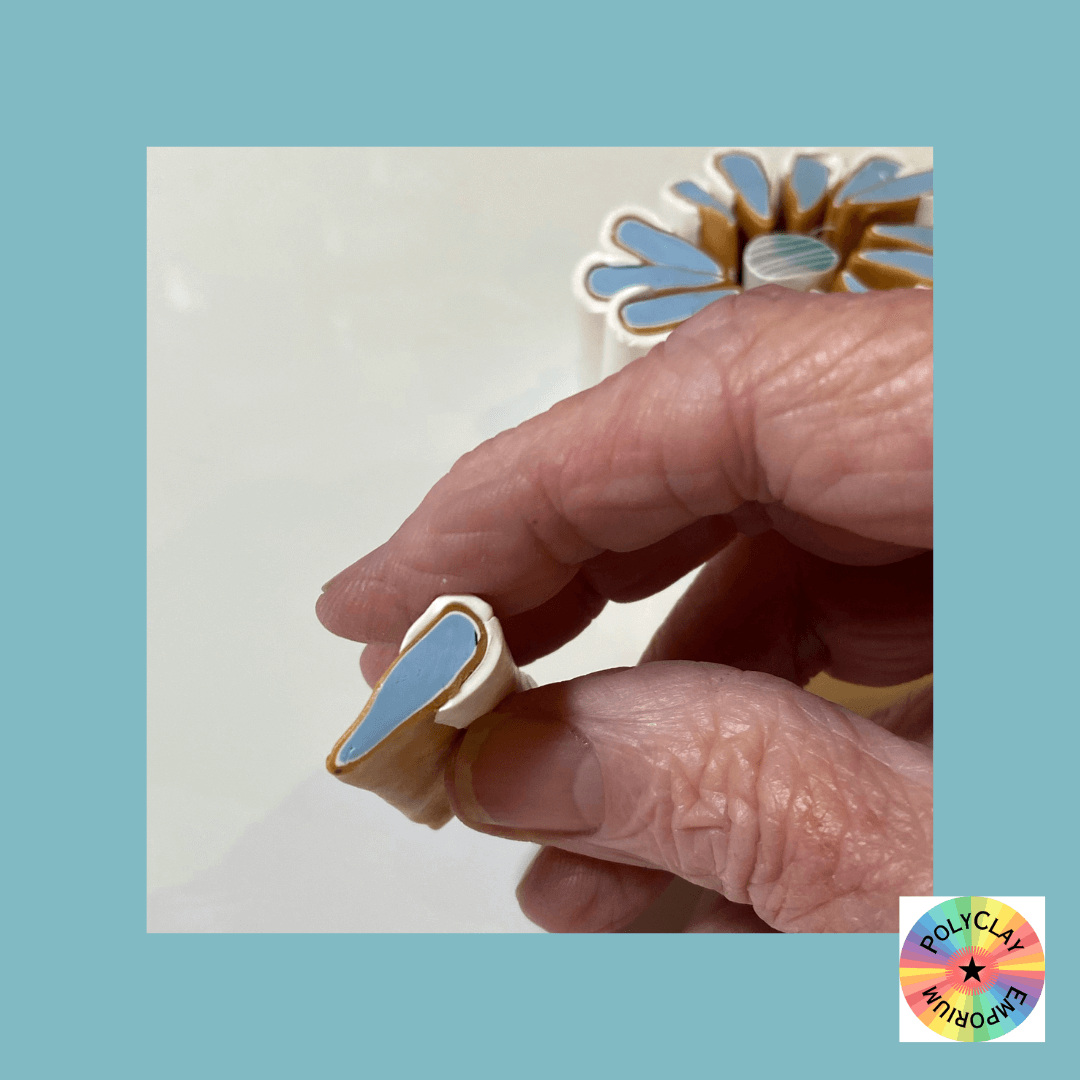
Step 4: Join the petals to the center, and pack
The packing determines how well a cane reduces, so be meticulous. Make a flat sheet of your background color. Cut out rectangles to fold over each petal, squishing the ends that will point down toward the center as a taper.

Use your extruder to make a long white triangle.
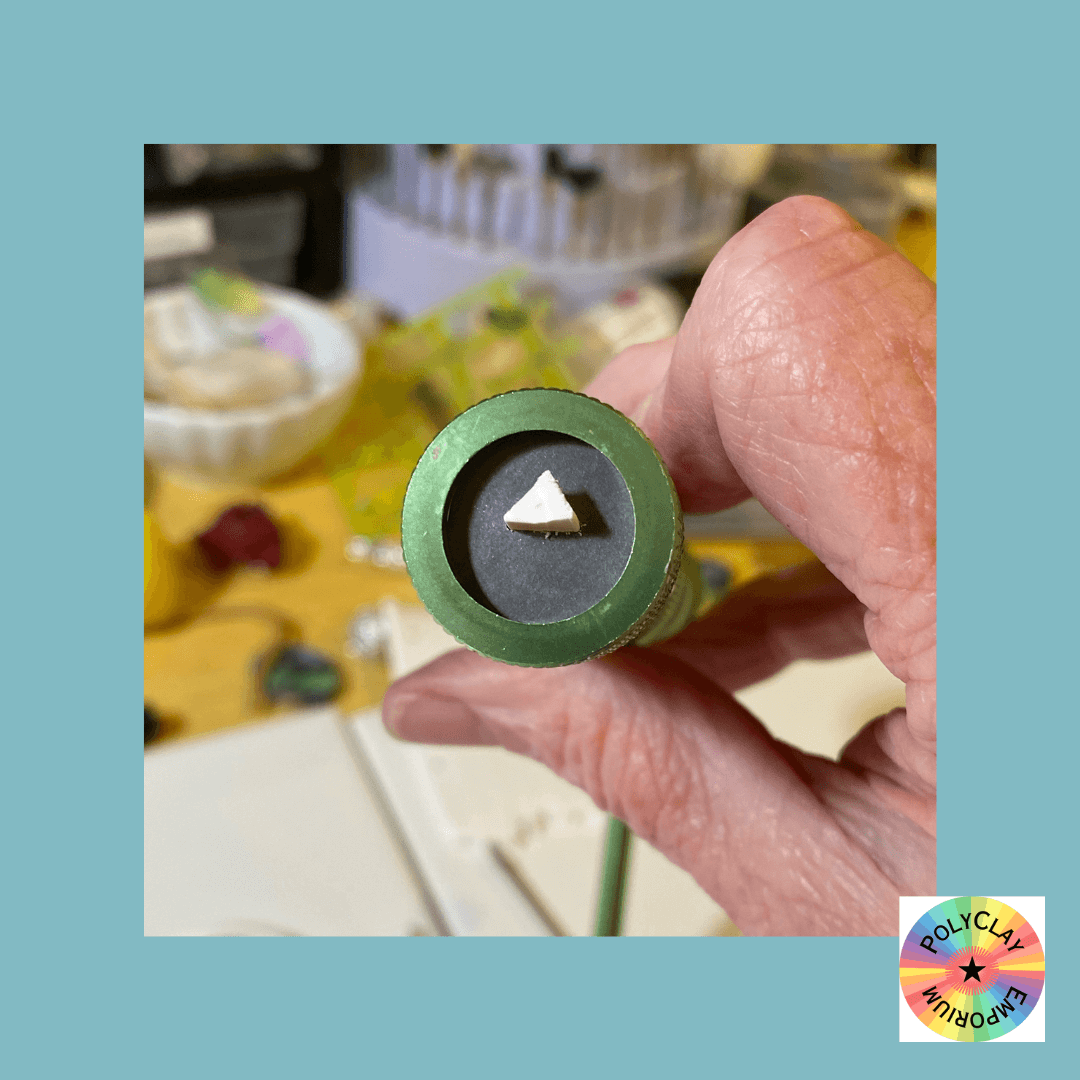
Pack the triangles into the valleys made by the white rectangles.
Put another layer of background color around the cane. Put it in the fridge for an hour or two or let it sit at room temperature overnight before reducing.
This cane offers possibilities for so many different appearances: Change the colors all around, what about black for a background color? Make fewer petals- or more. Make a different pattern in the center. It’s your basic flower blueprint- make it your own!!
Happy Claying!