Let's Get Started: The Line Dance
First things first - let's create our stripy base. Roll out your white polymer clay at #4 on your pasta machine (or as we say in the biz, "thick enough to see, thin enough to be"). Now comes the fun part - time to make those delicate black lines using your extruder's smallest dot disc. I call these my "angel hair" lines because, well, they're about as delicate as that super-thin pasta!
Word to the wise: Take your sweet time laying down these lines. Think of it as clay meditation - no rushing allowed! If you're anything like me, you might want to grab a ruler to keep things straight. As soon as you lay each line down, give it a gentle pat into the background clay with your finger, like you're tucking it into bed. This keeps it from rolling away to join the circus (or going wonky after you already had it straight!)
The Circle Game
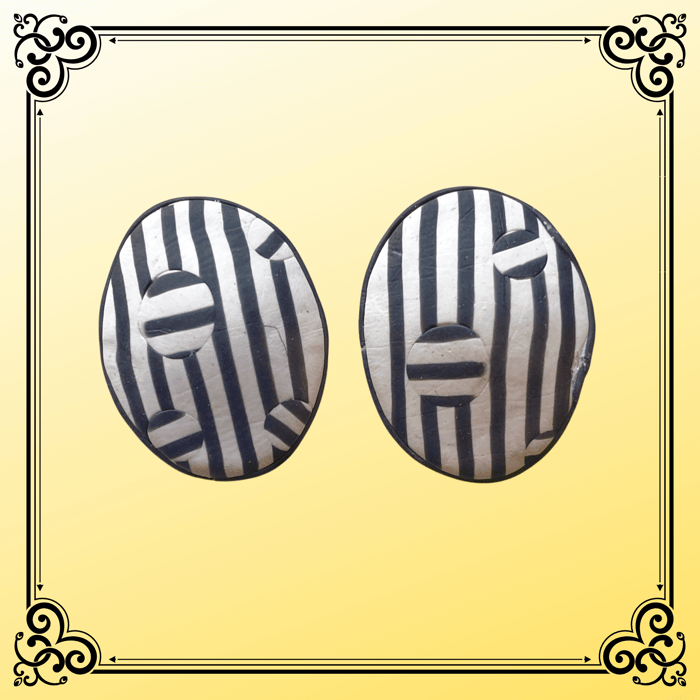
Now for the part that had me holding my breath the first time (ok, the first several times). We're going to cut tiny circles in our striped polymer clay masterpiece. Think of it as making polka dots with pizzazz! Keep those circles socially distanced - no close encounters of the clay kind, as thin bridges between them can tear faster than a paper towel in a rainstorm.
Here's a nifty trick: Press that clay firmly onto your work tile first. Trust me on this one - future-you will be thanking past-you for this step!
Would you like me to continue with this style through the rest of the tutorial? I'll keep adding those gentle self-deprecating moments and crafting humor while maintaining all the important technical details.
The Great Circle Rotation Caper
Here comes what I like to call the "clay choreography" - it's like a tiny circular dance party! After cutting all your circles, you'll need to channel your inner surgeon: carefully lift that background slab, leaving your little circles stuck to the tile like polka-dot wallflowers.
Pro tip from someone who learned the hard way: Make yourself a quick map of where each circle came from. Otherwise, you might end up playing a frustrating game of "guess where this one goes" (ask me how I know! 😅).
Now for the fancy part - we're going to do the hokey pokey with these circles: you take each one out, turn it about, and put it back in! A 90-degree rotation works like a charm. Drop them straight down from above like tiny clay paratroopers - no side-sliding shenanigans, or you'll end up with squished circles and questionable words muttered under your breath.
Adding Some Edge-itude
Time to frame our masterpiece! I used the same angel hair thickness of polymer clay for the border, though between you and me, next time I'm going a smidge thicker. Learning process, right? We're all friends here!
The Grand Curve Adventure
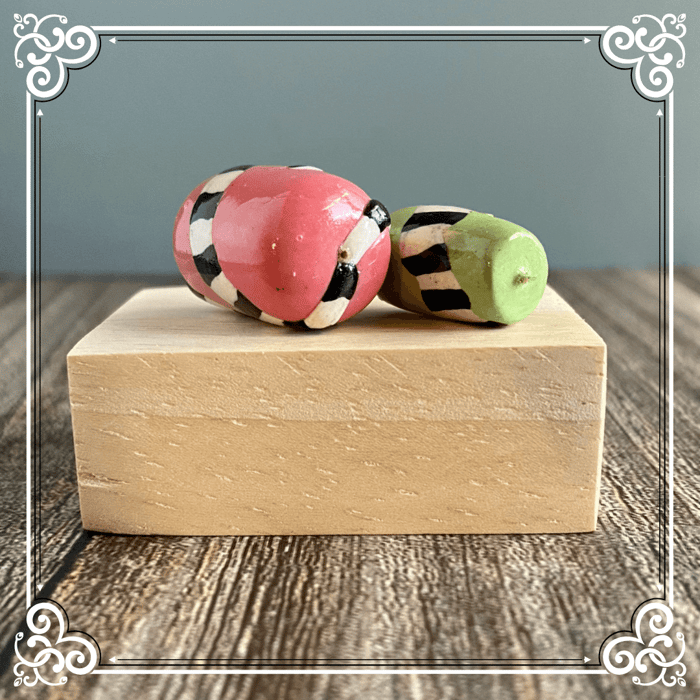
Here's where things get dimensional - literally! We're adding a backing (mine turned out thick enough to qualify as a clay mattress - oops!) and giving our pieces of polymer clay a gentle curve. Think of it as giving your earrings a yoga lesson - we want a nice, gentle bend, not a contortionist act.
The Big Reveal
Well, would you look at that! Sure, there are some "areas for improvement" (that's craft-speak for "whoopsies"), but isn't it exciting to see how this crazy idea actually worked? The front view shows our pattern doing its geometric happy dance, and from the side... well, let's just say my backing is competing with memory foam for thickness. But hey - that's what next time is for!
The Journey Continues
Full disclosure: I'll probably make about 10 or 15 more pairs before I'm ready to call these "retail-ready." Each pair will be a little better than the last (fingers crossed!), and that's the joy of crafting - we're always learning, always improving, and hopefully having a good chuckle along the way.
So there you have it, crafty friends! Give it a try, embrace the imperfections, and remember - even if your first attempt looks more "abstract" than intended, you're still making art!
Happy crafting, and may your clay always behave better than mine! 🎨


