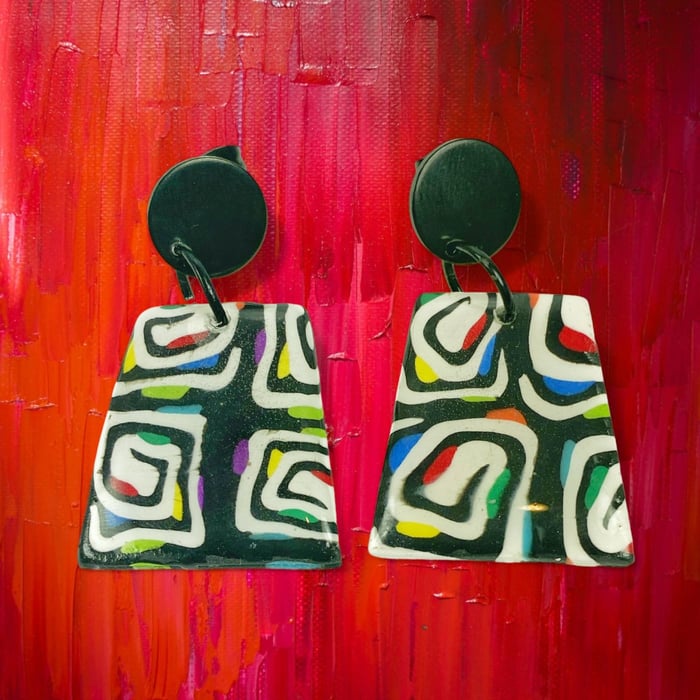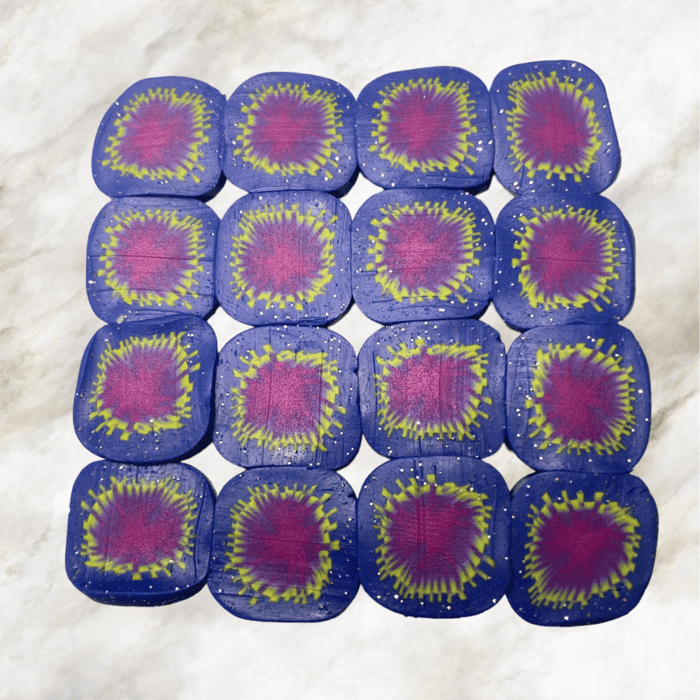
Greetings, fellow polymer clay enthusiasts! If you're like me, you adore the vibrant world of custom colors. The joy of mixing that perfect shade is unparalleled, whether you're crafting your own or following a tutorial. But, darlings, the magic doesn't stop at mixing. To recreate that fabulous hue, you must record exactly what goes into your color. Let me guide you through my tried-and-true system for tracking polymer clay colors, ensuring that my creativity isn’t short-changed by the inability to replicate my favorite blends.
The Importance of Consistent Samples
Consistency is key, my dears, when it comes to tracking your custom colors. Every tracking system requires a sample of the color you've created, and making these samples consistent in thickness and shape makes it infinitely easier to catalog and retrieve them later. I use 1” round color samples. For mixing ratios, I use a square-based tracking system, but any consistent shape will do the trick.
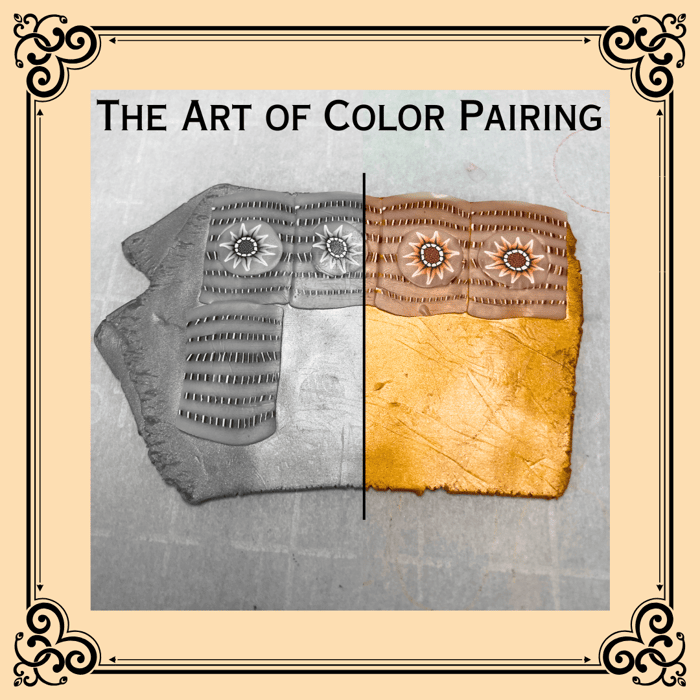
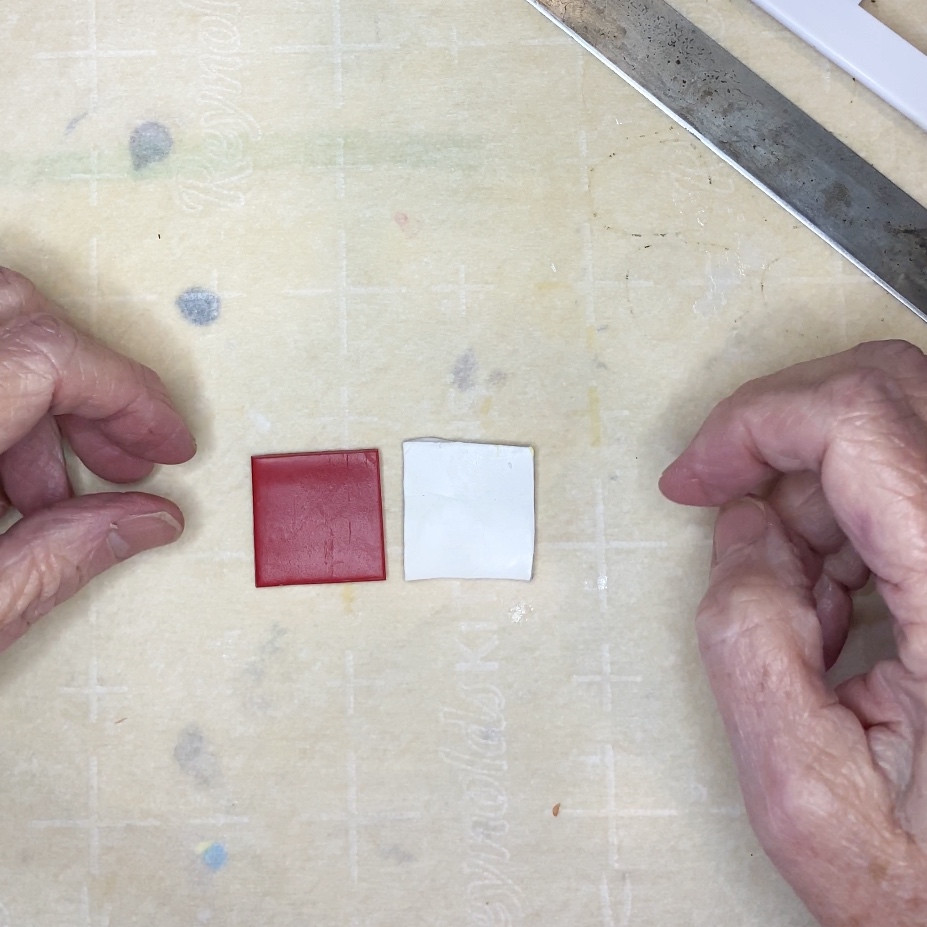
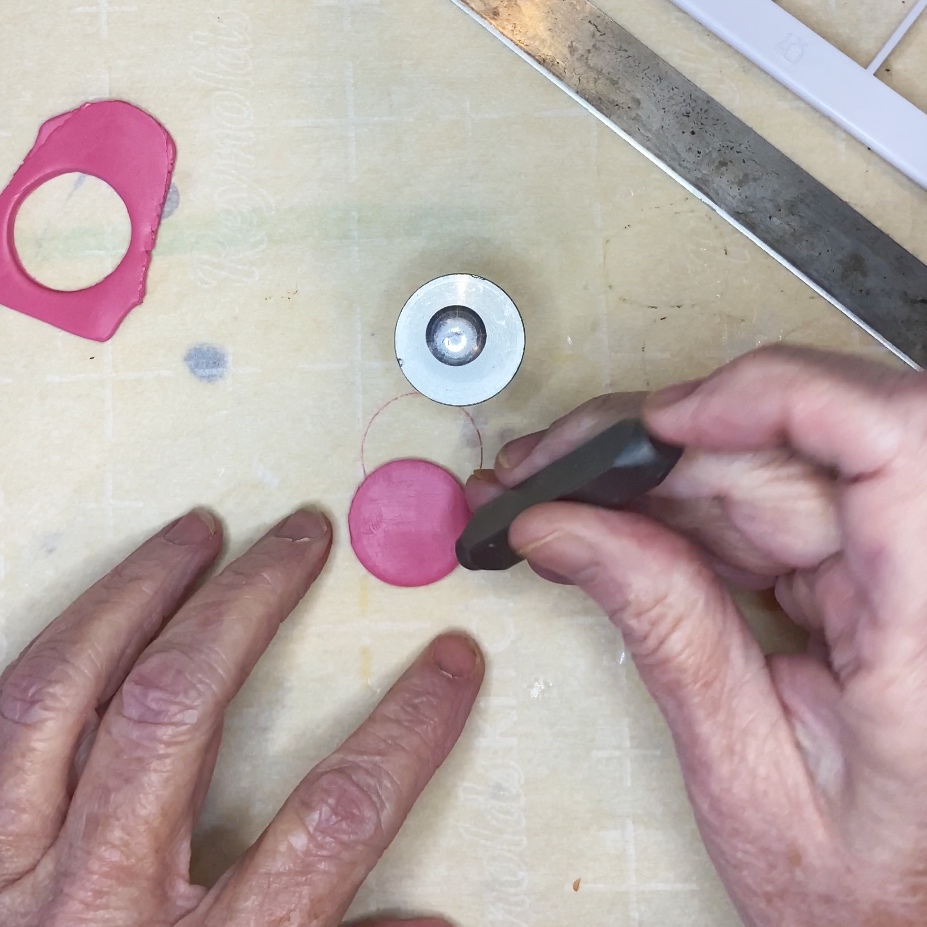
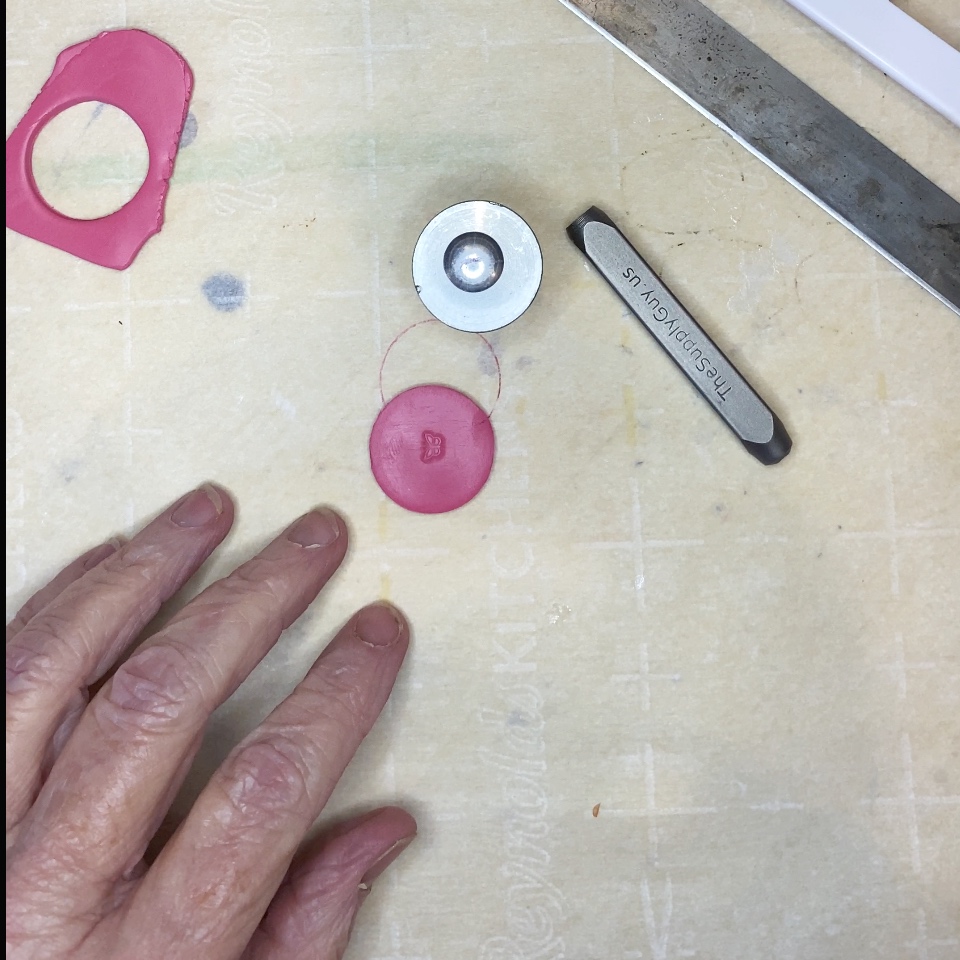
Here’s an example of my process: I start by mixing equal parts of red and white clay to achieve a vibrant pink.
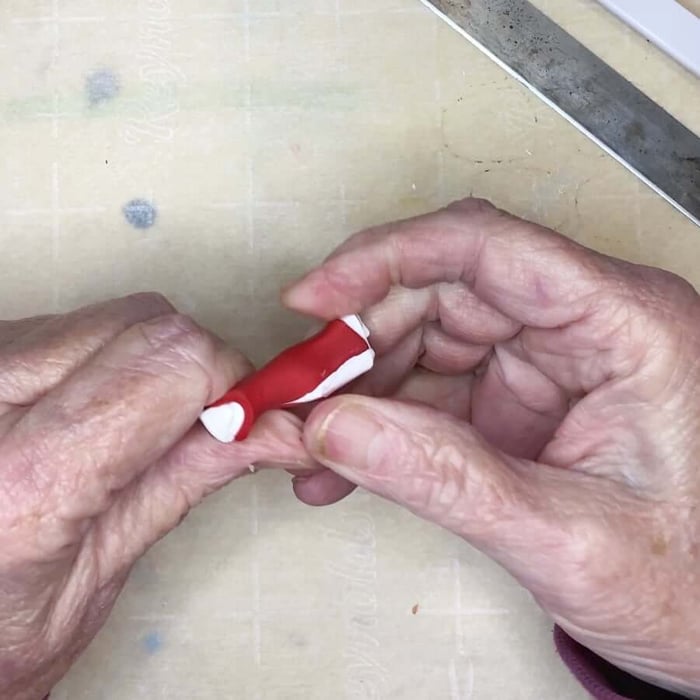
I roll this mix through my trusty Atlas pasta machine at thickness setting 0. This ensures that my sample is uniform and smooth.
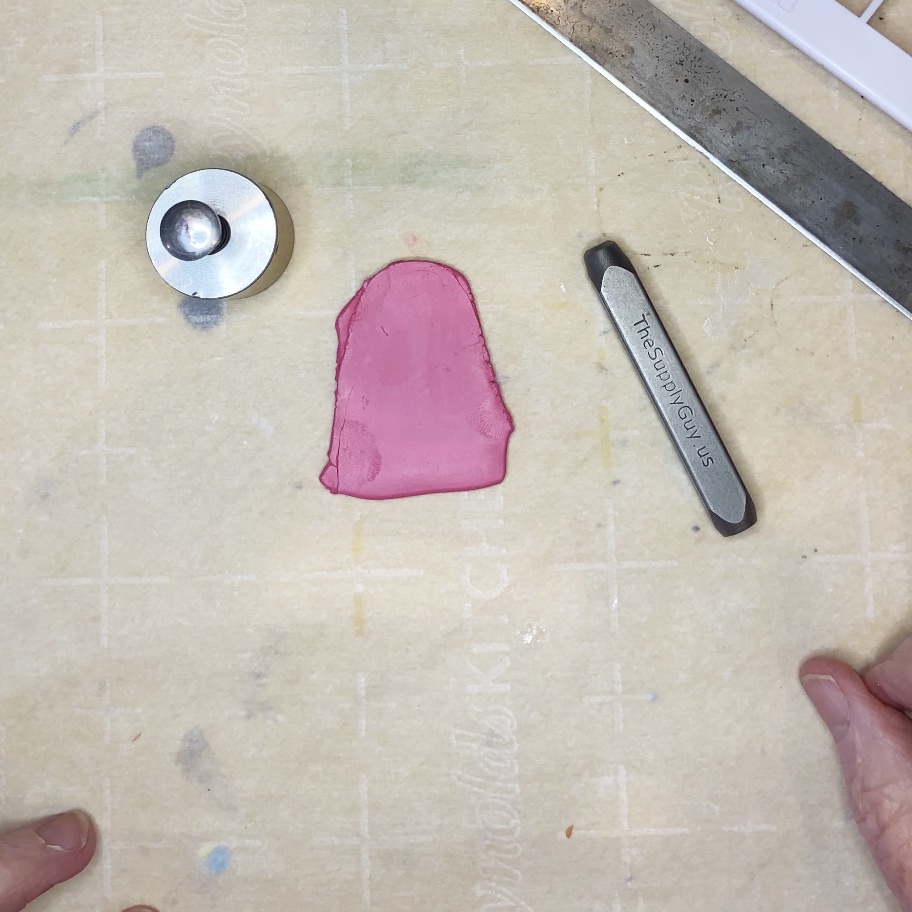
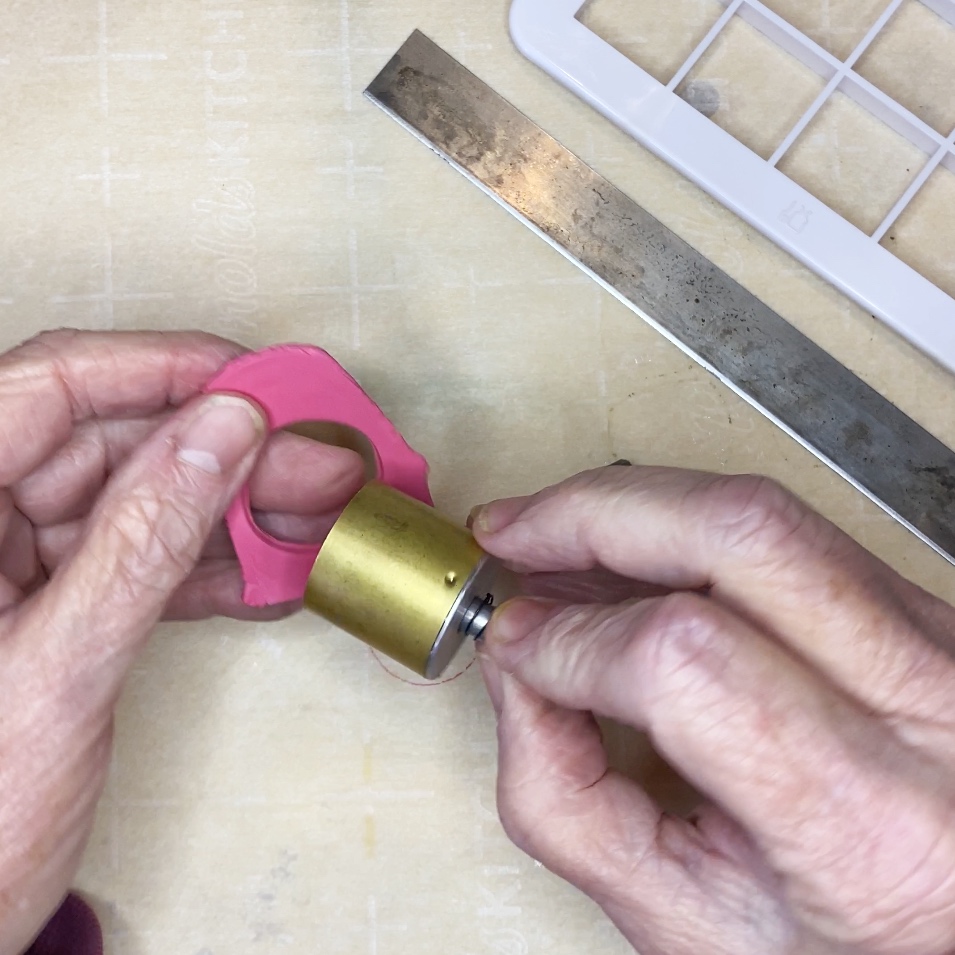
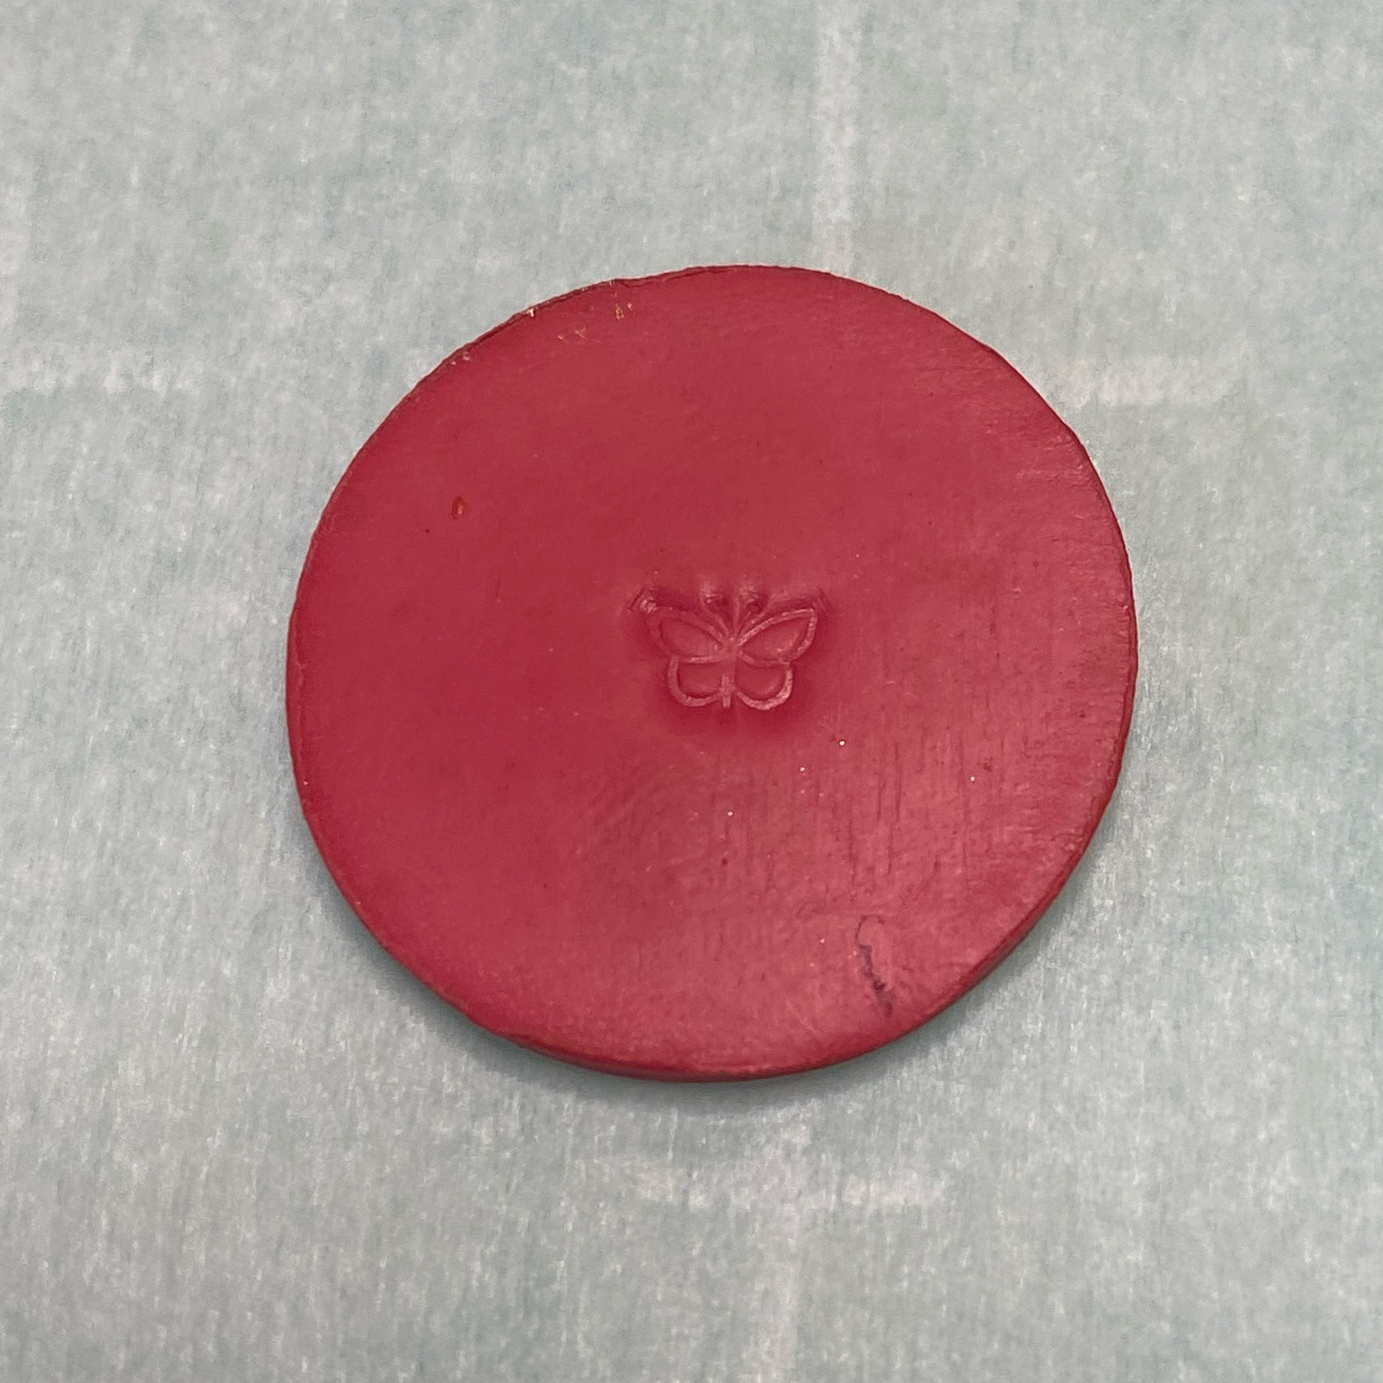
Next, I use a circle cutter to create a perfectly shaped sample. A little signature touch—my butterfly stamp—is pressed onto the sample, adding a bit of personal flair before it's baked.
Recording the Recipes
Once my sample is baked and beautiful, it's time to record the recipe. There are myriad ways to do this, and every crafter has their preference. Some adhere their samples to looseleaf paper or index cards, jotting down the recipe beside each color. Others prefer custom notebooks designed specifically for polymer clay recipes.
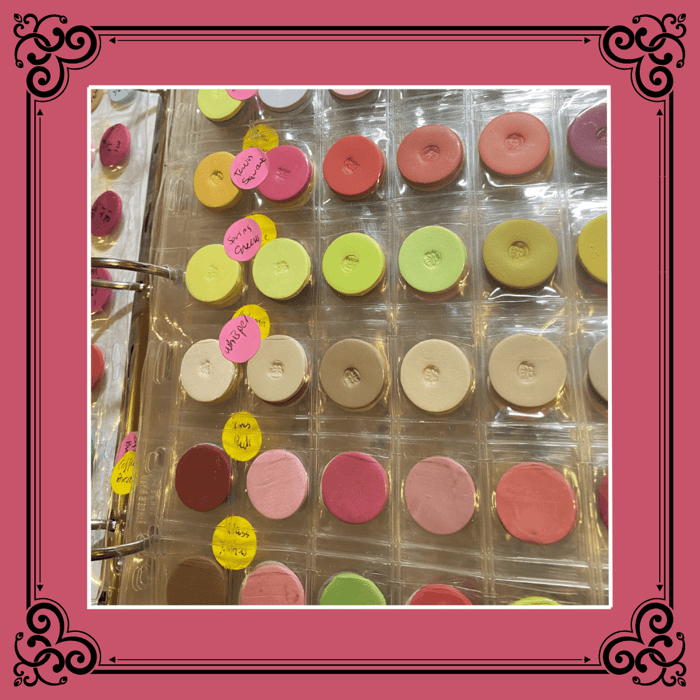
My personal favorite is using plastic notebook sleeves designed for coin collectors. These pages contain numerous small pockets, each perfect for storing a 1-inch clay sample. Now, inserting and removing these samples can be a bit snug. My solution? A quick snip of the little pocket cover on the back of each pocket, making it easier to slip samples in and out.
A Method to the Madness
Now, let's delve into the specifics of my storage system. After my samples are baked, I write the recipe on the back using indelible ink. This ensures the information remains intact and legible, even after frequent handling, and that the recipe remains attached to the color sample.
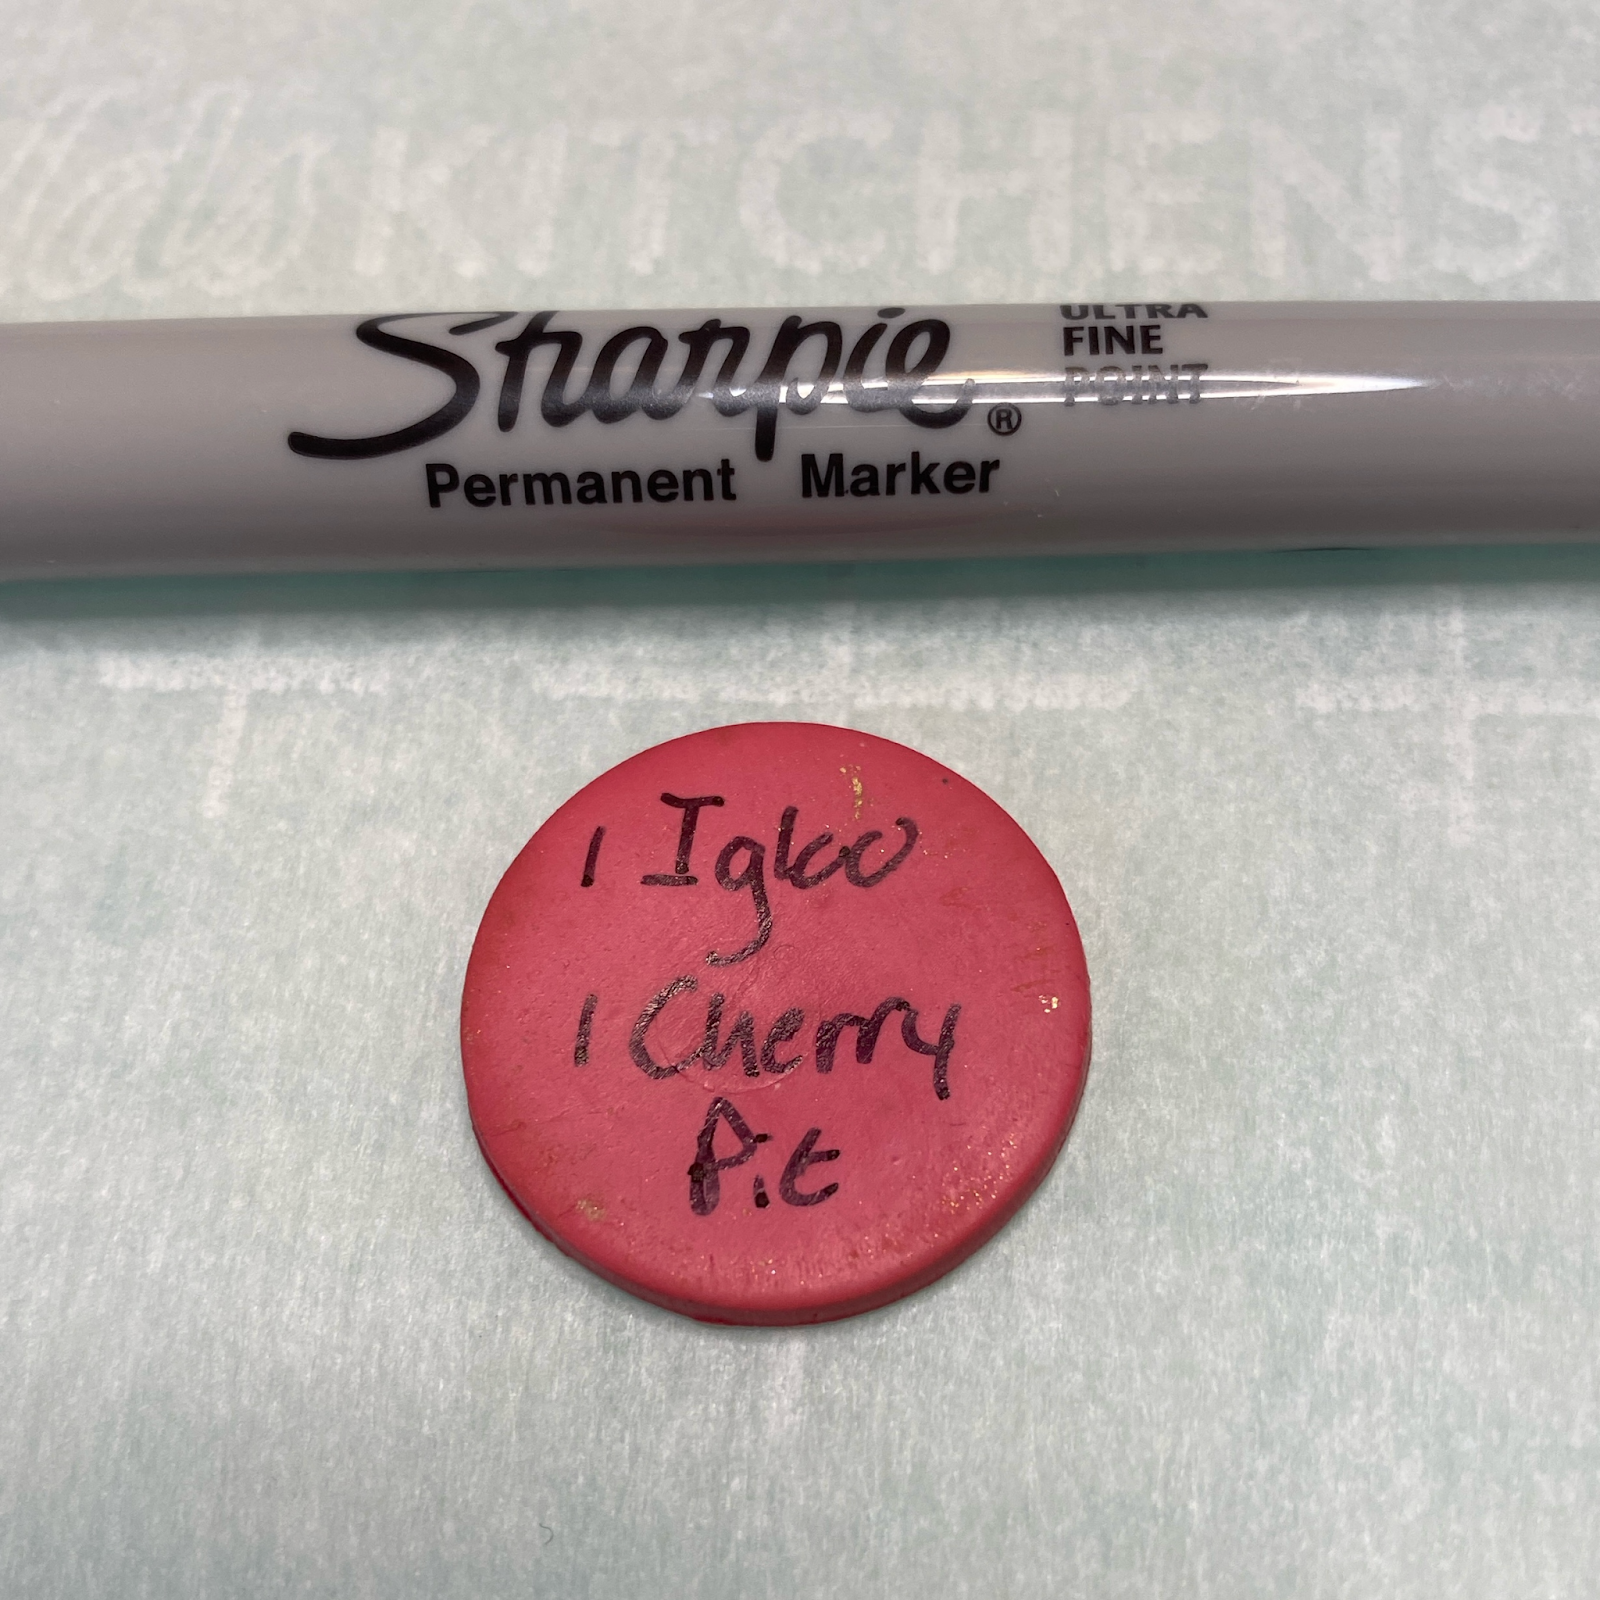
To maximize space, I use standard abbreviations for the clay colors—Red (R), White (W), and so on. This concise notation system allows me to record detailed recipes within the small confines of my sample coins.
But what to do with all these charming little circles once they’re ready? Imagine stacks and stacks of color samples, jiggling around in a bin. Instead of dealing with an unruly pile, I organize them into my coin collector sleeves.
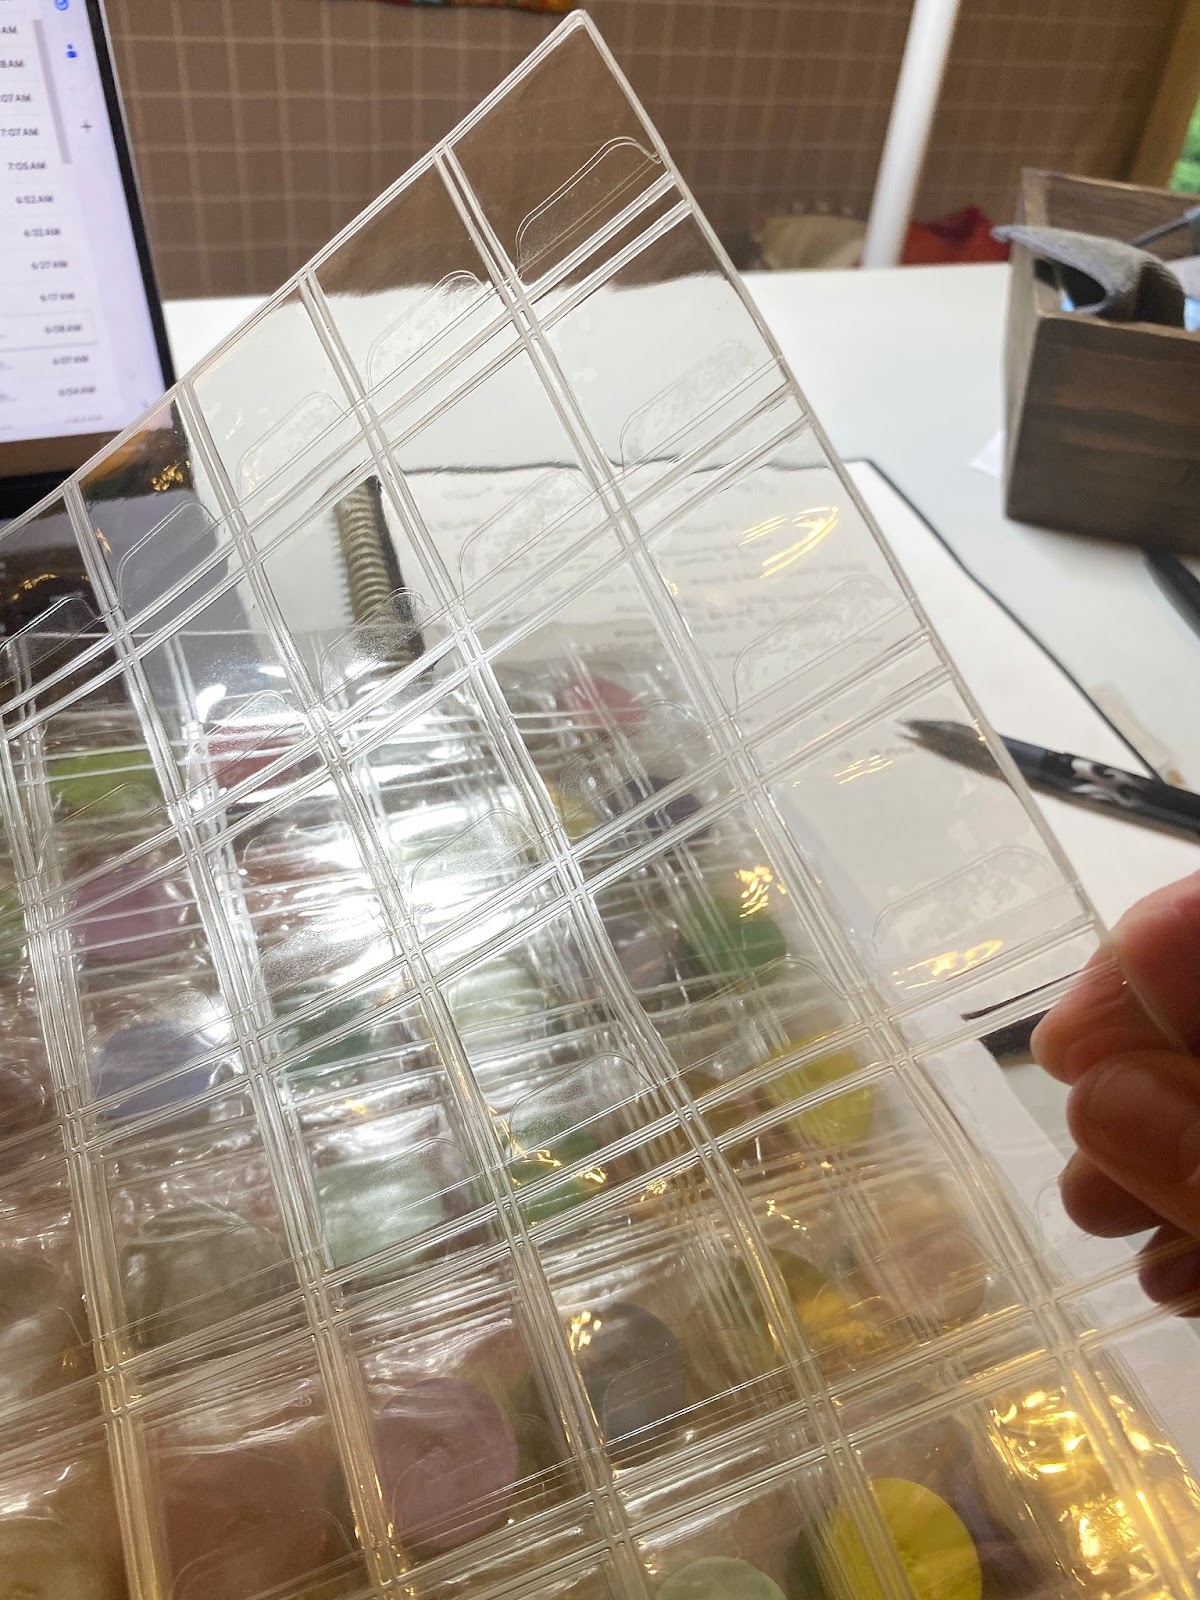
Each pocket holds a sample snugly, and the pages fit perfectly into large notebooks.
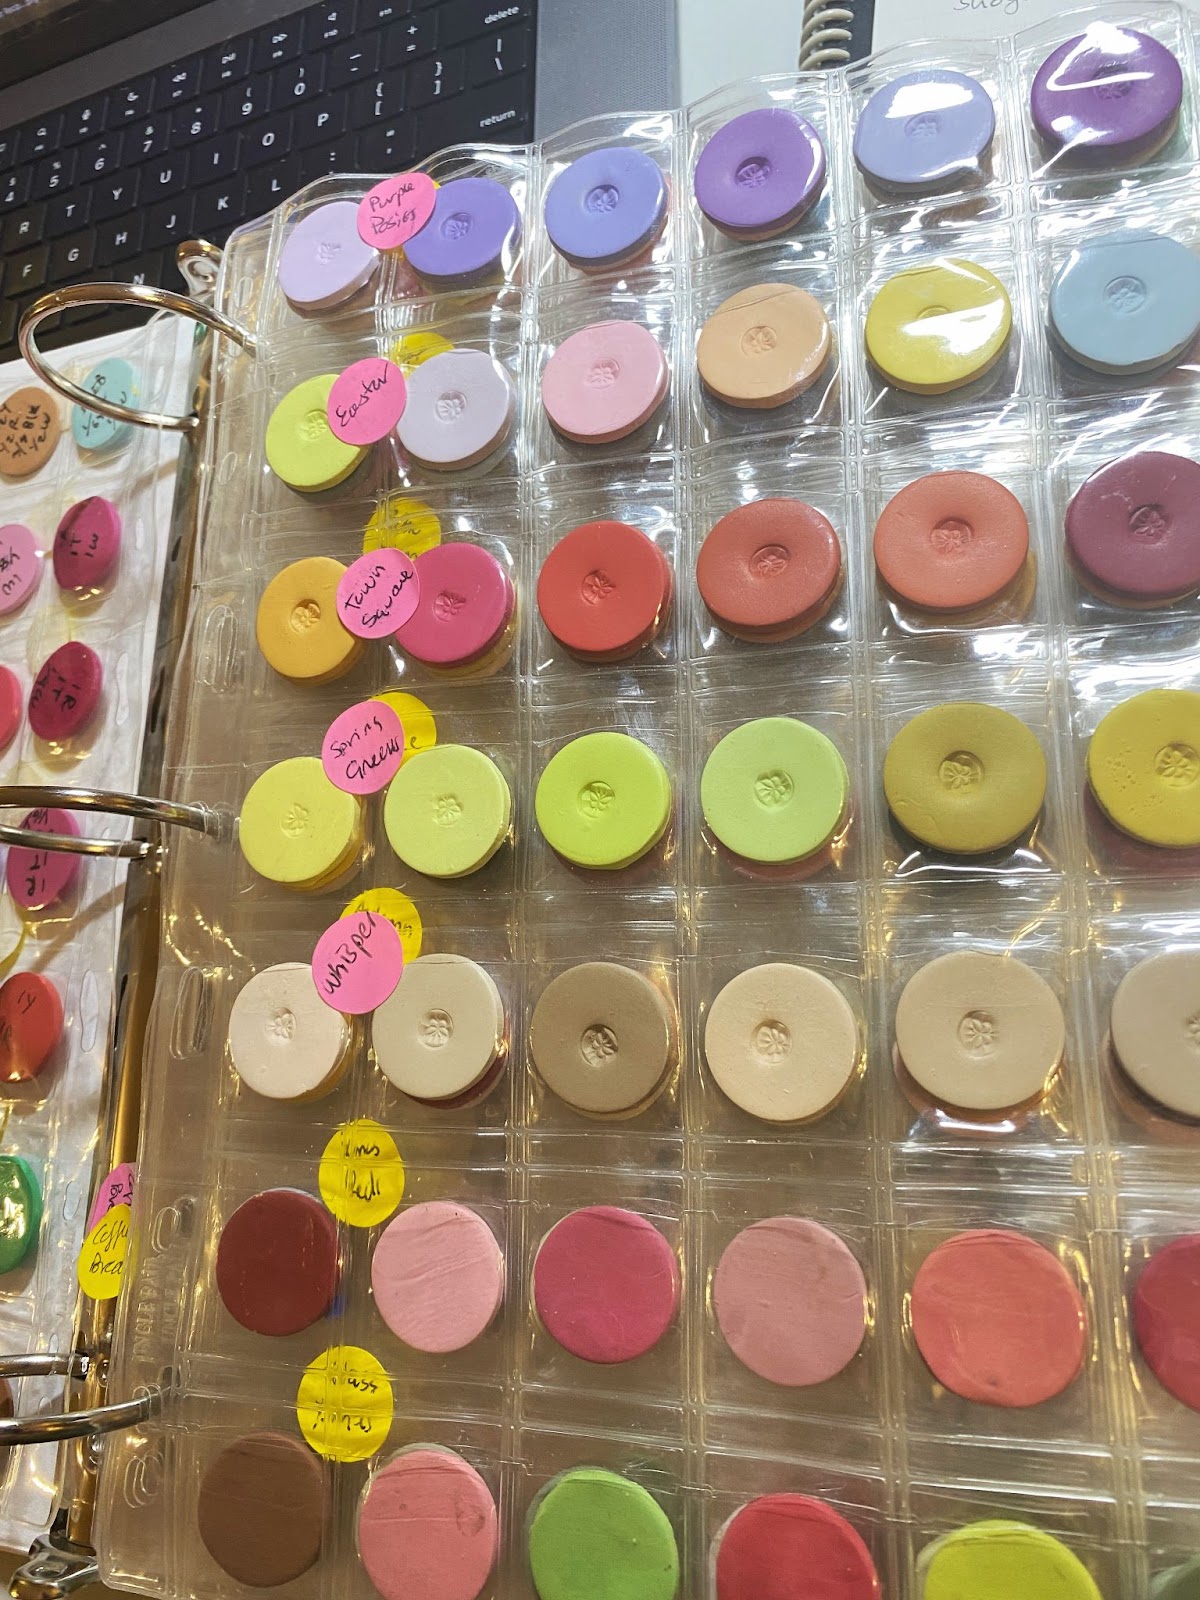

This system not only keeps my workspace tidy but also makes it a breeze to find the exact color I need.
Alternative Methods
While my method works wonders for me, there are other delightful ways to store your polymer clay color recipes. Some crafters prefer gluing their samples onto index cards or into notebooks, providing a more traditional approach. Others enjoy the convenience of sandwiching samples into plastic sleeves with labeled stickers on the front. Another creative method is to punch a hole in each sample and string them together, hanging them on a wire or pegboard insert. This approach is particularly handy if you like having your colors visible and accessible at all times.
The Joy of Organization
Ah, the joy of a well-organized system! Knowing that you can effortlessly recreate any color you've previously mixed is a liberating feeling. No more fumbling through stacks of samples or trying to recall that perfect blend from memory. With a reliable tracking system, your creativity can soar without the worry of losing your favorite hues. Here's a free color recipe to get you started!
Conclusion
So, dear readers, whether you're just beginning your polymer clay journey or you're a seasoned artist, a good color-tracking system is essential. Find what works best for you, be it notebook sleeves, index cards, or hanging samples. The key is consistency and ease of use. My system of baking, labeling, and storing in coin collector sleeves has been a game-changer for me, and I hope it inspires you to create your own method that keeps your artistic process seamless and enjoyable.
Remember, the goal is to make your creative life easier and more organized. Happy crafting, and may your colors always be as vibrant as your imagination!